Daily Cooking Recipes Let Me Make Cooking Easy

March 8, 2014

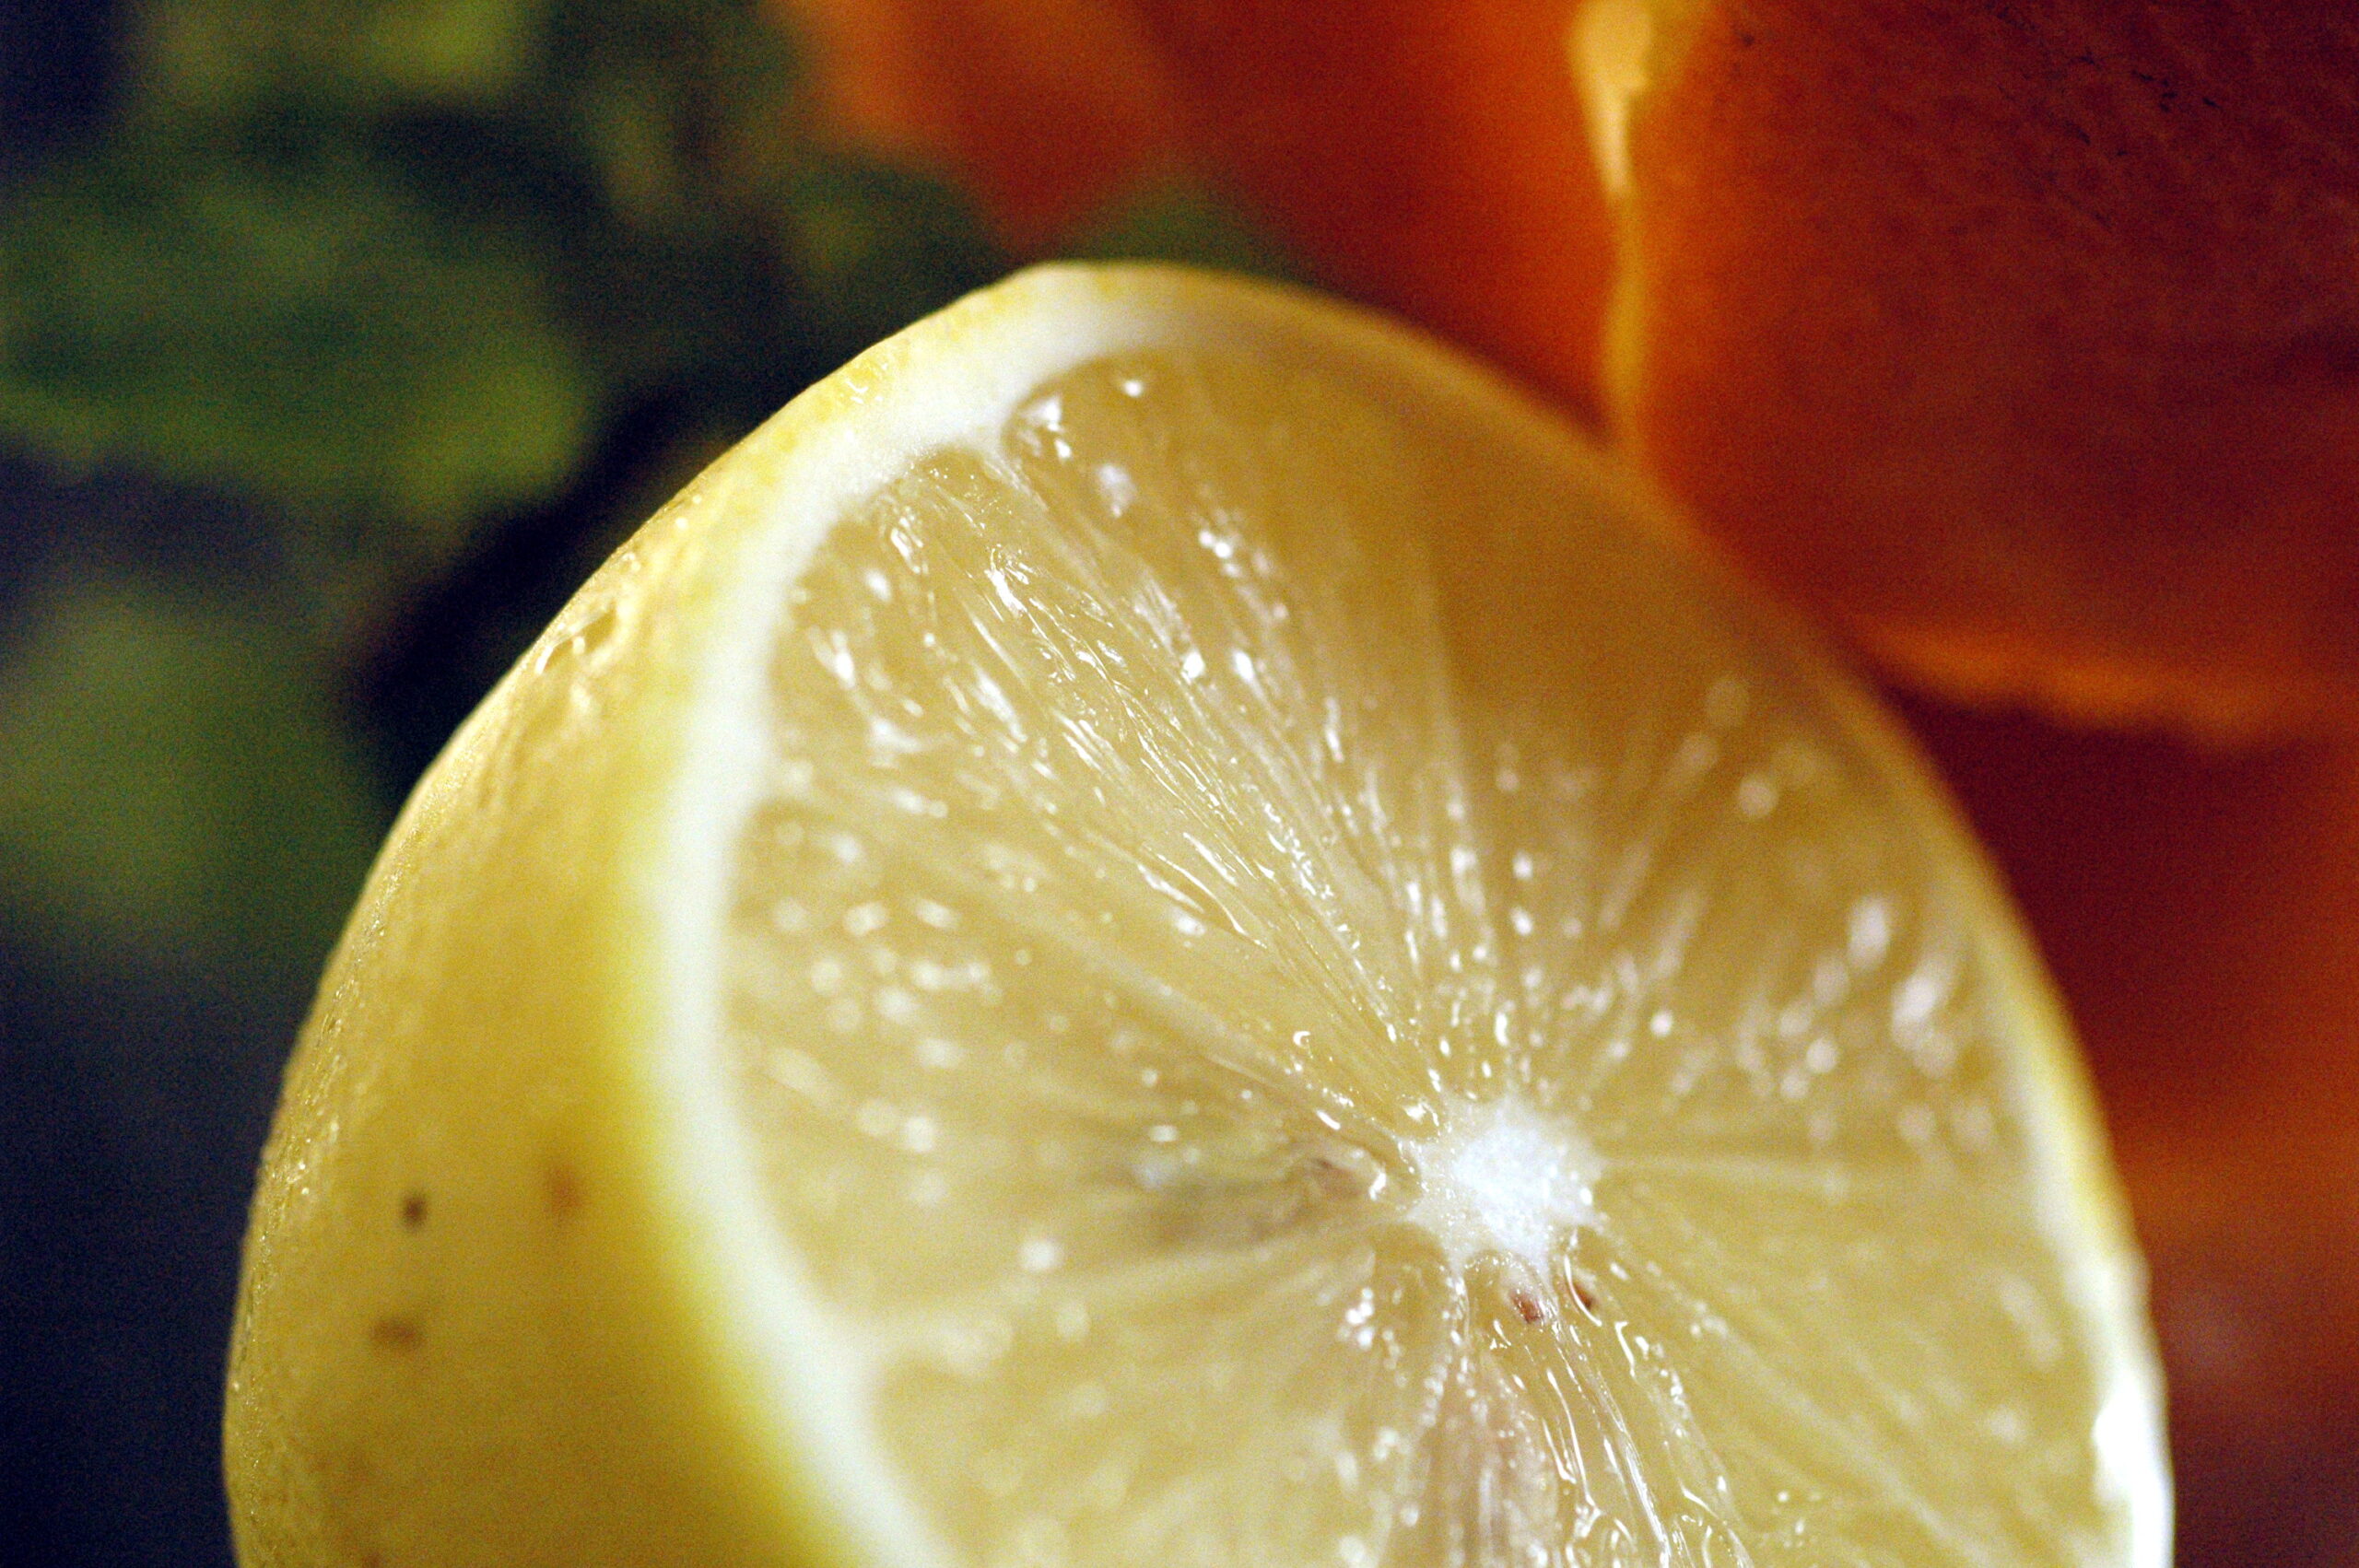
Cool Lemon Treats


Cool Lemon Treats

Cool Lemon Treats

Florence
Course Dessert
Cuisine American

Ingredients
  

  • 1 C toasted rice cereal crushed
  • 3 eggs separated
  • 1/2 C sugar
  • 1 T lemon peel grated
  • 1/3 C lemon juice
  • 1 C heavy whipping cream
  • 6 small foil pie pans
  • Freezer paper

Instructions
 

  • Place egg whites in a mixing bowl.
  • Beat with an electric mixer on high speed until peaks begin to form.
  • Very slowly add the sugar on 2 T at a time.
  • Continue beating after each addition and until the peaks stiffen.
  • Place the egg yolks in a separate bowl.
  • Beat on medium speed until they begin to thicken.
  • Add the lemon peel and lemon juice.
  • Beat on low speed until mixed together well.
  • Use a rubber spatula and add the egg yolk mixture to the egg white mixture.
  • Pour the whipping cream into the mixture.
  • Fold together until completely combined.
  • Place enough crushed cereal in the bottom of each of the pie pans to cover.
  • Fill each of the pie pans with the lemon mixture.
  • Top with more crushed cereal.
  • Wrap tightly with the freezer paper and freeze for up to 3 months.
  • When ready to serve let the lemon treats set in the refrigerator for up to 1 hour.

March 7, 2014

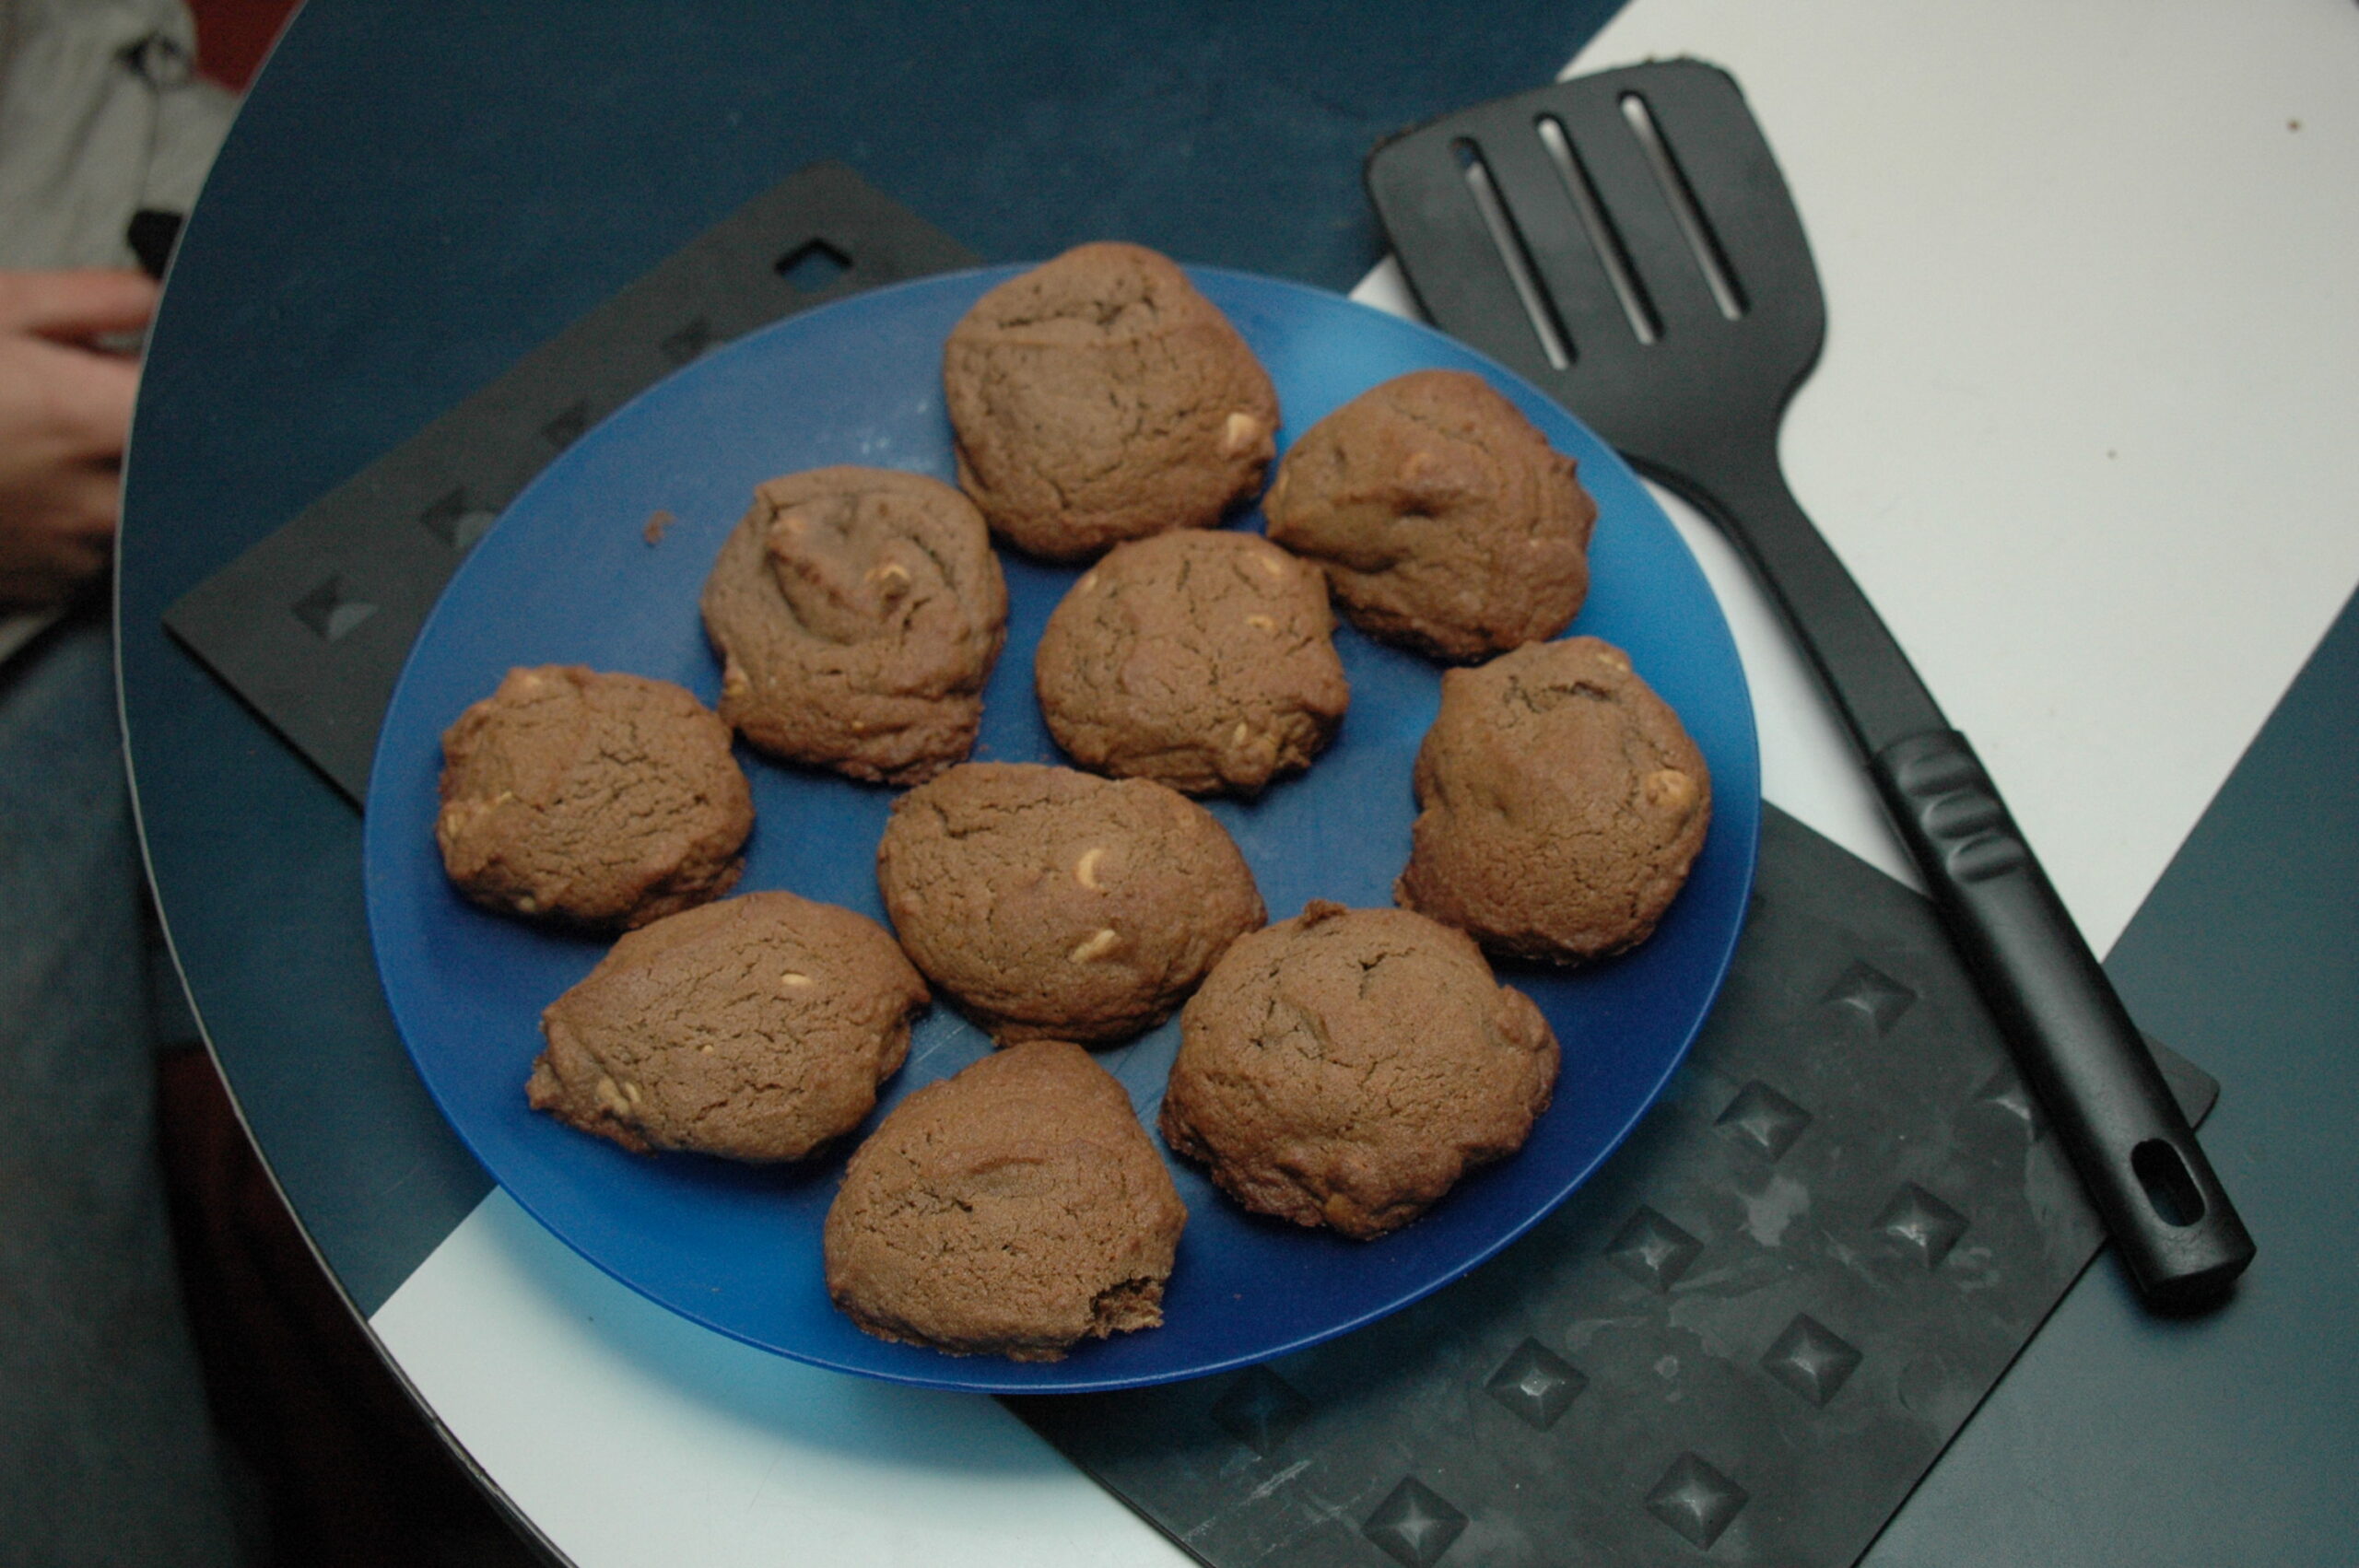
Chocolate Peanut Butter Chip Cookies


Chocolate Peanut Butter Chip Cookies Photo

Chocolate Drop Peanut Butter Cookies

Florence
Prep Time 10 minutes
Cook Time 9 minutes
Total Time 19 minutes
Course Cookies
Cuisine American
Servings 2 doz

Ingredients
  

  • 1 Cup Sugar
  • 1/2 Cup Crisco Shorting
  • 1 egg
  • 3 Tbsp Natural Unsweetened Cocoa Powder
  • 1/3 Cup Milk
  • 1 tsp Vanilla
  • 1 3/4 Cups All-Purpose Flour
  • 1/2 tsp Baking Soda
  • 1/2 tsp Salt
  • 1 Cup Reese's Peanut Butter Chips

Instructions
 

  • Preheat oven to 400°F.
  • Mix together sugar, Crisco, egg, chocolate, milk and vanilla.
  • Stir in flour, baking soda, and salt.
  • After ingredients are complete combined add in Reese's Peanut Butter Chips and stir well.
  • Drop by spoonfuls on to greased cookie sheet.
  • Bake for 8 to 10 minutes. Cool. Serve.


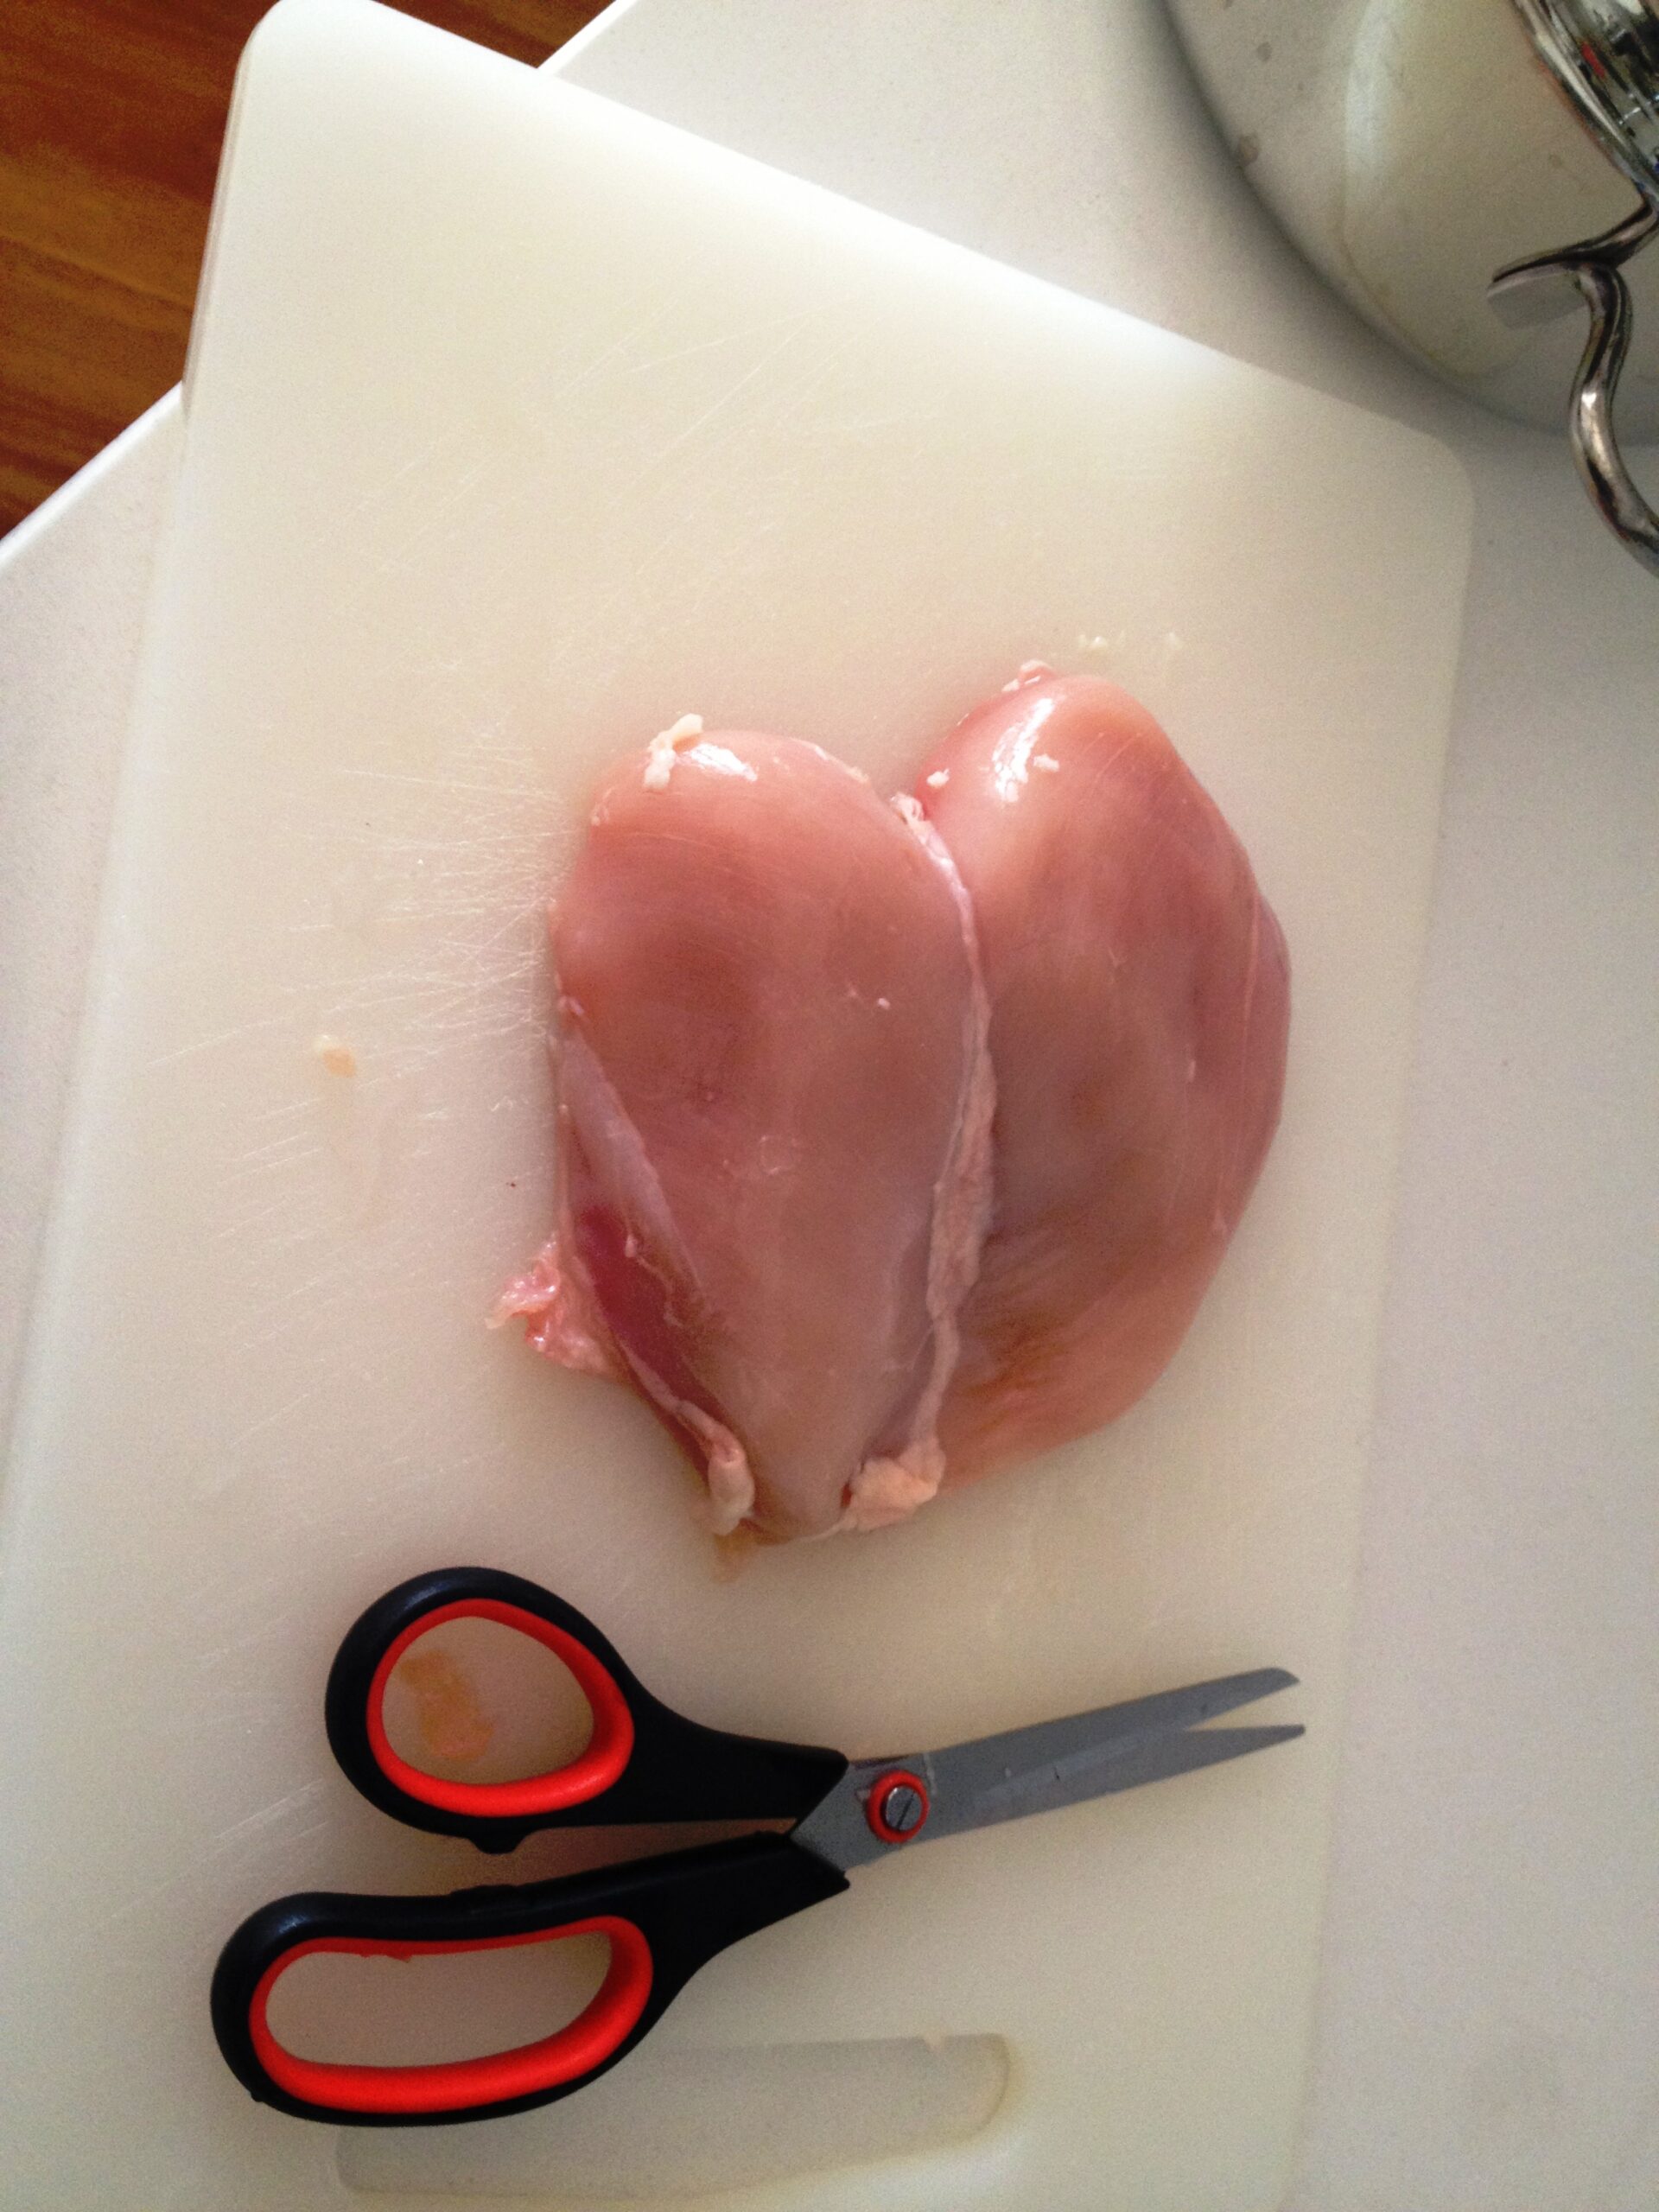
Chicken Bowls


Chicken Bowls

Chicken Bowls

Florence
Course Entree
Cuisine American

Ingredients
  

  • 1 whole chicken
  • 2 celery stalks chopped
  • 1 medium onion chopped
  • 1 Tbsp parsley
  • 1 bay leaf
  • 2 tsp salt
  • 8 Cups water
  • 1 10 oz pkg frozen baby carrots, partially thawed
  • 1 10 oz pkg frozen peas, partially thawed
  • 1 6 oz can mushrooms, drained
  • 1 Cup light cream
  • 1/4 tsp nutmeg
  • 1/4 tsp celery salt
  • 1/8 tsp pepper
  • 1/2 Cup all purpose flour
  • 1 pkg 2 included refrigerated pie crust
  • 4 foil pans 5X1 in

Instructions
 

  • Place the water in a large pot over high heat and add chicken,celery, onion, parsley, bay leaf and salt and bring to boil. Reduce heat to low and simmer covered for 2 hours. Allow chicken to cool in the broth and remove when completely cooled. Remove chicken from bones. Strain broth and keep 5 Cups. Put chicken, carrots, peas and mushrooms together in a large mixing bowl and mix together. Place 4 Cups of reserved liquid in sauce pan and add cream, nutmeg, celery salt and pepper and bring to a boil. In small mixing bowl combine remain Cup of reserved broth and flour and whisk until mixture is smooth. Pour mixture in to boiling sauce pan and reduce heat to low and summer for 2 to 3 minutes. Pour over chicken mixture and cool completely.
  • Flour a flat surface and roll out pie crust. Divide in to two even parts. Place 1/2 of the crust into the bottom a foil pan. Fill with chicken mixture. Cover with the remaining crust. Pinch to seal all the way around.
  • Wrap in freezer paper.
  • Freeze for up to 3 months.
  • To bake preheat oven to 450 degrees.
  • Unwrap each bowl and place on a cookie sheet.
  • Cut a slit in the top of each to vent the steam.
  • Bake 40 minutes or until crust is golden brown.


March 6, 2014

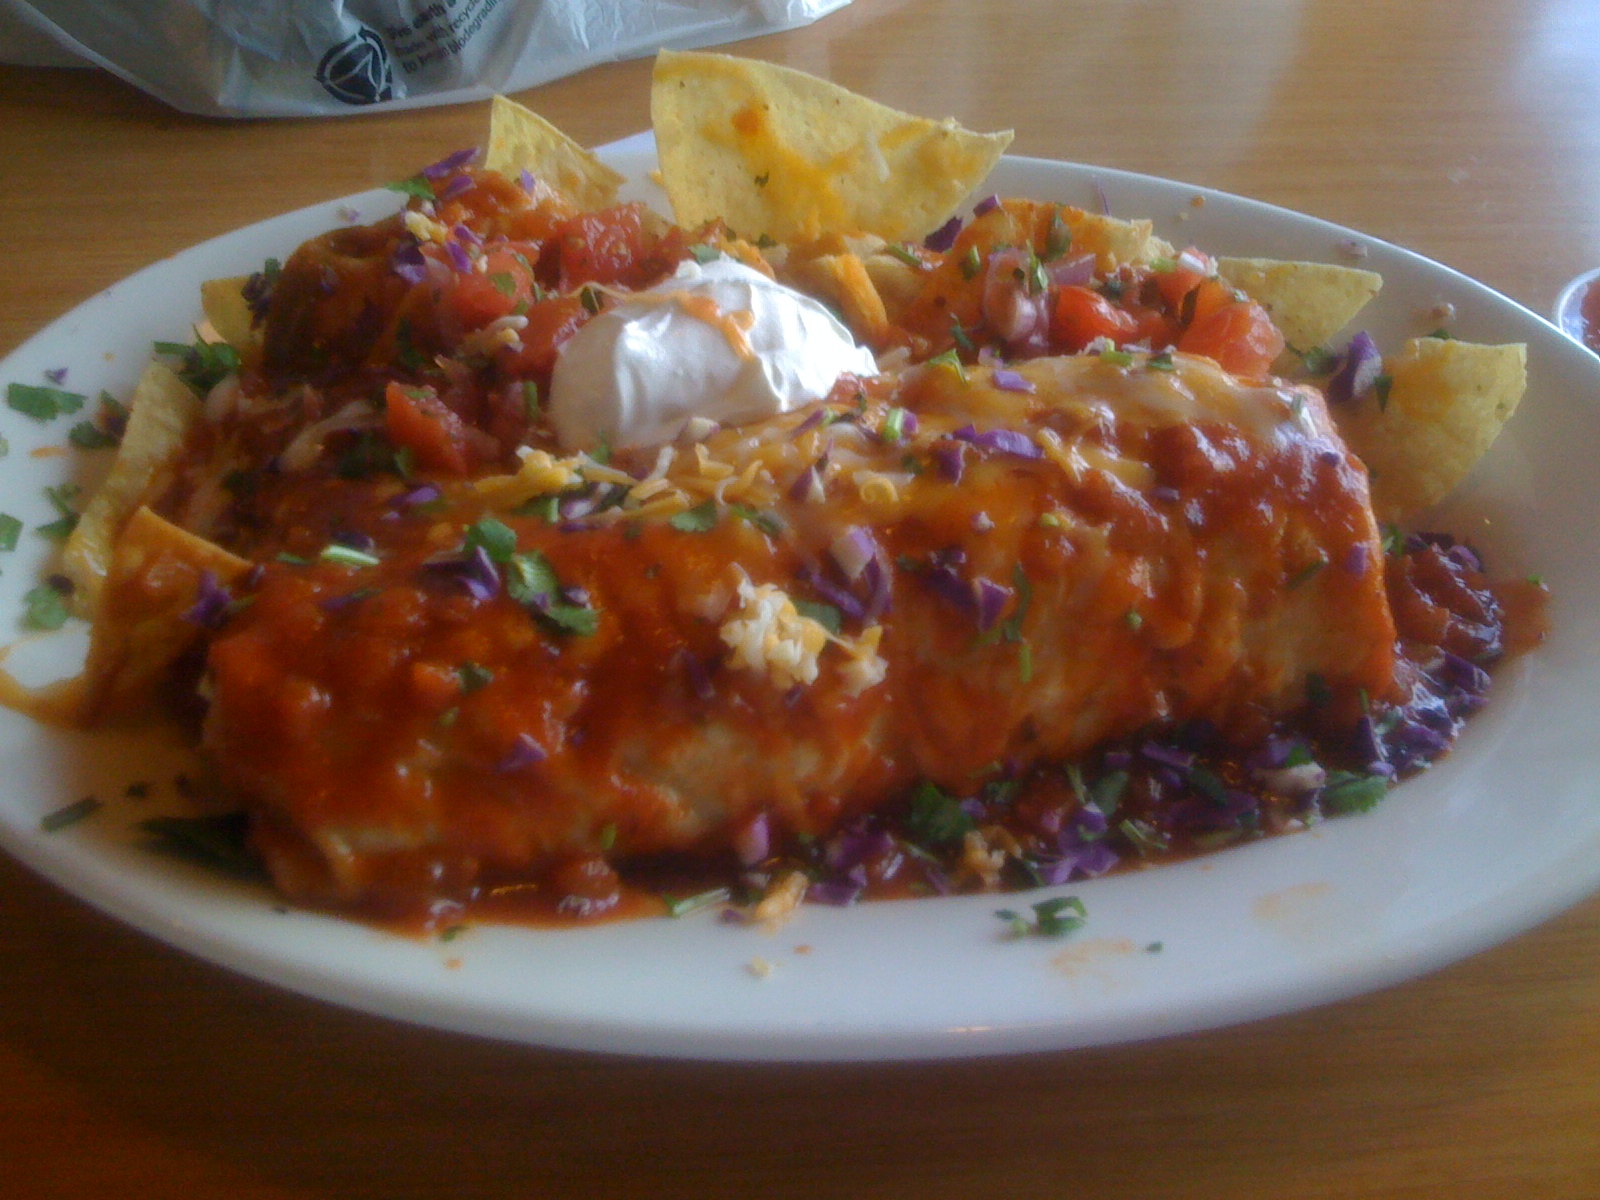
Burritos That Are Sure To Please


Burritos That Are Sure To Please

Burritos That Are Sure To Please

Florence
Course Entree
Cuisine Mexican

Ingredients
  

  • 3 boneless chicken breasts
  • 1/2 jar 16 oz size salsa
  • 1 14.5 oz can refried beans
  • 1 8 oz pkg shredded taco cheese
  • 1 8 count pkg burrito size tortillas
  • Wax paper
  • Freezer bags

Instructions
 

  • Place the chicken breasts in a large sauce pan and cover with salsa. Add just enough water to cover the chicken completely. Place over medium high heat and bring to a boil. Reduce heat to low and simmer for approximately 15 minutes.
  • Chicken should be white all the way through when done. Remove the chicken from pot and cool completely and then shred and return to pot. Bring back to boil to reduce liquid of the mixture looks to watery. Remove from heat when it is at your desired thickness.
  • Lay down tortilla flat.
  • Place 3 T of refried beans down the middle of the tortilla.
  • Place 4 T of the chicken mixture on top of the beans.
  • Sprinkle with cheese.
  • Fold in the sides of the tortilla and roll until completely closed.
  • Continue until you used all the tortillas.
  • Wrap each burrito in the wax paper.
  • Place the burritos in a freezer bag.
  • Freeze for up to 3 months.
  • To cook unwrap the burritos.
  • Place in the microwave for about 3 minutes or just until the burrito is beginning to thaw.
  • Preheat the oven to 350 degrees.
  • Lightly spray a cookie sheet with a non stick cooking spray.
  • Lay the burritos on the cookie sheet.
  • Bake 12 minutes or until the burrito just begins to brown.


March 5, 2014

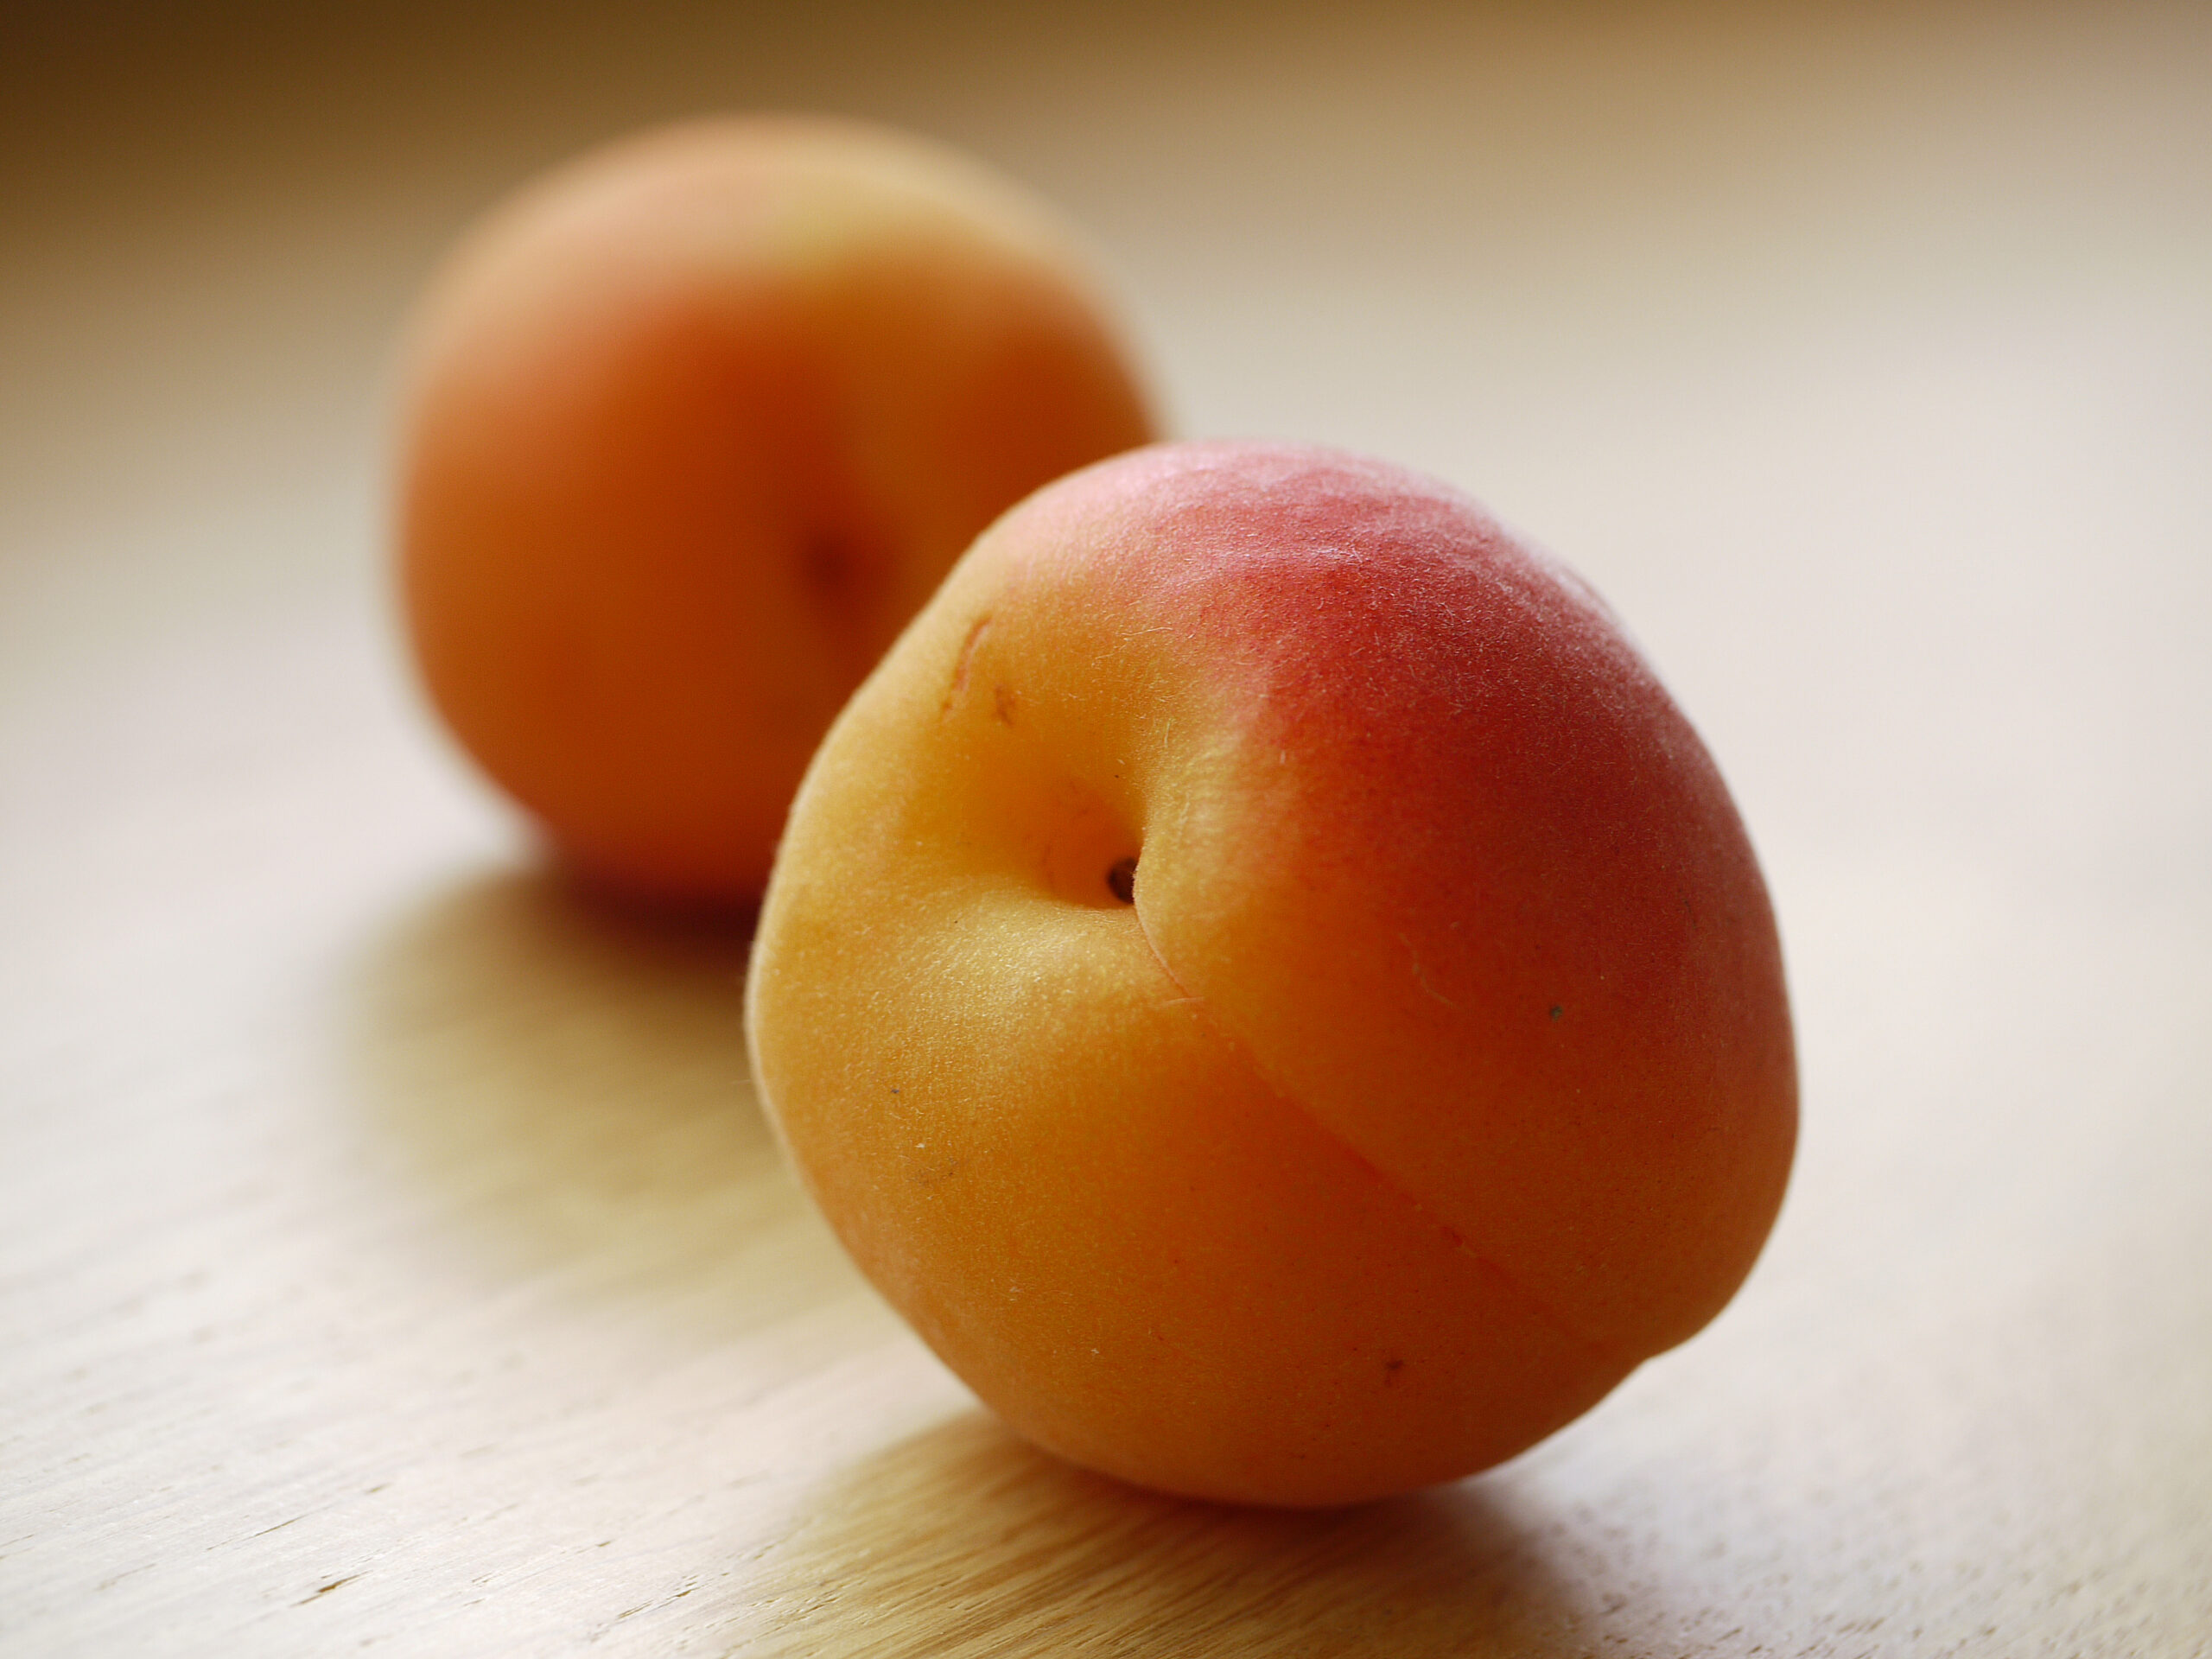
Ready to Serve Apricot Pie


Ready to Serve Apricot Pie

Ready to Serve Apricot Pie

Florence
Course Dessert
Cuisine American

Ingredients
  

  • 1 T lemon juice
  • 4 C apricots sliced
  • 3/4 C light brown sugar packed
  • 1/4 C sugar
  • 2 T quick cooking tapioca
  • 1/2 t salt
  • Freezer pie crust for 2 crusts
  • 2 T butter or margarine
  • Heavy duty aluminum foil

Instructions
 

  • Place the apricots in a large mixing bowl, add the lemon juice and toss lightly. In a separate bowl combine the brown sugar, regular sugar, tapioca and salt, add apricots and toss lightly being sure to cover the apricots with the mixture. Let stand 15 to 20 minutes.
  • Line a 9 inch pie plate with the aluminum foil extending the foil 6 in beyond the plate. Fill the foil with the pie filling. Fold the foil over the top of the filling. Freeze until firm several hours or overnight. Remove from freezer. Wrap in another layer of aluminum foil. Freeze for up to 6 months.
  • To bake remove both the pie crust and the filling from the freezer. Allow the pie crust to come to room temperature. Roll out one crust on a flour surface to make an 11 in circle. Place in the pie plate. Fill crust with the filling. Dot the top of the filling with butter. Roll out the second crust to a 10 in circle. Place on top of pie and crimp the edges together. Cut off any excess crust. Cut slits in the top to vent the steam.
  • Preheat oven to 425 degrees. Bake the pie 45 to 50 minutes or until crust is a golden brown.


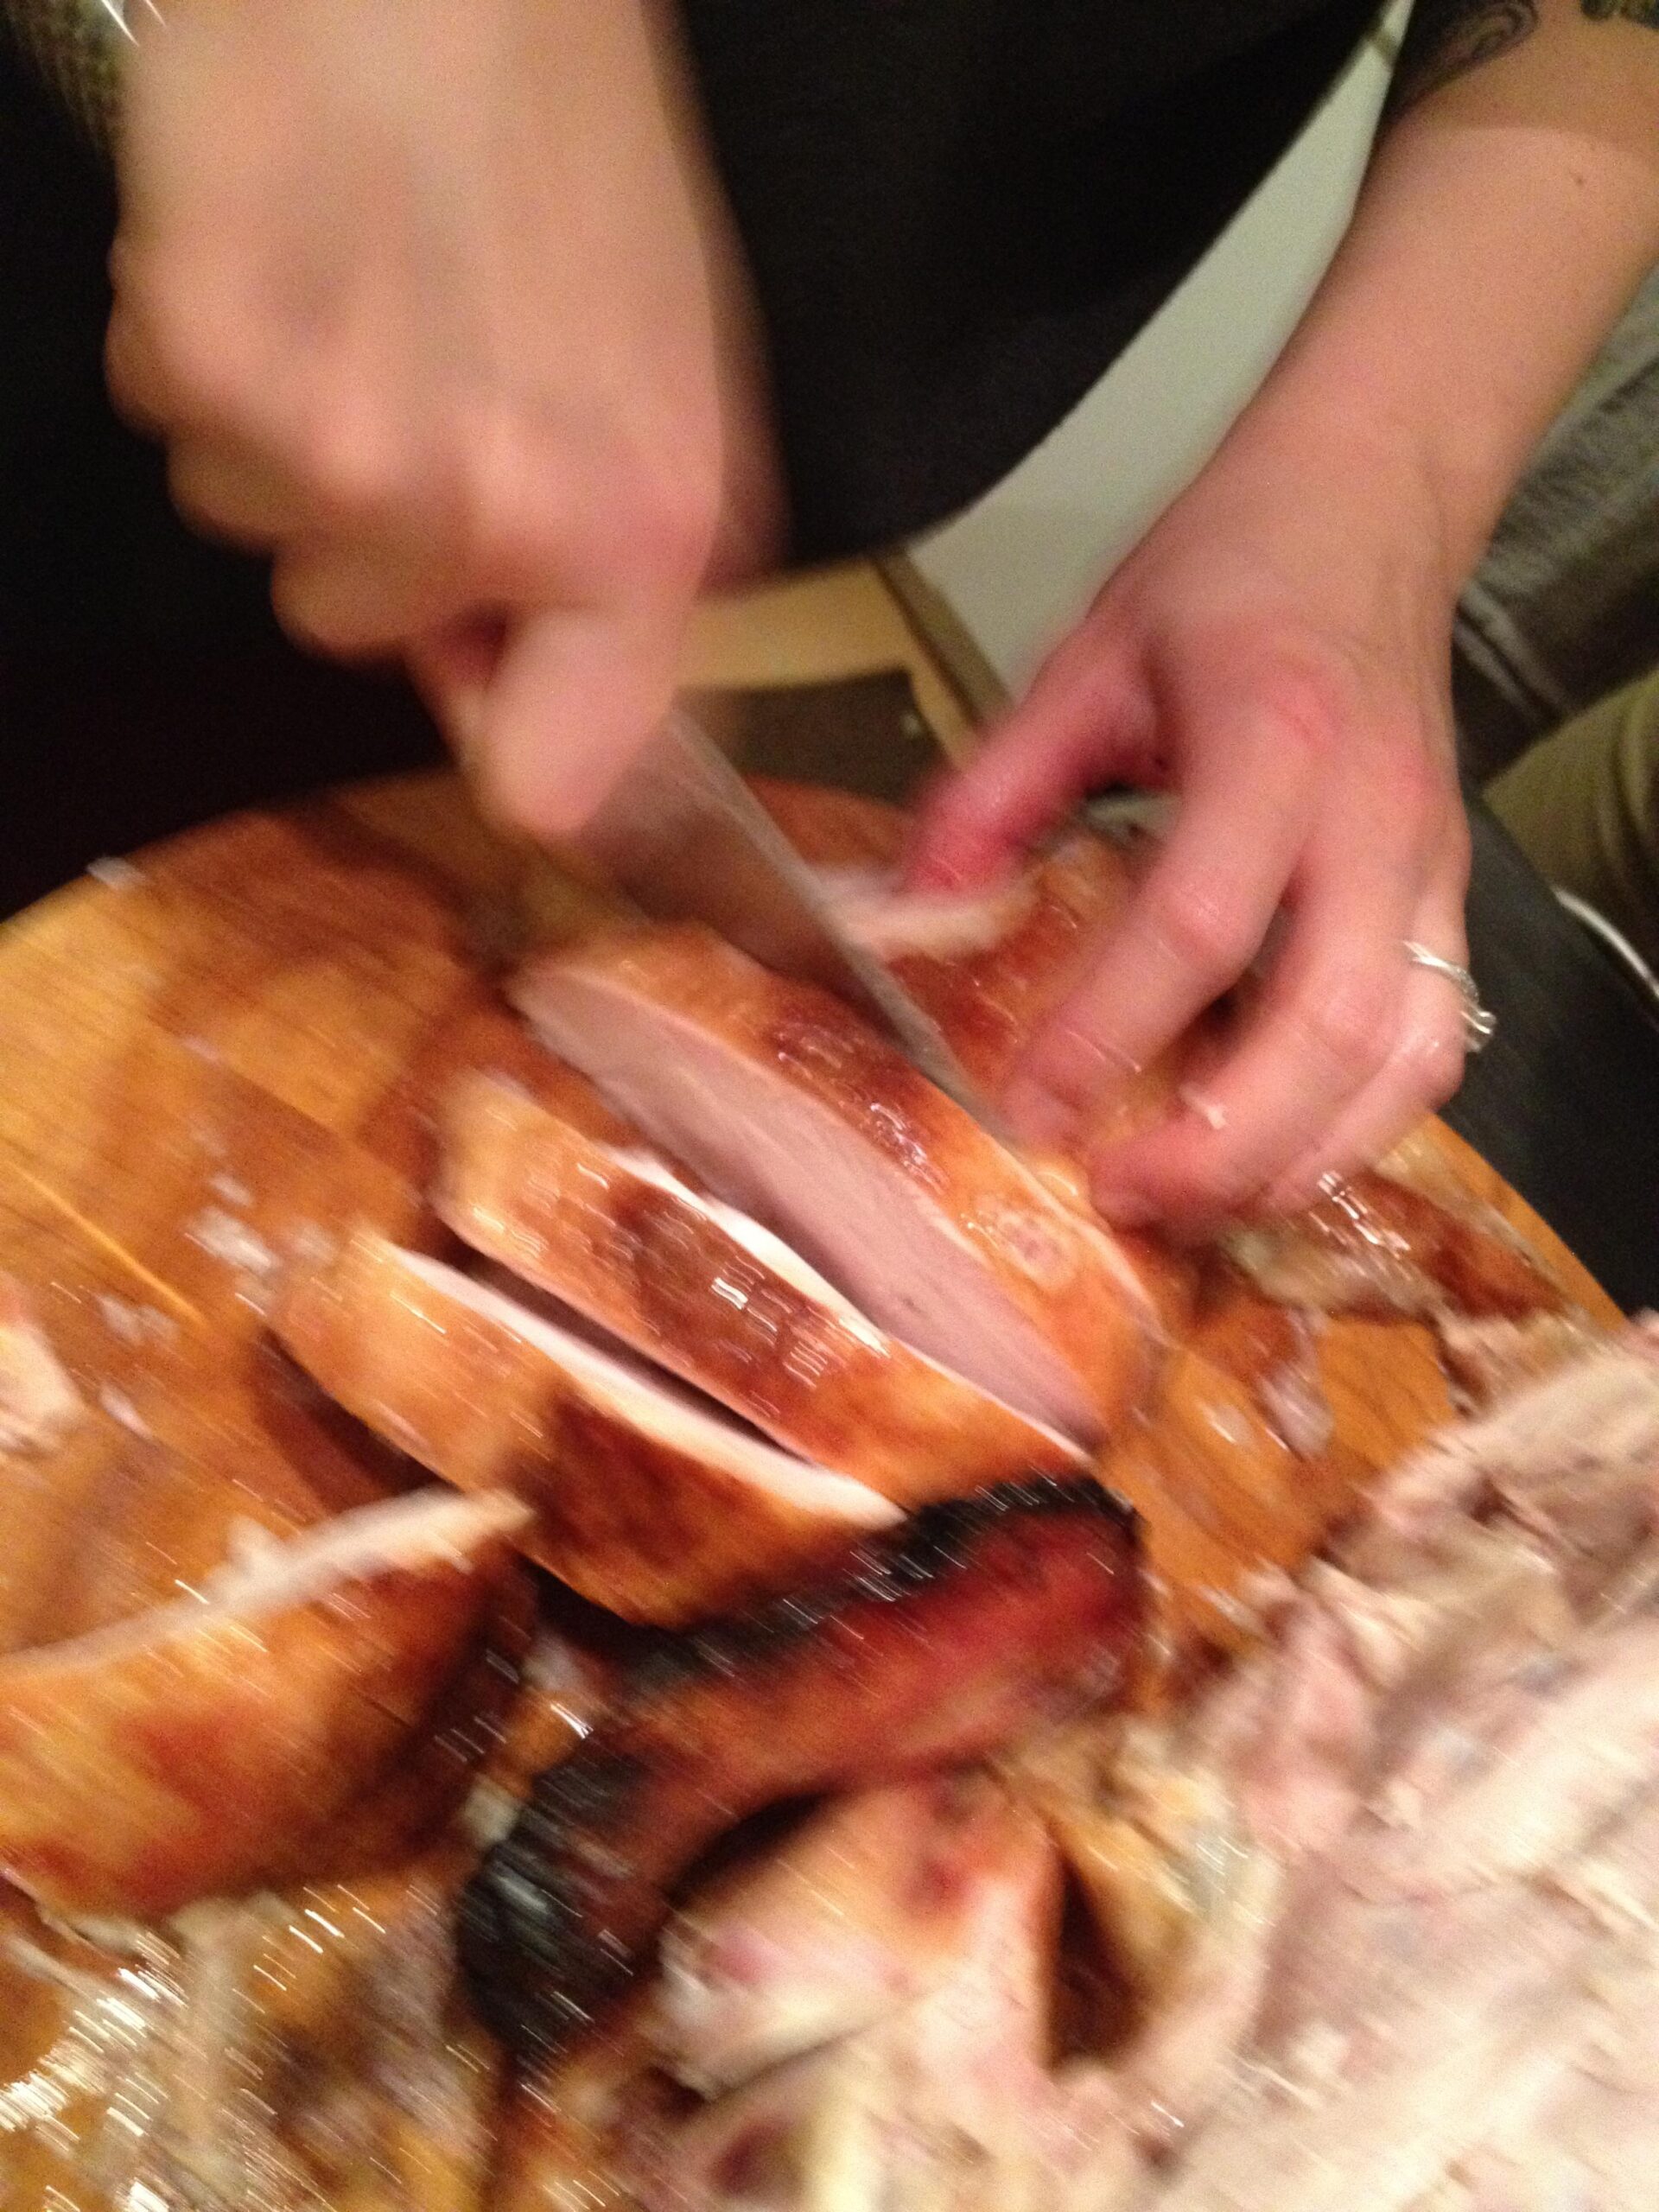
How To Make Simple and Delicious Turkey

Filed under: Meats,Turkey — Tags: , , , , — Chef @ 6:15 am


How To Make Simple and Delicious Turkey

How To Make Simple and Delicious Turkey

Florence
A 12-15 lb turkey will feed approximately 10-12 people. If you like to cook a larger turkey, adjust the ingredients accordingly.
Course Entree
Cuisine American
Servings 10 -12

Ingredients
  

  • 12 lb Turkey will feed something like 10 people
  • A roasting bag
  • 1/2 tsp coarse sea salty
  • 1/2 tsp fresh ground scatter
  • 1/4 cup organic shallots lightly chopped
  • 1/4 cup organic carrots lightly chopped
  • 1/4 cup organic celery lightly chopped
  • 3 greater cloves garlic lightly chopped
  • 2 tsp of honey

Instructions
 

  • Preheat the oven to 325°.
  • In a large bowl mix your chopped shallots, carrots, celery, and garlic.
  • Rub the Turkey inside and out cold with salted and infuse.
  • Tuck the wings under the turkey and place the turkey in the oven roasting bag. Place your vegetable mixture around the turkey and add two teaspoons of honey into the mix.
  • Fold the top of the bag around the turkey, place breast up, into your roasting pan.
  • Bake turkey for 3 to 3 1/2 hours hours.
  • Use a meat thermometer to check the temperature by placing it in the thickest part of the strut (but not stirring the bone). The temperature should be 165° to 170°.
  • After it has reached the desired temperture, carefully remove the turkey from the bag.
  • Raise the oven to 450° and bake the turkey for 30 minutes longer.
  • This will make the turkey a golden brown color.
  • If it's not, leave it on for another 10-15 minutes.
  • Carefully remove the Turkey from the oven and cut and serve.


March 4, 2014

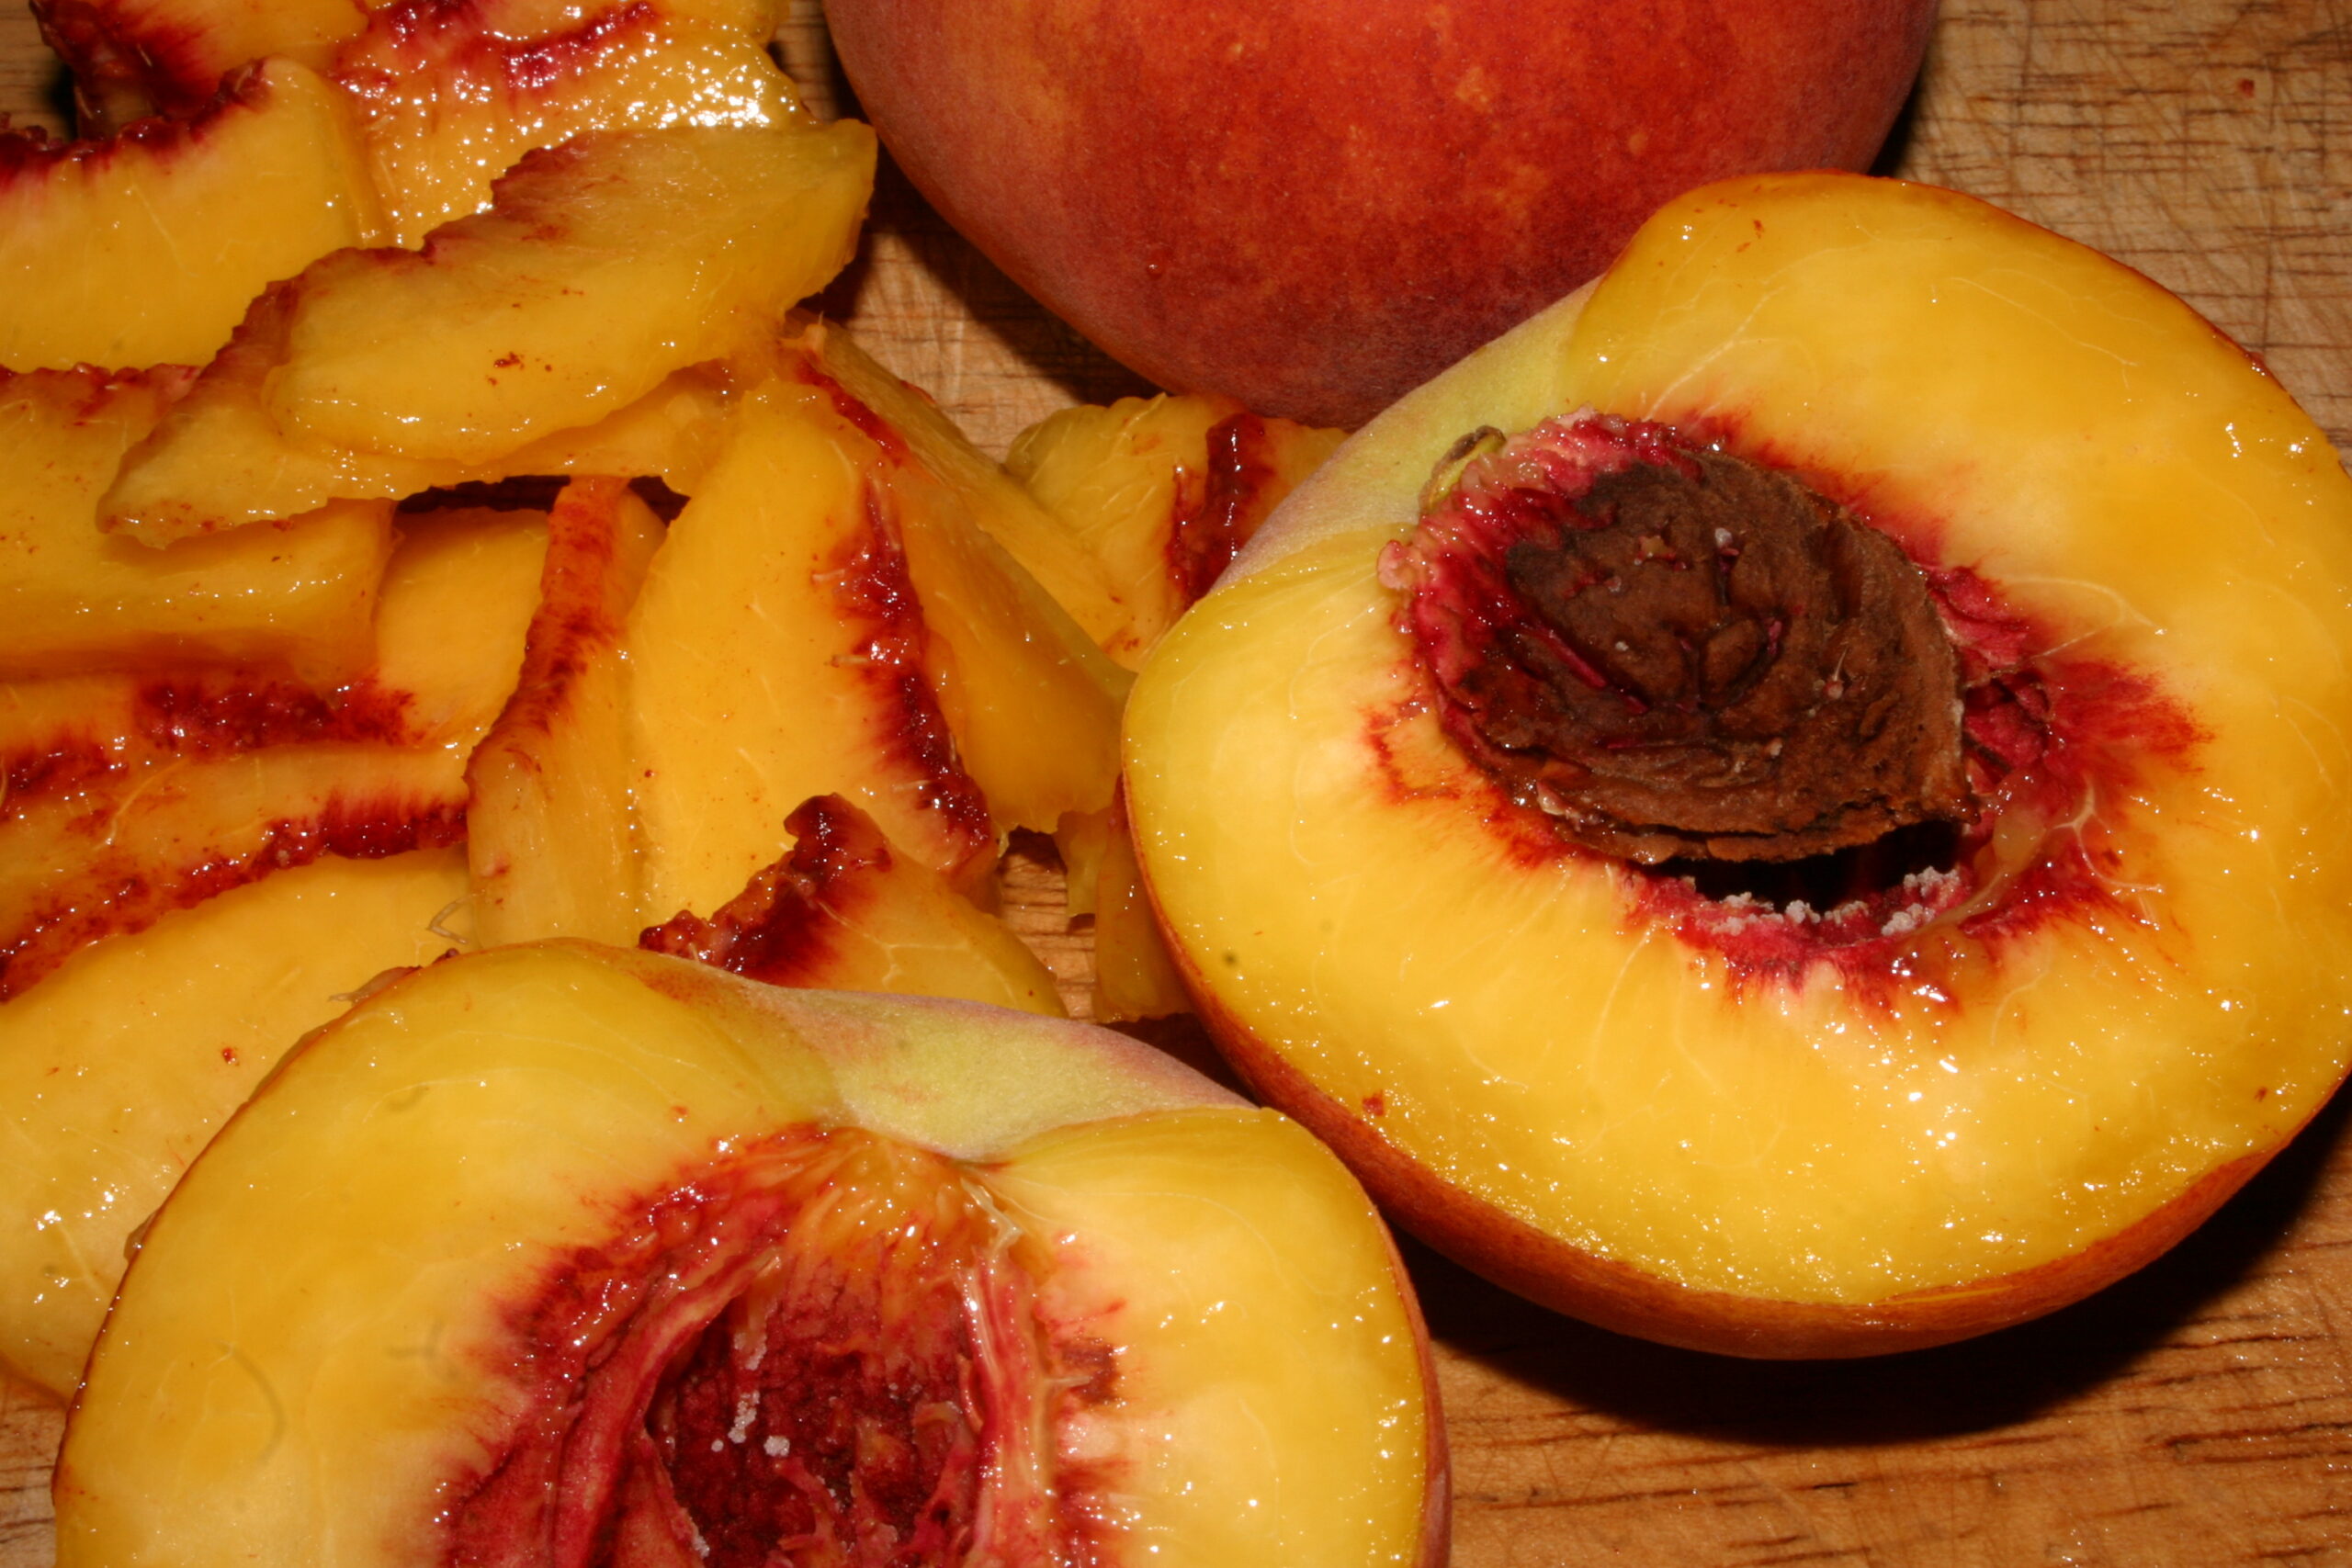
A Little Peachy Freezer Jam


A Little Peachy Freezer Jam

A Little Peachy Freezer Jam

Florence
Course Breakfast
Cuisine American

Ingredients
  

  • 3 lbs peaches
  • 2 Tablespoons ginger
  • 5 Cups sugar
  • 2 packages 1 3/4 oz powdered pectin
  • 1 Cups cold water
  • 4 1 pint freezer containers with lids

Instructions
 

  • Remove the pits from the peaches and peel.
  • Cut peaches up very fine to make approximately 4 Cups.
  • Put peaches in a large mixing bowl.
  • Add ginger and stir together completely.
  • Slowly add the sugar and mix until well combined.
  • Place the cold water in a small saucepan and place over medium heat and add pectin and bring to boil while stirring continuously.
  • When water comes to a rapid boil cook 1 minute, then remove from heat and pour over mixture.
  • Stir until all is combined and continue to stir for approximately 4 minutes.
  • Pour mixture into the 1 pint freezer containers and cover with lids.
  • Leave standing at room temperature for 1 full day (24 hours).
  • Freeze for up to 6 months.
  • When ready to use remove from freezer and allow coming to room temperature about 1 to 2 hours.
  • Freezer jam will stay good in the refrigerator for up to 3 weeks.


March 3, 2014

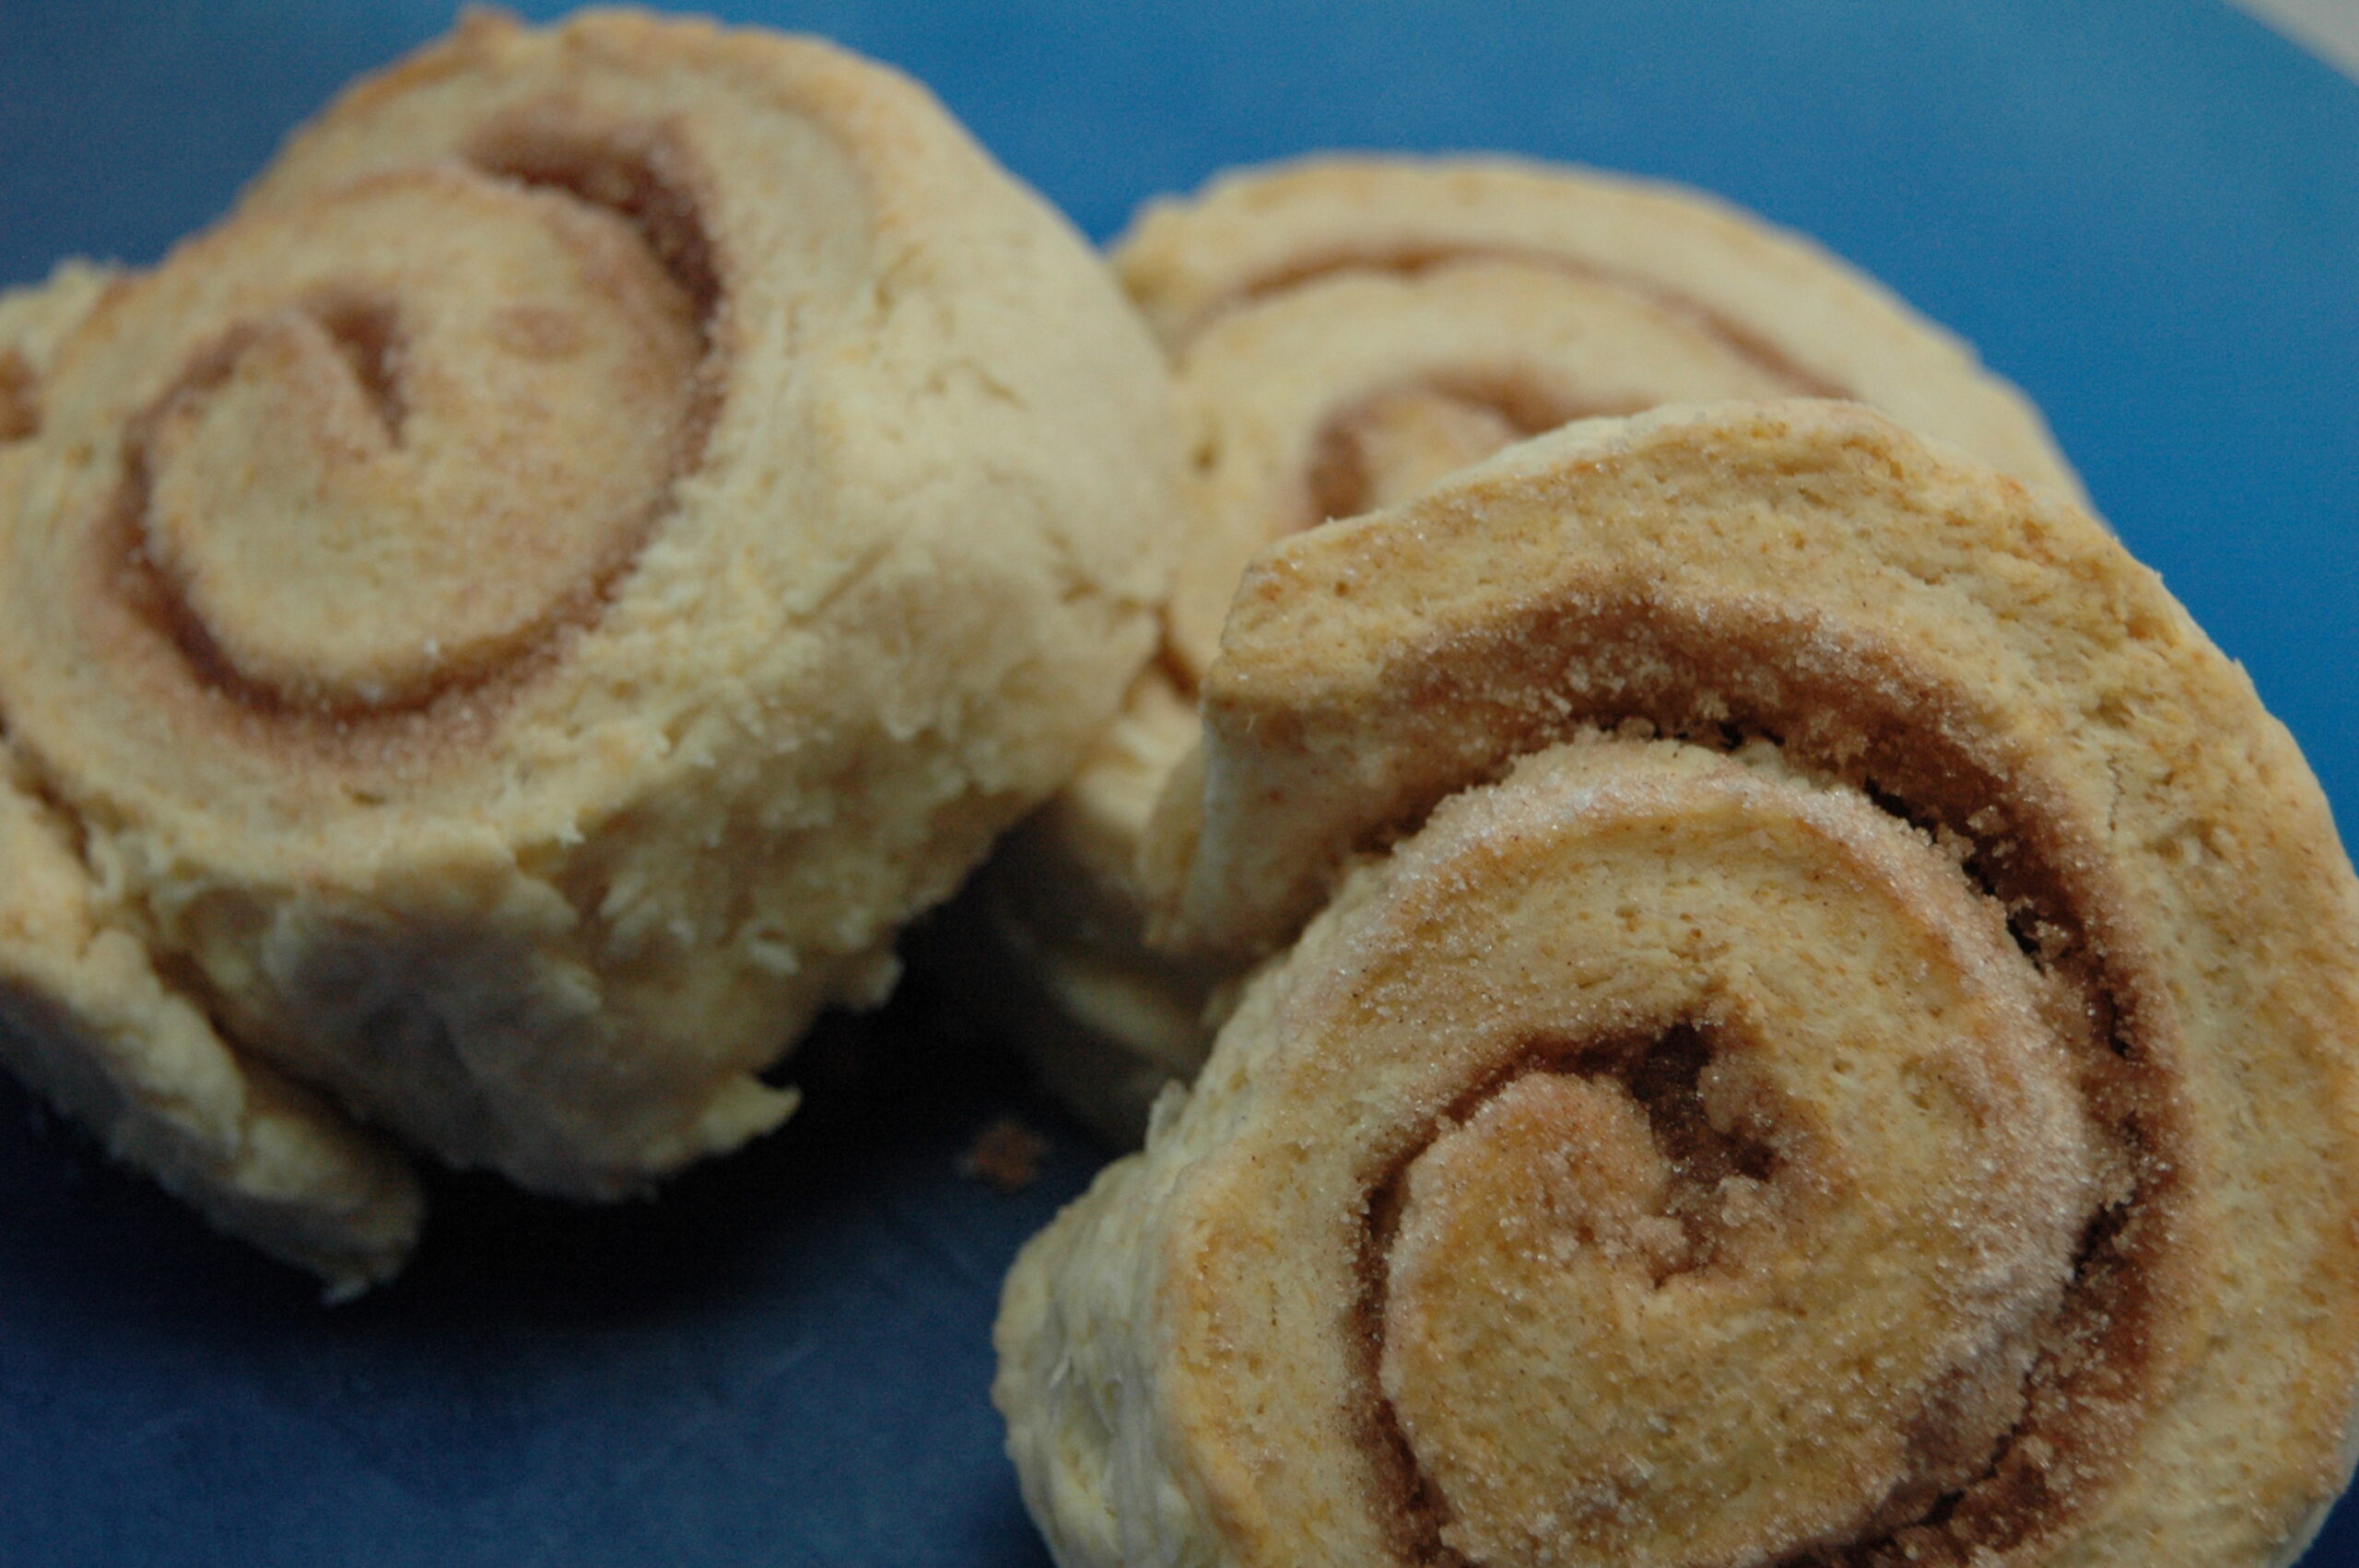
Cinnamon Rolls

Filed under: Breakfast,Staff Favorites — Tags: , , , , , — Chef @ 11:17 am


Cinnamon Buns Photo

Cinnamon Rolls

Florence
Prep Time 10 minutes
Cook Time 15 minutes
Total Time 25 minutes
Course Breakfast
Cuisine American
Servings 6

Ingredients
  

  • 1 Cup Shortening
  • 3 1/2 Cups All-Purpose Flour
  • 5 tsp. Baking Powder
  • 1 1/2 tsp. Salt
  • 1 Cup Milk
  • 1 tsp. Vanilla
  • 4 Tbsp. Melted Butter
  • Cinnamon Sugar:
  • 2/3 Cups Sugar
  • 1 tsp. Cinnamon

Instructions
 

  • Pre-Heat oven to 400°F.
  • Cut Shorting in to Flour with a Pastry Blender until it resembles fine crumbs.
  • Still in enough milk so the dough makes a round ball (do not make dough too sticky).
  • Turn dough onto lightly floured surface.
  • Knead dough for 1 minute.
  • Roll dough out to approximately 13x9.
  • Pour butter on to rolled out dough and spread butter out evenly.
  • Sprinkle on Cinnamon Sugar.
  • Roll Dough and Slice off 1 1/2 Pinwheels.
  • Place on greased cookie sheet.
  • Cook for 13 to 15 minutes.


March 2, 2014

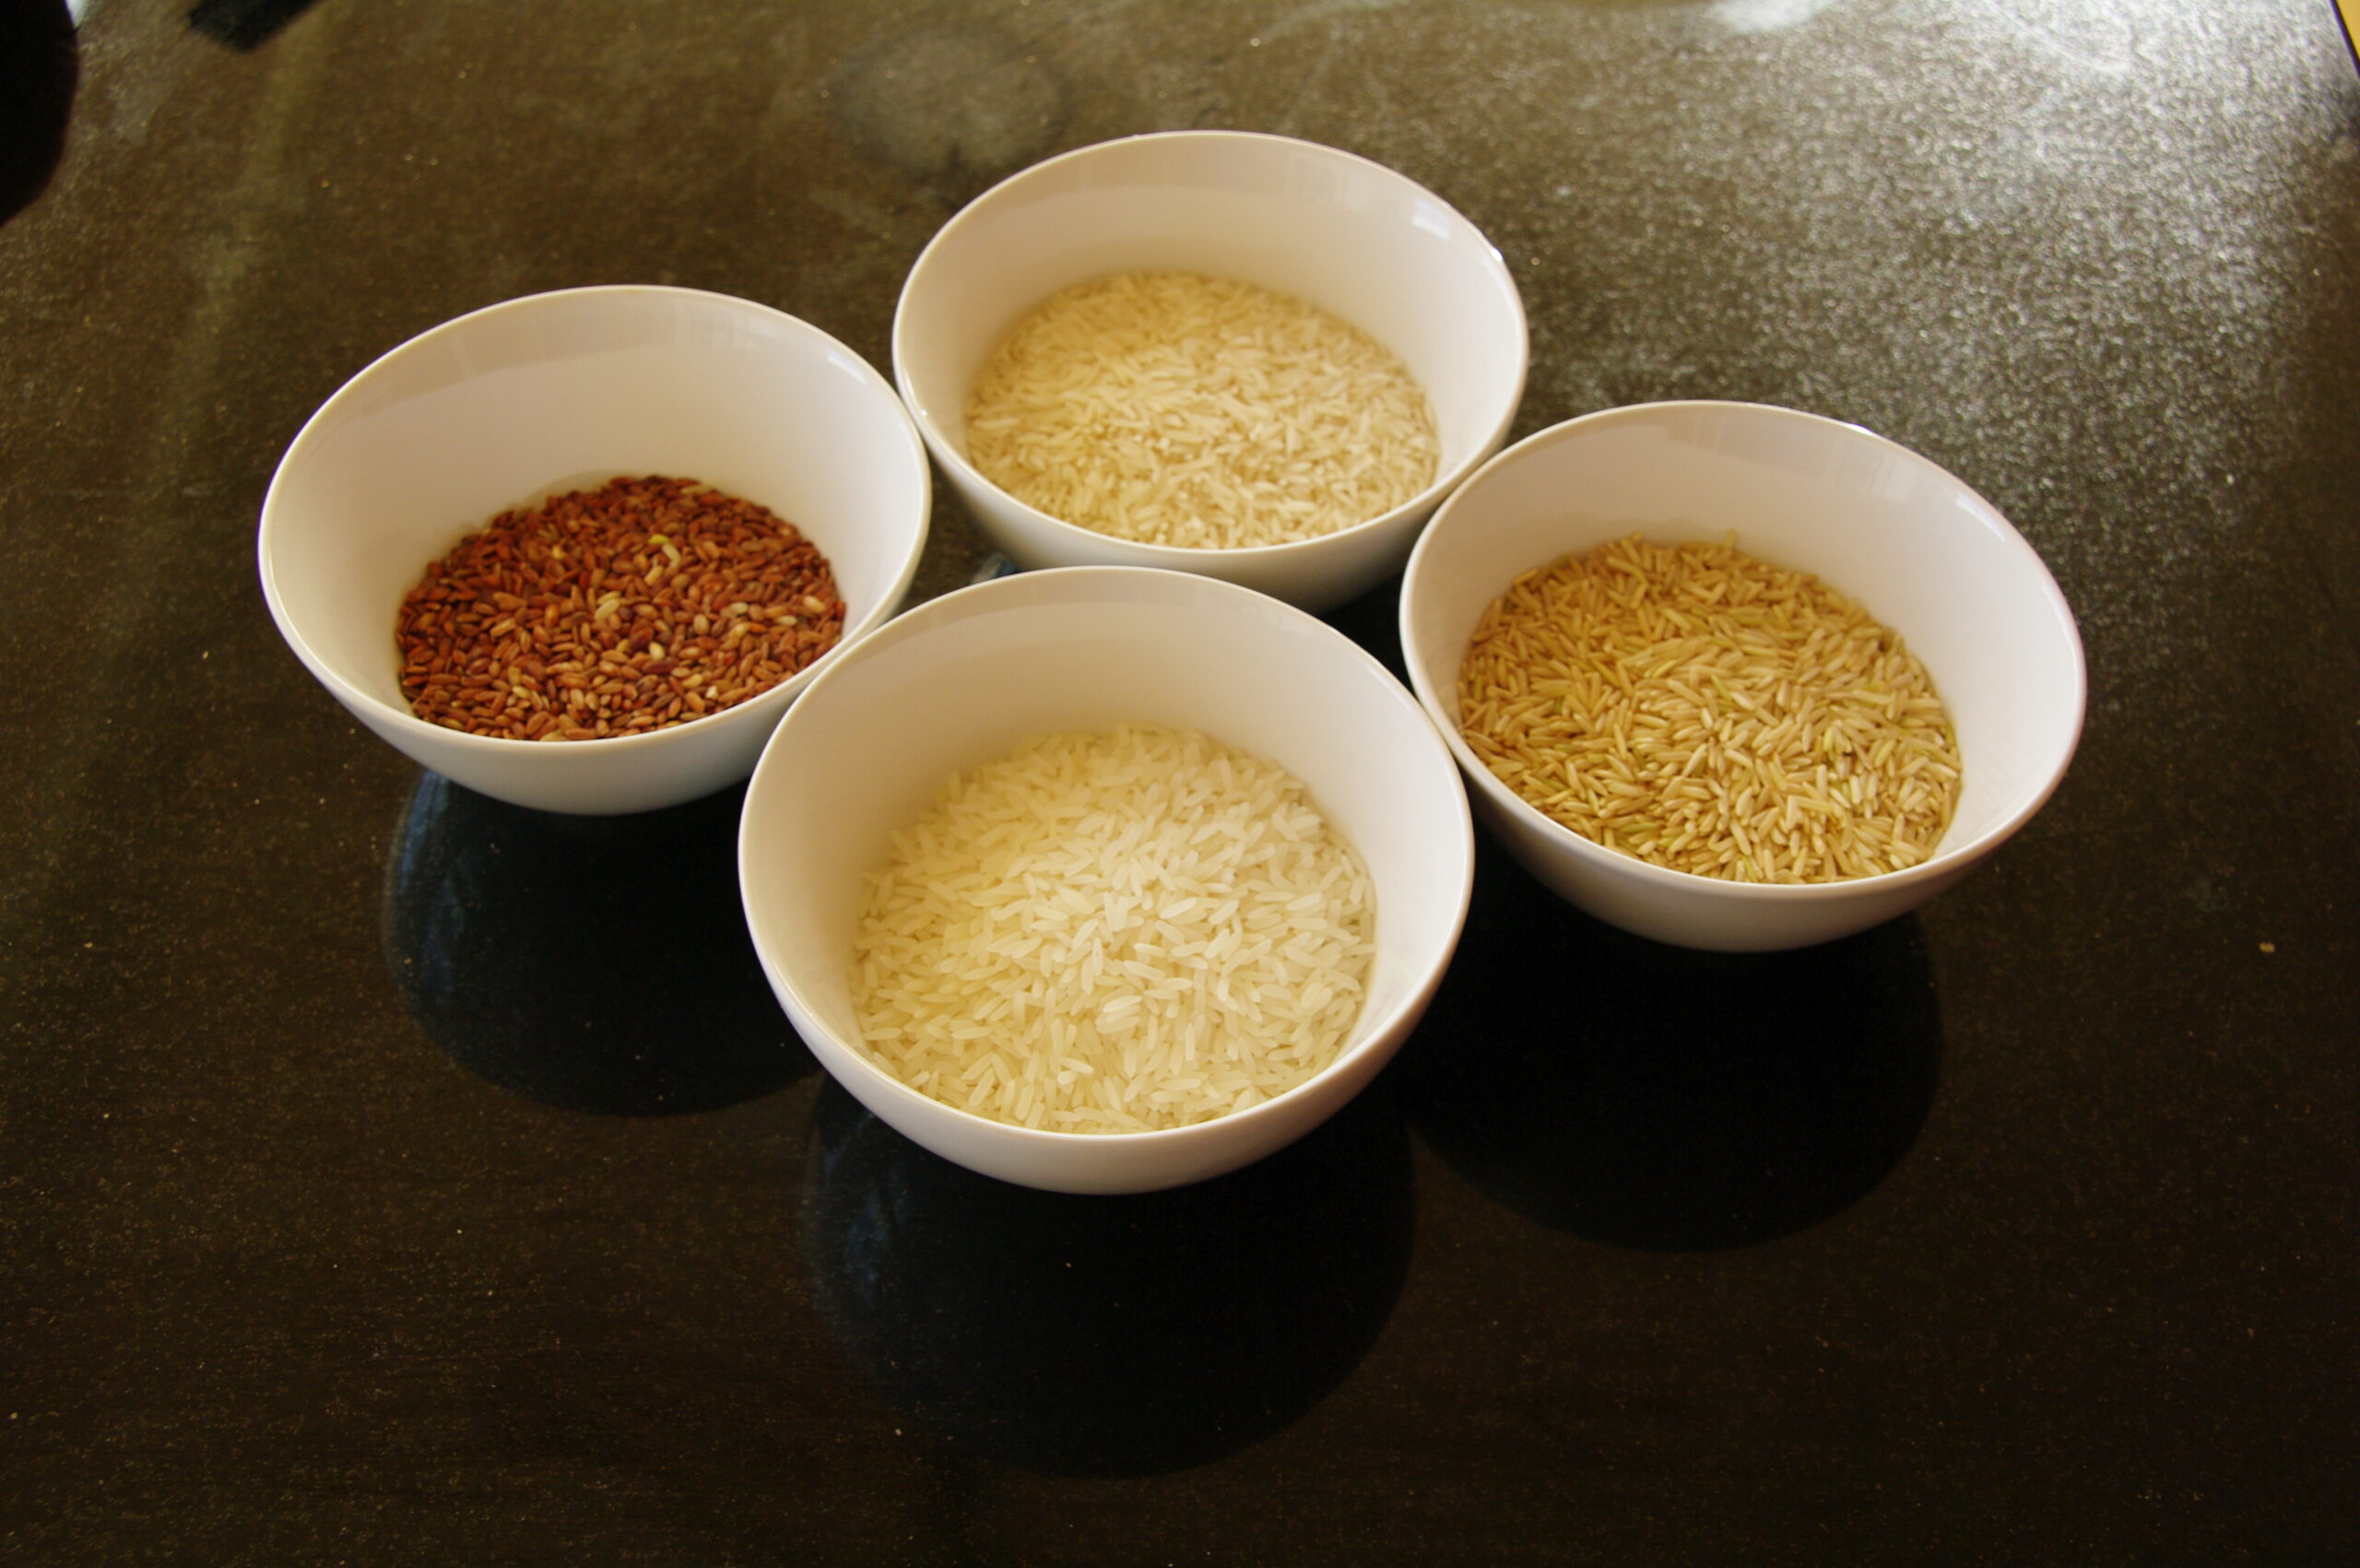
Choose Rice For Your Gluten Free Diet Needs


In the last decade, we have become increasing aware of a condition called ‘gluten sensitivity.’ An organization called the National Foundation for Celiac Awareness (NFCA) has helped in spreading the word to the general public. Many consumers were unaware of this condition until they themselves, or someone they love, went through the arduous process of diagnosis.
Now, many consumers have found that a gluten-free diet is either essential to their health, or at least beneficial. According to the NFCA an estimated 3 million Americans have celiac disease, but this number is very likely much higher since a true diagnosis is still rare. Even without a diagnosis of celiac disease, it is estimated that over 20 million people are gluten sensitive to some degree.
But, let’s back up a little and start with a basic question; exactly what is gluten?
Gluten is the protein that forms the ‘glue’ which holds together foods such as bread, pasta, cakes, and cookies, and is most often found in wheat, barley, and rye. However, gluten is also found in surprising places such as salad dressings, mayonnaise, soy sauce, and some candies. Think about any foods which need to be emulsified, or held together, and you quite likely could find gluten. As you can see, for those who are sensitive or allergic to gluten, there are many foods to avoid.
Here is where we find hope. Yes, there is a grain that is gluten-free and the least allergic of all grains. It is a grain that is easy to cook, versatile enough to use in many recipes, is high in dietary fiber, nutrient dense, fat free, and packed with delicious goodness. That grain is rice.
Brown rice and enriched white rice can be an essential food in every pantry – even, and especially, for those with gluten sensitivity. Instead of feeling denied, people who need to avoid gluten can feast on a variety of dishes, both savory and sweet, made with rice and rice products. However, do be aware that when you buy rice products, check the label. If the product doesn’t say ‘gluten-free’ then the manufacturer has added ingredients for binding or flavoring that may contain gluten.
With that said, buying plain brown or white rice is always a good choice. There is no need to buy prepackaged rice dishes when it’s so easy to cook up a batch of rice and store it in the refrigerator or freezer for a quick gluten-free meal. Now you can grab cooked rice cold out of the refrigerator and toss it together with a mixture of vegetables for a fresh salad. Or stuff some green or red bell peppers with a rice mixture and enjoy a hot meal. You can even create a sweet and creamy rice pudding with fruit and berries for a late night snack or dessert.
Gluten-free living doesn’t mean you have to sacrifice that oh-so-yummy-full-tummy feeling when a meal truly satisfies. That lovely feeling of satisfaction comes from the complex carbs that whole grains provide. Thankfully for those sensitive to gluten, and for all of us, rice provides those ‘good carbs’ that we need, all bundled into a delicious, nutritious, gluten-free superfood!
Whether you have been diagnosed with celiac disease or you suspect you are gluten sensitive, try adding gluten-free rice to your diet. You’ll not only enjoy a new, wide range of rice dishes, but all the nutritious goodness that goes along with them!

March 1, 2014

How to Make Leftovers Disappear

Filed under: Chicken,Helpful Tips — Tags: , , , , , — Chef @ 8:00 am

What do you do when a meal is finished? Most of us wash the dishes and wrap up the leftovers, but what happens to the leftover portions not eaten? Do they get consumed later or do they sit in the refrigerator until they start to smell and you finally throw them out? If you tend to do the latter, how about saving some time and money by learning how to use those leftovers in new ways to surprise your family at dinner time.

 Some people like leftovers and some do not. Still then, many will eat them one day out, but quickly get tired of eating the same thing over and over. Here’s a way to fix the problem if you or someone in your family is the same way. Let’s start with an example.

You prepare a Chicken and rice for dinner one night. The family wants something else for dinner the following night so the  Chicken pushed to the back of the refrigerator. Normally, that’s where it will stay until you clean out the fridge, right? Not anymore. Let’s do something to keep that Chicken from going to waste.

Eating leftovers the way they were originally served, is probably what’s turning family members off from wanting it again the next night. Your family doesn’t have to eat the Chicken as is. So, chop that Chicken up into bite size pieces.

Now you’re probably thinking, OK that’s great, but what do I do with it now? In a large skillet or wok, stir fry the leftover rice with a bag of frozen veggies, an egg, and some of the chopped Chicken to make Chicken fried rice. Add a little soy sauce and you’ve got a whole new dinner for your hungry family.


This is just one way that leftovers can be turned into a new dish with a new flavor. The same can also be done using chicken, seafood, or beef. Let’s take a look at beef.


If you have hamburgers left from dinner, chop them up until they resemble ground beef again. The meat can be combined with chili powder and taco sauce to make beef tacos. Or, add some beans, chopped peppers and tomatoes, and sauce to create a pot of chili. If you have the imagination, there are an unlimited number of possibilities of what you can do with meats and side dishes from a previous night’s dinner.


Using a little leftover magic can make one meal last for two, three, or even four more days. But, you don’t have to eat it all in the same week. Fix a new meal with the leftovers and freeze it until you are ready to have that particular meat again. On that day, dinner will already be made, all you’ll need to do is heat it up. Yes, it really can be just that simple.


Your family will be amazed at your ability to transform any meal into a new creation they will enjoy. Besides that, you will save money on your grocery bill and won’t be throwing it away in the trash can as spoiled leftovers. Try these and similar ideas to expand your family’s palate. 

February 27, 2014

All in One Breakfast Rollups


All in One Breakfast Rollups

All in One Breakfast Rollups

Florence
Course Breakfast
Cuisine American

Ingredients
  

  • 1 T olive oil
  • 1 Ham steak cut into bite size pieces
  • 2 C frozen southern style hash browns thawed
  • 8 eggs
  • 1/2 C salsa
  • 1 pkg 6 in size tortillas
  • 1 C shredded Mexican style cheese
  • Wax paper
  • Freezer bags

Instructions
 

  • Place the olive oil in a large skillet over medium high heat.
  • When hot add the ham and hash browns.
  • Cook until they are both beginning to brown.
  • Place the salsa in a large mixing bowl.
  • Add the eggs and stir until mixed together.
  • Pour the salsa mixture in with the ham mixture.
  • Leave heat on medium high and cook until the eggs have set.
  • Place a tortilla flat.
  • Place about 4 T of the ham mixture down the center of the tortilla.
  • Roll the tortilla up completely.
  • Continue until all the tortillas are used.
  • Wrap each roll-up in wax paper.
  • Place in a freezer bag and freeze for up to 2 months.
  • When ready to eat remove from the freezer and unwrap.
  • Place each roll-up on a microwave safe plate and cover with paper towel.
  • Microwave 2 minutes on high or until the burrito is as heated as you like.


February 26, 2014

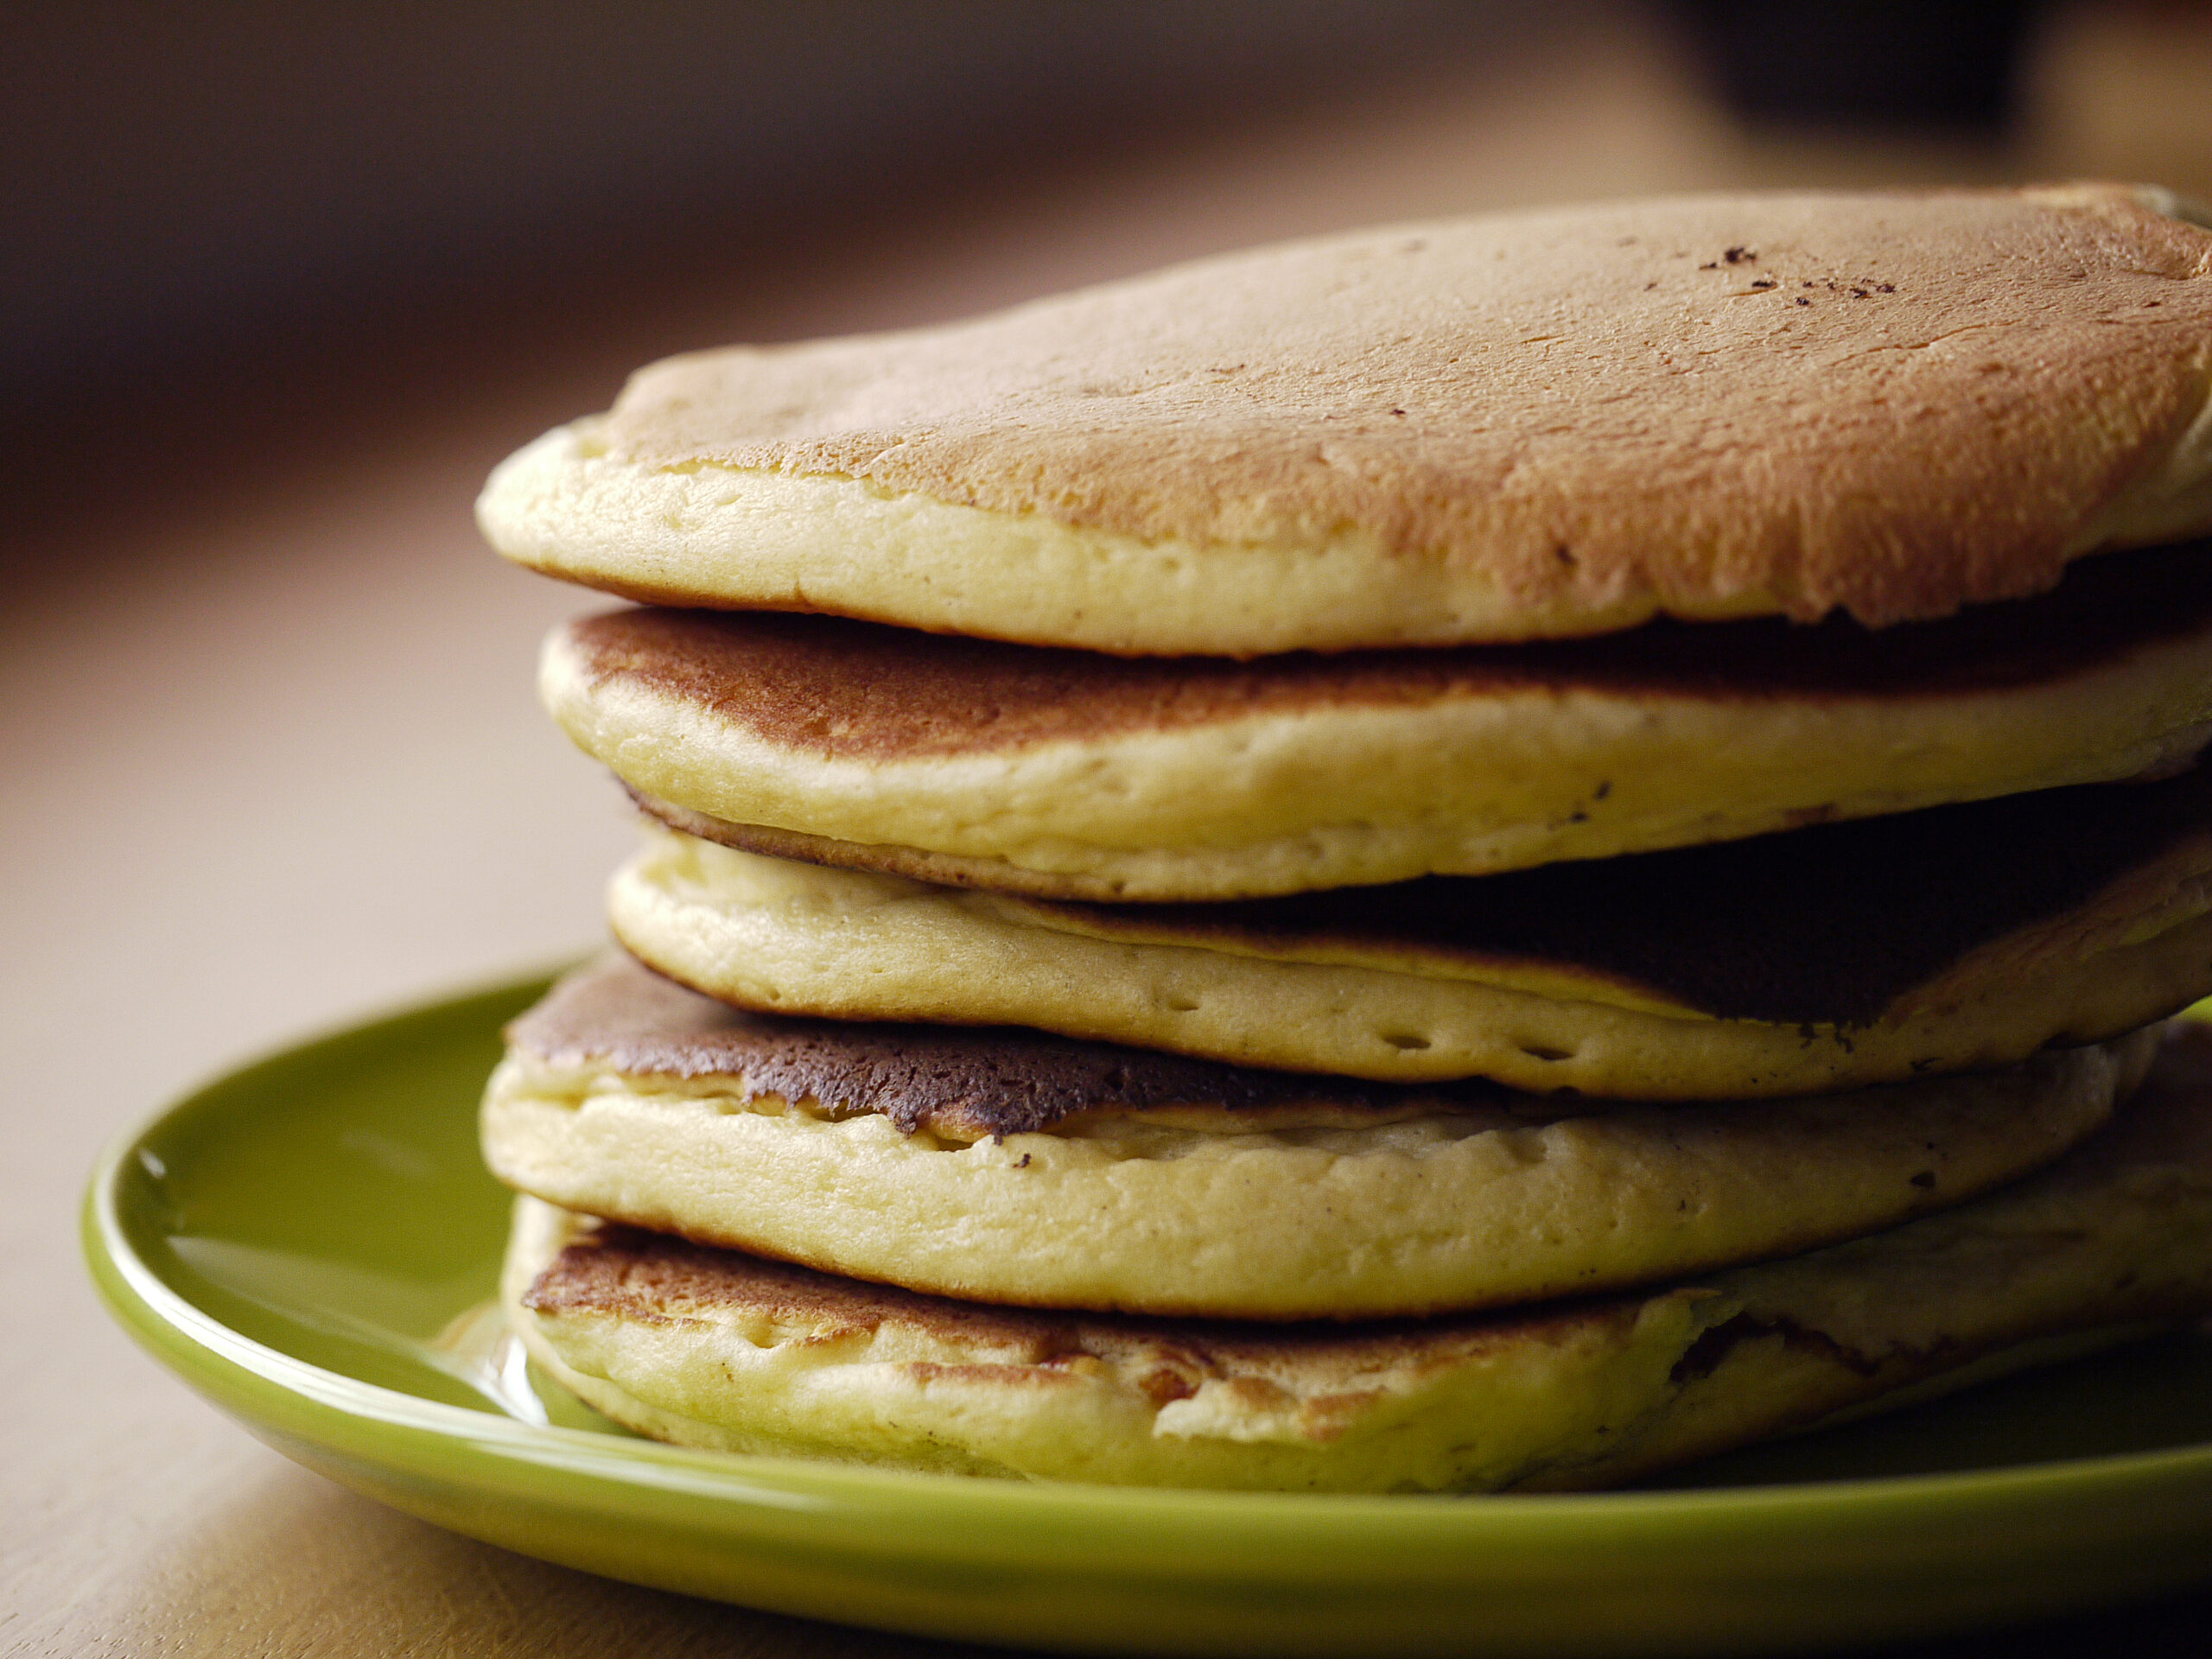
Pancakes On The Go


Pancakes On The Go

Pancakes On The Go

Florence
Course Breakfast
Cuisine American

Ingredients
  

  • 2 1/2 C milk
  • 2 eggs
  • 1/3 C canola oil
  • 1 T of vanilla
  • 1/4 t salt
  • 1/2 C sugar
  • 1/2 C Wheat flour
  • 4 t baking powder
  • Enough flour to thicken batter to your liking.

Instructions
 

  • Place the wet ingredients in large mixing bowl and mix well. Add the salt and sugar and beat until smooth. Add flour and baking powder and beat again until smooth. Add enough all purpose flour to thicken to your liking.
  • Heat a pan or griddle over medium heat,
  • Griddle is hot enough when a drop of water dances on the griddle.
  • Pour about 1/2 C batter onto hot griddle.
  • Cook until pancake begins to bubble and edges begin to dry.
  • Flip and cook about 2 minutes or until both sides are lightly brown.
  • Continue cooking until all the batter is used.
  • Cool pancakes completely.
  • Place a piece of wax paper on a flat surface.
  • Place a pancake onto the wax paper.
  • Place another piece of wax paper on top of the pancake.
  • Then another pancake and continue until all the pancakes are used alternating with wax paper and pancakes.
  • Place into a freezer bag and freeze up to 6 months.
  • To reheat, just drop into the toaster.
  • Toast 2 cycles if necessary.


« Newer PostsOlder Posts »

Powered by WordPress