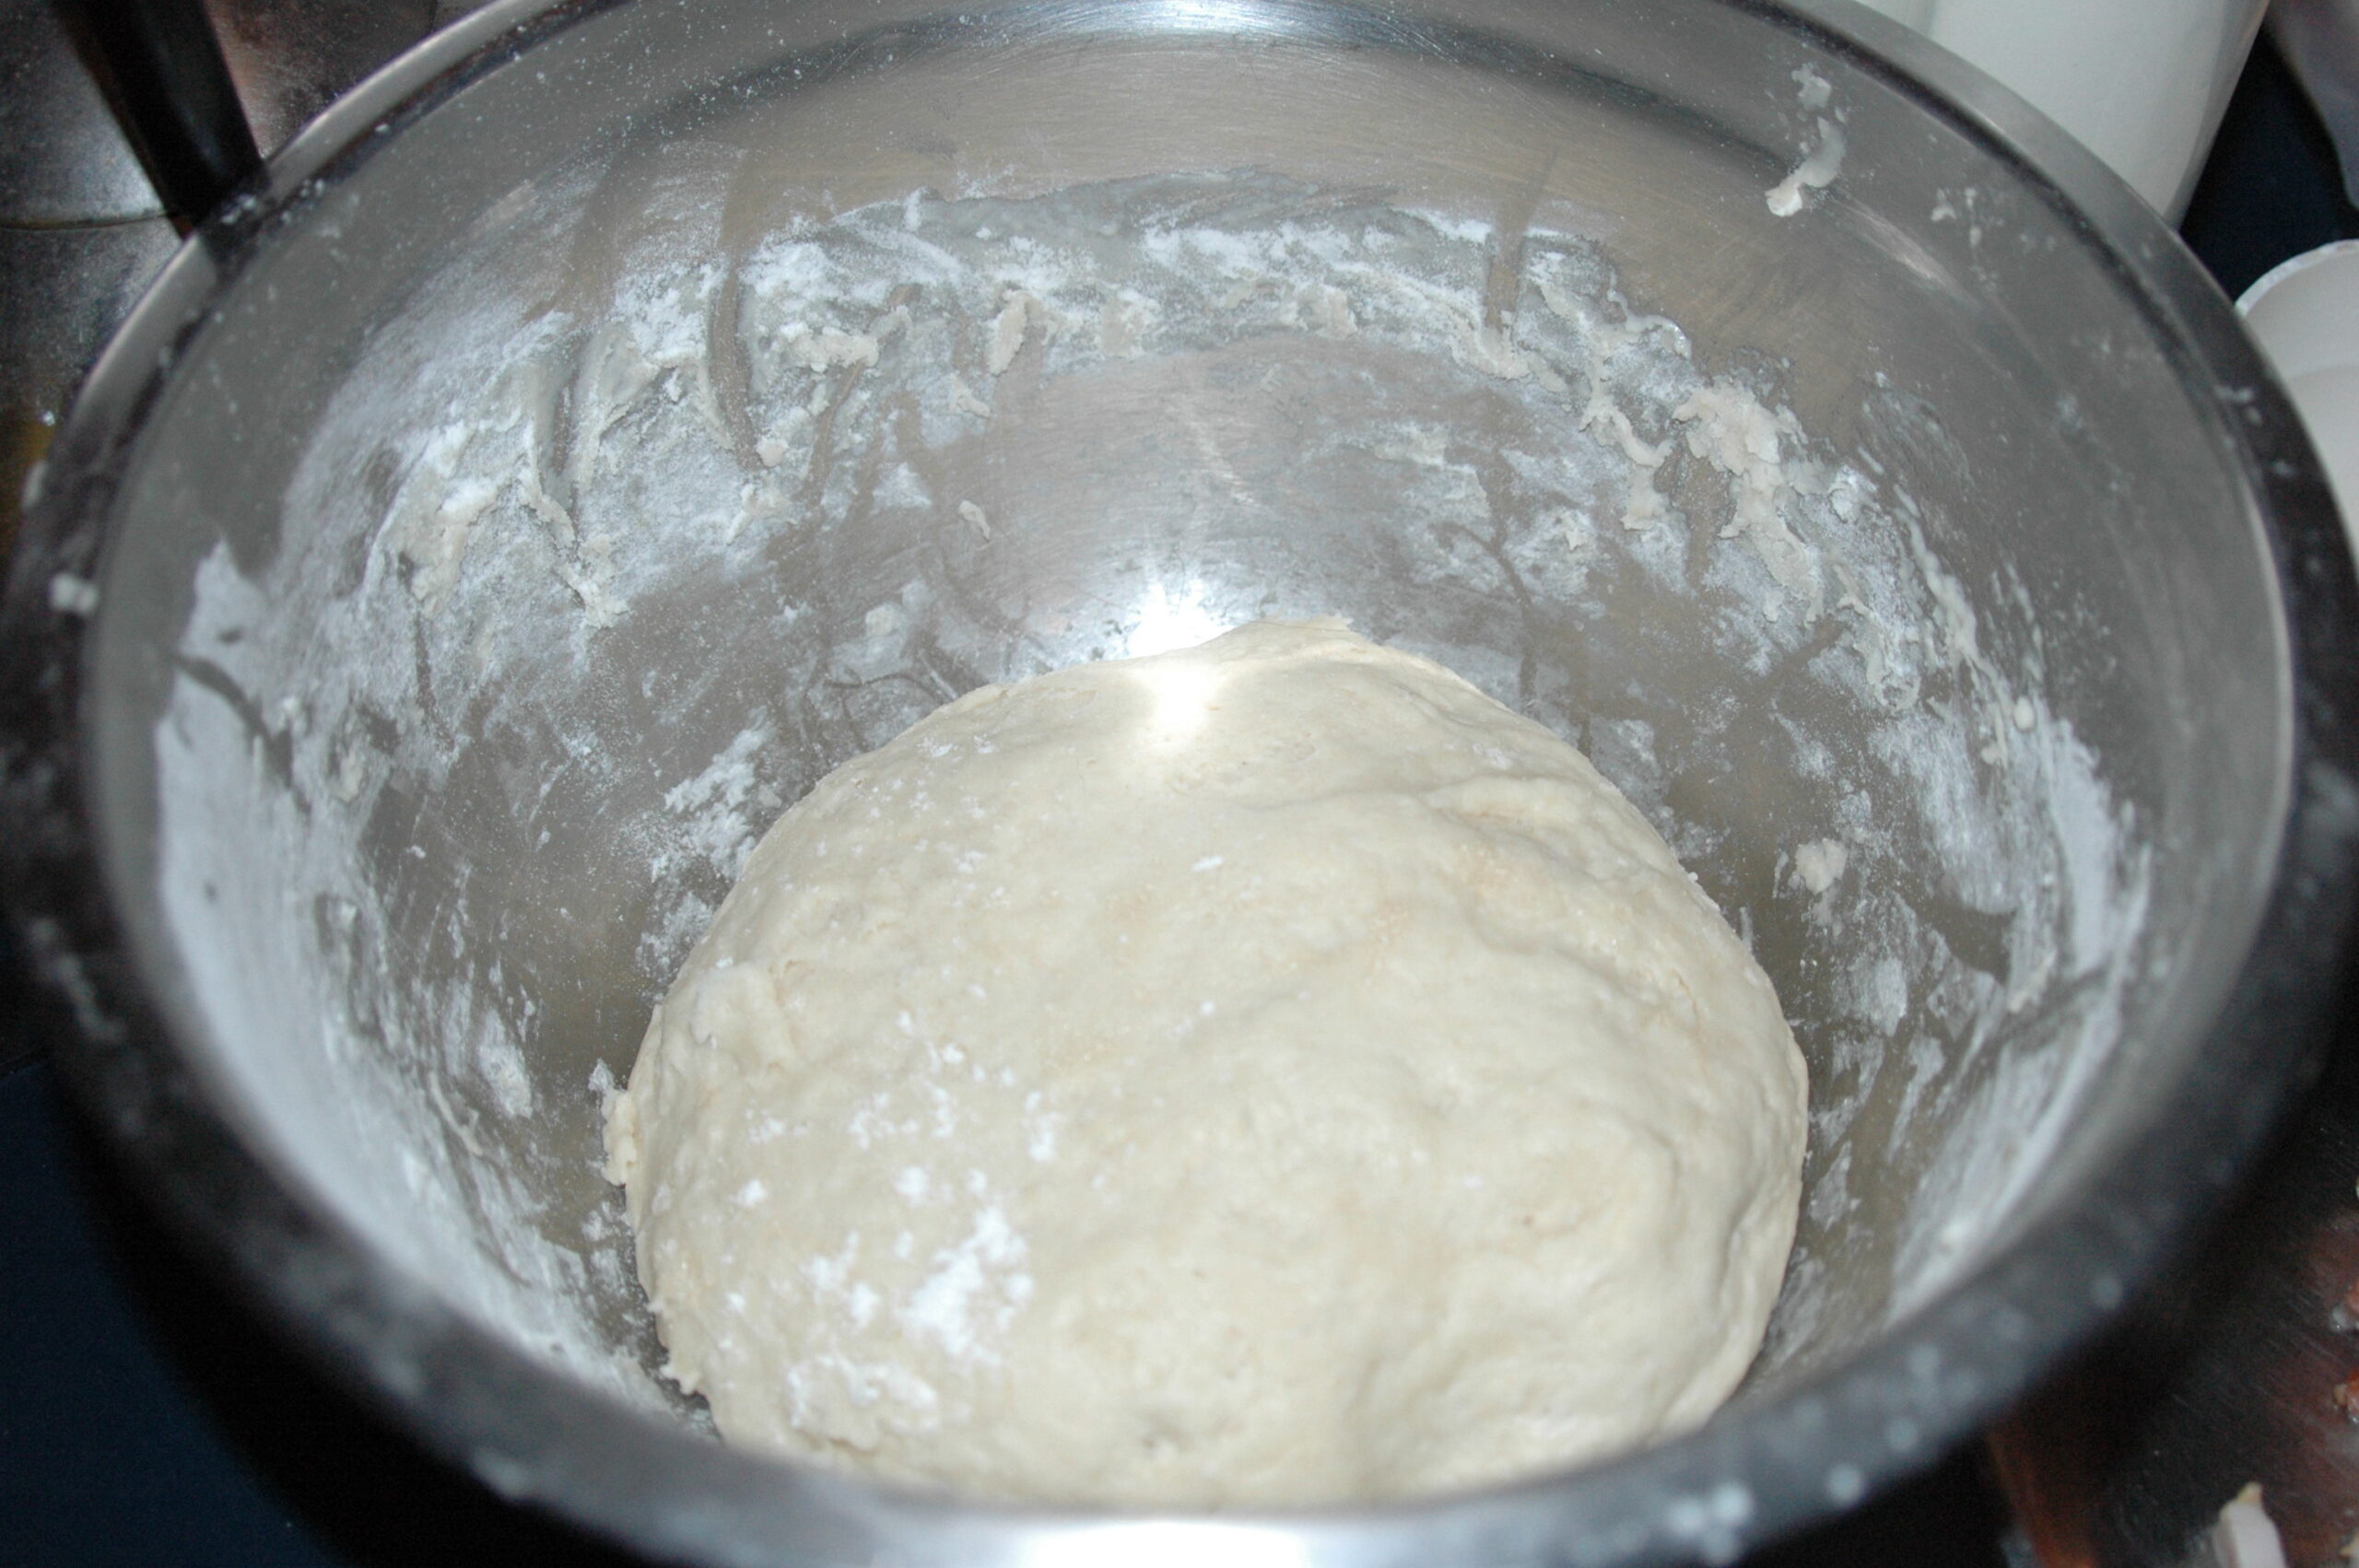
Daily Cooking Recipes Let Me Make Cooking Easy

March 14, 2014

Pizza Pie

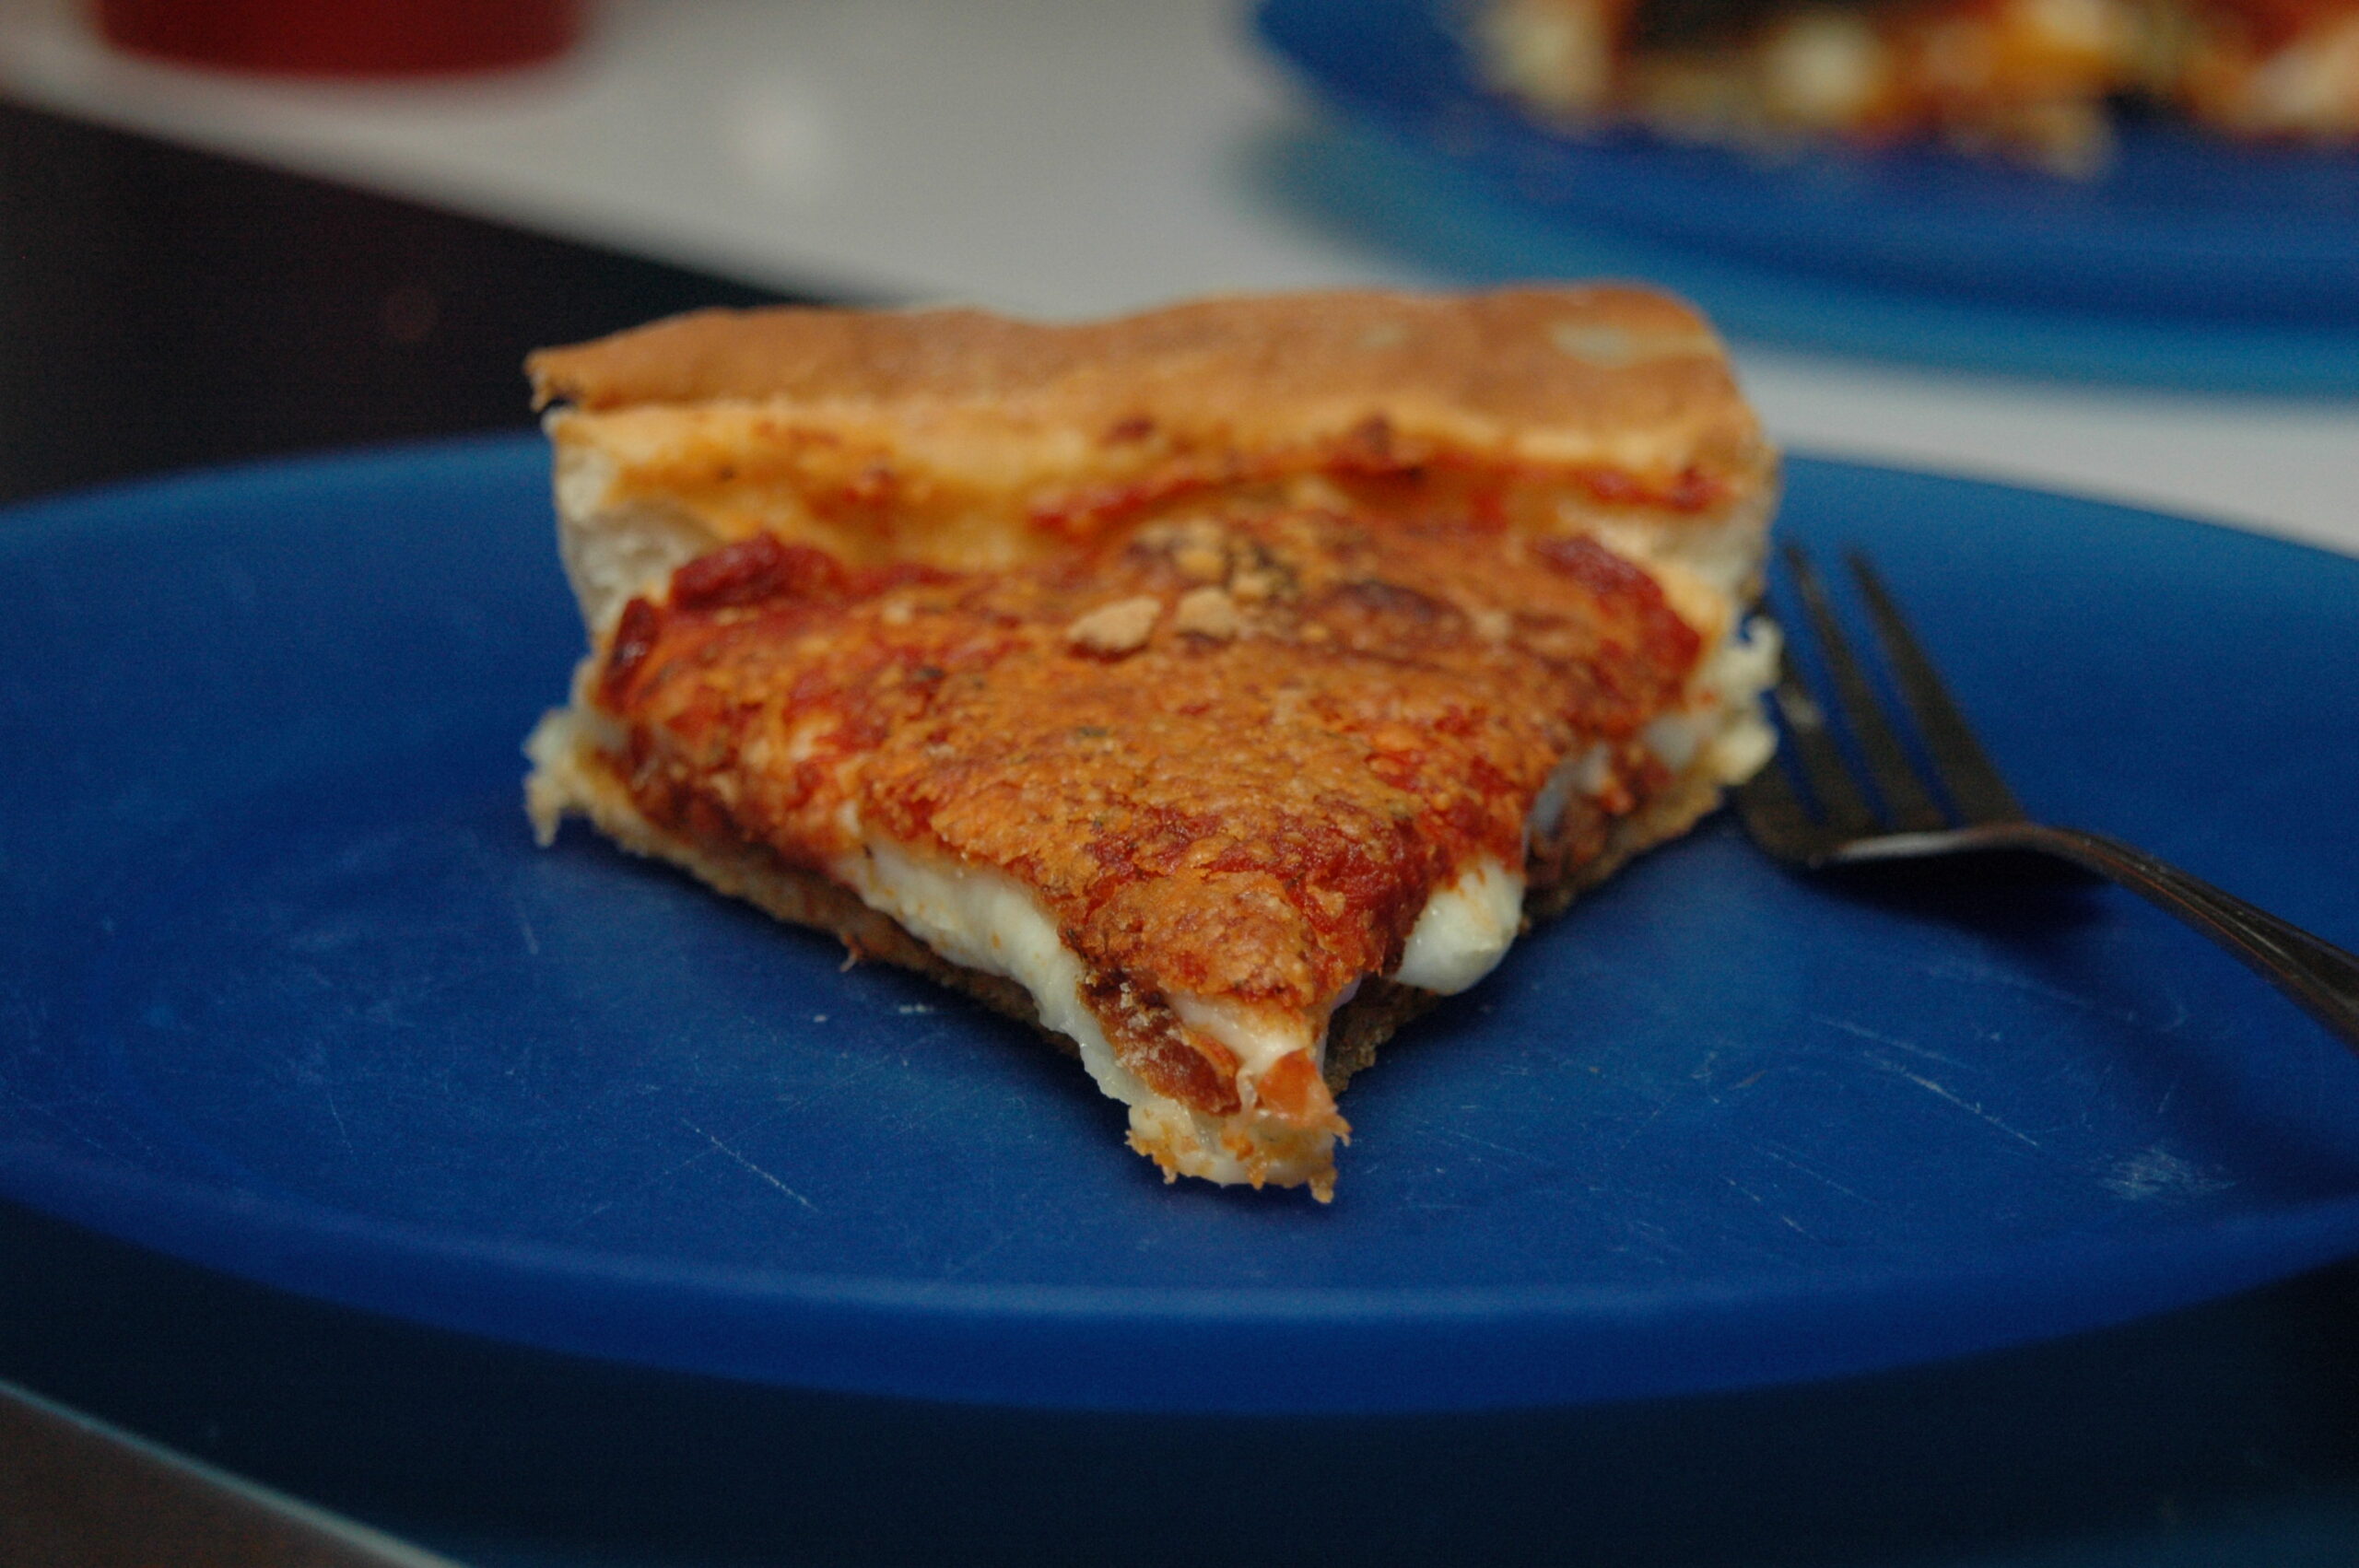
This is one of my husbands favorite dinners.  I have put the recipe together in the regular form and if you go below the recipe you will find a step by step picture walk through.  I hope you enjoy this recipe as much as my family and I do.


Pizza Pie Photo

Pizza Pie

Florence
Prep Time 30 minutes
Cook Time 30 minutes
Total Time 1 hour
Course Main
Cuisine Italian
Servings 4

Ingredients
  

  • Dough https://www.dailycookingrecipes.net/pizza-dough/
  • 1 Jar Pizza Sauce 1 jar will make 2 pizza pies
  • 2 Cups Mozzarella Cheese
  • Pepperoni Bacon, Italian Sausage, Peppers, Onions, etc. (Your Favorite Toppings)
  • Parmesan Cheese

Instructions
 

  • Make Pizza Dough Per Instructions on this post https://www.dailycookingrecipes.net/pizza-dough/ - Divide in 1/2
  • Roll out 1/2 of dough to fit 9 round inch cake pan.
  • Place dough on greased cake pan.
  • Add Toppings(see list above for ideas).
  • Add Cheese.
  • Roll out other 1/2 of dough and place on top of pizza pie.
  • Tuck edges in and place air cuts in top of pizza dough.
  • Add Pizza Sauce to top crust and smooth out.
  • Sprinkle with Parmesan Cheese
  • Preheat oven to 425°F.
  • Cook pizza for 20 to 30 minutes on center rack.
  • Cut in to 8 pieces & Serve.


Pizza Dough Rising Photo
I like to let the Pizza Dough rise for about 30 minutes.  It seems to make it easier to work with.

Pizza Pie Dough in pan photo
Roll out the dough and fit it to a 9 inch cake pan.  I use the cake pans because we live on a boat and don’t have a huge selection of pans to pick from.  These seem to make a nice size Pizza Pie though.

Pizza Pie Fitting Pan Photo
Now we need to cut the edges off the crust so we don’t have all that extra dough hanging off the sides.  This also makes it easier to work with the pan, because you don’t have that dough knocking in to things when you move the pan around.

Pizza Pie Toppings Photo
Add your topping choices.  Family favorites around here are Bacon, Italian Sausage, Pepperoni, Sweet Peppers and sometimes a little onion.

Pizza Pie Before Top Curst Photo
Then we add the Mozzarella Cheese.  LOTS of Mozzarella Cheese.  We like lots of cheese on our Pizza Pies.

Pizza-Dough-Rolling
Roll out the dough for the top crust of the Pizza Pie.

Pizza Pie Top Crust Photo
Then we cover the Pizza Pie with a top crust.

Pizza Pie Top Crust Cuts Photo
After you put the top crust on, make sure you put vent holes in it or the pizza will bubble and make a mess.

Pizza Pie Sauce on Top Photo
Add sauce to top of Pizza Pie.

Pizza Pie Uncooked Photo
I like to sprinkle with a little Parmesan Cheese before we cook the Pizza Pie.  This adds a little extra cheese flavor.

Pizza Pie Photo
Cook at 425°F for 20 to 30 minutes.  The times really depend on the size and type of oven you have.  Mine usually takes the full 30 minutes, but we only have a small counter top convection oven on our boat.

Enjoy !

Three Easy Rice Recipes Your Kids Will Love


Creating meals that kids will eat without complaint can be a difficult, especially when trying to include healthy foods.   I usually try to sneak squash, carrots and other vegetables in to rice dishes.
Disguising nutritious foods inside of foods you know your kids will eat is one way to get your kids to at least ingest some vitamins and minerals. But, wouldn’t it be nice to actually introduce your kids to nutrition rather than trick them into eating it?
One ‘Superfood’ your kids probably already like is rice. This nutrient-rich food has no doubt been on your family’s table, and your child’s highchair tray, since he or she could pick up a kernel or two and aim for their mouth.
But, I suspect that as your kids got older, they lost interest in that fluffy white pile of rice on their plate. Taste buds change and mature and now they want something a bit more appealing, and can you blame them? When was the last time you ate a pile of plain white or brown rice? It doesn’t exactly tempt the palate.
Luckily, for you and your kids, there are plenty of easy, fun, and tasty ways to re-introduce your family to the wonders of rice. And, you won’t even have to hide the rice inside another food to get your kids to eat it! Here are a few fun and easy rice ideas to try on your family.

Chicken Pineapple Kabobs Over Rice
You’ll need chicken meat cut into small cubes, pineapple chunks, either fresh or canned in natural juices, a can of natural pineapple juice if you wish, and other vegetables your child may like, such as grape tomatoes. You’ll also need cooked brown or enriched white rice and skewers soaked in water for 30 minutes. The ‘recipe’ is simple. Cook the rice according to package directions, but substitute at least some of the water with pineapple juice.
Preheat your broiler and lightly oil your broiler pan. Alternate the chicken, pineapple, and vegetables on skewers, then brush the kabobs lightly with good olive oil. Broil just until chicken is cooked through, turning at least once during cooking time. Serve the kabobs over a plate of cooked rice. This looks so grown up and tastes super delicious with the sweet pineapple.

Layered Arroz Con Queso With Beans
This dish is made by laying smashed pinto beans (or refried beans) in the bottom of a shallow casserole dish, then topping with a layer of cooked brown or white rice, and then spreading a layer of low fat cottage cheese over, and finally sprinkling a layer of shredded low fat Cheddar cheese or a mixture of cheese on top.
Cover the baking dish and put in the oven just until mixture is hot and bubbly. Remove from the oven and uncover the dish, then let stand at room temperature for about 5 minutes before serving. This dish is a cross between mac and cheese and nachos. What’s not to love?

Rice Crust Pizza Time
For this recipe you’ll just be making a pizza crust out of rice, then topping it with whatever your kids like, within reason, of course. You’ll need about 3 cups of cooked rice and 1 egg for a 10 inch pizza crust. Cook brown rice or white rice, or a combination. Allow the rice to cool to room temperature.
When rice is cooled, mix a whole egg into the rice, smashing it together with a fork to combine well. Add seasonings if you wish, like oregano and salt. Form the smashed rice into a ball on a work surface and cover it with plastic wrap, then use your hands to press the rice mixture into a flat circle, pizza crust style. Place the crust on a baking sheet and bake in a preheated oven at 400 degrees until browned nicely, about 10 minutes, then remove and let it cool down. While it cools, prepare whatever ingredients you want to top the pizza crust with. Add your toppings and bake for another 10 to 15 minutes or until all the toppings are nice and hot and any cheese you added has melted. Then remove, let cool slightly, and enjoy.
Most kids started out loving their little piles of rice on their highchair tray. It was fun to play with and even a few kernels found their way to the tummy. Finding super nutritious foods to get your kids to eat just got easier now that you have these simple ways to re-introduce rice into your family’s diet. Give these dishes a try and then see if your kids can come up with a few ideas of their own!

Fettuccine Alfredo

This is one of my family favorites.  They are always begging me to make it.  It is quick and easy to make and it is always a hit.  I usually server this with Italian Sausages and Garlic Bread.


Fettuccine Alfredo

Florence
Course Main
Cuisine Italian

Ingredients
  

  • 16 oz pkg of Fettuccine Pasta
  • 1/2 cup Butter
  • 2 cups Heavy Whipping Cream
  • 1 cup freshly grated Parmesan Cheese
  • 1 tsp. Sea Salt or Kosher Salt
  • 1/2 tsp. Freshly Ground Black Pepper

Instructions
 

  • Cook pasta according to package directions.
  • While pasta is cooking, melt butter in large skillet.
  • Add cream, salt and pepper.
  • Bring to a boil and simmer for a few minutes uncovered to reduce and thicken.
  • Remove from heat and add Parmesan Cheese.
  • Add Pasta & toss to mix. Serve immediately.
  • Sprinkle extra Parmesan Cheese over the top, if desired.

March 13, 2014

Pizza Dough


Pizza Dough Photo

Pizza Dough

Florence
Cook Time 15 minutes
Total Time 15 minutes
Course Main
Cuisine American
Servings 4

Ingredients
  

  • 1 3/4 to 2 1/4 Cups All-Purpose Flour
  • 1 Envelope Pizza Yeast
  • 1 1/2 teaspoons Sugar
  • 3/4 teaspoon Salt
  • 2/3 Cup Very Warm Water 120°to130°F
  • 3 tablespoons Oil
  • Pizza Sauce Cheese and Favorite Toppings

Instructions
 

  • Preheat Oven to 425°F
  • Combine Undissolved Yeast, Sugar, Salt in a large bowl.
  • Add Water and Oil.
  • Mix until well blended, about 1 minute.
  • Gradually add enough flour until dough soft ball is formed. Dough should still be slightly sticky.
  • Knead dough on floured surface and add additional flour if needed.
  • Roll dough out in to 12 inch circle.
  • Place on greased pizza pan.
  • Top with Pizza Sauce, Cheese and Favorite Toppings.
  • Bake for 12 to 15 Minutes, until cheese is bubbly and crust is lightly browned.


Freezer to Oven Scallop Casseroles

Scallops is one of my daughters favorite foods.  She would eat seafood all day every day.


Freezer to Oven Scallop Casseroles Photo

Freezer to Oven Scallop Casseroles

Florence
Course Entree
Cuisine American

Ingredients
  

  • 4 C about 2 lbs fresh scallops
  • 1/4 Cup butter or margarine
  • 1 medium size green pepper diced
  • 1 medium onion diced
  • 2 celery stalks diced
  • 3 Cup bread crumbs
  • 1 tsp salt
  • 1/2 tsp pepper
  • 2 Cup light cream
  • 1 Cup shredded Sharp Cheddar cheese
  • 6 small foil pie pans
  • Aluminum foil

Instructions
 

  • Place the scallops in a large saucepan.
  • Just cover the scallops with water.
  • Place saucepan over medium heat.
  • Bring water to a rapid boil.
  • When water is boiling rapidly remove from heat.
  • Drain scallops well.
  • Place the butter in a large skillet over medium heat.
  • When the butter has completely melted add the green pepper, onion and celery.
  • Cook, stirring often, 10 minutes or until vegetables are fork tender.
  • Place scallops in a large mixing bowl.
  • Add the vegetables.
  • Put the bread crumbs in a small mixing bowl.
  • Add the salt and pepper to the bread crumbs mix together well.
  • Add the bread crumb mixture to the scallops and vegetables.
  • Stir to combine well.
  • Place the scallop mixture into the 6 foil pie pans.
  • Allow to cool completely.
  • Once cooled pour 1/3 C of the light cream over the scallop mixture in each pan.
  • Wrap the pie pans tightly in aluminum foil.
  • Freeze for up to 1 month.
  • To cook preheat oven to 450° degrees.
  • Do not thaw the casseroles.
  • Place them wrapped on a cookie sheet.
  • Bake 45 minutes.
  • Unwrap and sprinkle each with cheese.
  • Continue baking for 15 minutes or until cheese has completely melted.


March 12, 2014

Freezer Shrimp Stew

I would suggest always using fresh Shrimp.  If you live near the coast, try one of those little seafood stands near where the fishing boats come in.  They usually have the fresh good stuff.


Freezer Shrimp Stew

Freezer Shrimp Stew

Florence
Course Entree
Cuisine American

Ingredients
  

  • 1/2 Cup olive oil
  • 1 clove garlic chopped fine
  • 1 medium onion chopped
  • 2 green onions chopped
  • 1 green pepper chopped
  • 1 15 oz can diced tomatoes
  • 1 6 oz can tomato paste
  • 1 3/4 Cup burgundy
  • 1 Tbsp parsley
  • 2 tsp oregano
  • 1/2 tsp basil
  • 2 tsp salt
  • 1/4 tsp pepper
  • 3/4 Cup water
  • 1 1/2 lb halibut steaks cut into 1 in pieces
  • 1/2 raw shrimp shelled and de-veined
  • 2 6 oz packages frozen crabmeat, thawed
  • Aluminum foil

Instructions
 

  • Place oil in a large soup pan over medium heat.
  • When the oil is hot add the garlic, both types of onion and green pepper.
  • Cook until tender, about 10 minutes.
  • Add the tomatoes and the tomato paste to the cooked vegetables.
  • Slowly add the burgundy being sure to stir well
  • Mix in the parsley, oregano, basil salt and pepper.
  • Once all is mixed together well pour in the water.
  • Bring to a rapid boil.
  • Reduce heat to low.
  • Simmer uncovered 1- minutes.
  • Add halibut, shrimp and crabmeat.
  • Cover and simmer 15 minutes.
  • Uncover and cook an additional 15 minutes.
  • Remove from heat and cool to room temperature.
  • Line a large bowl with foil being sure the foil extends at least 6 in over the side of the bowl.
  • Pour the cooled stew into the bowl.
  • Fold the aluminum foil over the top of the stew being sure to secure tightly.
  • Freeze until firm
  • Remove from the bowl.
  • Wrap again tightly with foil.
  • Freeze for up to 6 months.
  • To cook, remove foil.
  • Place in a large soup pan.
  • Add a small amount about 1-2 Cup water.
  • Cover and cook on low until heated through.


March 11, 2014

Simple Ways To Save Money On Lunch


Breakfast may be the most important meal of the day, but lunch is what gets you through until dinner time. The price of school lunches rises each year and it is hard for some parents to keep up. This is besides the fact that many lunch menus, not just in schools either, are not as nutritious as they could be. Most kids don’t like what they are serving on the lunch menu at school anyway.  They are “trying” to make them more healthy, but in doing so they are making it so kids don’t want to eat them.  Here are some money saving lunch ideas for frugal families.

  1. Take your lunch. This goes for parents as well as kids. We are tempted to eat out with the group everyday, too. That adds up after awhile. Those cute insulated lunch bags make it easier to carry hot and cold items. We can throw even throw out the brown bags in favor of reusable options which are more environmentally friendly. When you pack your own lunch, you know what is in it so it is easier to avoid a lot of unhealthy fats and junk food.
  1. Make a sandwich. I’m not talking about just any sandwich. This can be a wrap, pita, crust less bread, or bun sandwich. Varying the bread each day will help you decide what ingredients to put on it. You may want turkey with alfalfa sprouts, tomato, and onion on a pita or chicken strips with barbecue sauce, lettuce, and shredded cheese in a tortilla wrap. Many kids like bread without crust for peanut butter and jelly sandwiches. This makes lunch fun and your kids are more likely to eat it if they have a creative variety. Invest in single packs of condiments. They can be used in lunches as opposed to putting them on the sandwich and saturating the bread before lunchtime rolls around.
  1. Bottled water and drink crystals. Water has never been the same since they came out with those handy packs of flavorings. You can find them everywhere. Best of all they have five calories or less. You can turn a bottle of water into a drink that is better than soda. Kids love them too.
  1. Dessert courtesy of home. Stop! Put down that candy bar and walk away from the vending machine. Instead, choose a better option. Homemade granola can be shaped into bars and used as an after lunch snack. How about dried fruit pieces? They are sweeter than candy bars and won’t spike your blood sugar. It’s okay to have a naughty treat every now and then, but even at those times you can choose a healthier option than chips or candy. Make a batch of homemade chocolate chip cookies and pack a few in your lunch.
  1. Ice packs. These nifty items will keep lunch from spoiling. The perfect complement to an insulated bag, they allow you to take yogurt or a sandwich with meat and not have to worry about it getting warm before it’s time to eat.
  1. Veggie sticks. Eat them with your sandwich and add some Ranch dressing for dipping.

Lunch doesn’t have to come from the school cafeteria or the fast food joint around the corner to be good. Coming from home, it can be healthier, taste better and cost less. Now that’s a combination you can’t beat.

Pie Crust from the Freezer

I would suggest getting aluminum pie pans and freezing them in the pie pans, so they are easier to use when you take them out of the freezer.  Why not make it easy when you want to use it.


Pie Crust from the Freezer

Pie Crust from the Freezer

Florence
Course Dessert
Cuisine American

Ingredients
  

  • 2 C sifted all purpose flour
  • 1 t salt
  • 3/4 C shortening
  • 4 to 5 T ice water
  • Wax paper
  • Freezer wrap

Instructions
 

  • Place the flour and salt together in a large mixing bowl.
  • Cut in the shortening with a pastry blender until mixture become crumbly. You can also use a serving fork if you don't have a pastry blender available.
  • Add 1 T of the ice water at a time mixing by hand. I personally like to mix it with my hands.
  • Push moistened ingredients to the side.
  • Only add ice water to dry ingredients.
  • Continue adding the ice water 1 T at a time until all the dry ingredients are moistened.
  • Dough should be moist enough to hold together but not sticky.
  • Divide dough in half.
  • Roll each half into a ball.
  • Wrap each ball with wax paper.
  • Wrap tightly in the freezer wrap and freeze for up to 2 months.
  • When ready to use bring to room temperature and roll out as desired.
  • Preheat oven to 425° and bake for 10 minutes.


March 10, 2014

Afghan Chicken

This dish tenderizes, moistens, and extracts flavor from a long slow marinate in a garlic yogurt, so you wind up with a skinless grilled chicken that is as yummy as it is good for you.

We suggest you serve this with an Arab flat-bread or soft pita and fresh yogurt.

Afghan Chicken

Florence

Ingredients
  

  • 2 large clov garlic
  • 1/2 teaspoon salt
  • 2 cups plain whole-milk yogurt
  • 4 tablespoons juice and pulp of 1 large lemon
  • 1/2 teaspoon cracked black pepper
  • 2 large whol chicken breasts -- about 2 pounds

Instructions
 

  • Mix garlic and salt into a paste.
  • Stir in the yogurt, lemon and pepper.
  • Skin the chicken breasts. Remove all extra fat and split into halves.
  • Make the halves lay flat by bending backwards to separate the bones.
  • Coat each half with the yogurt mixture.
  • Cover the bowl tightly and place in refrigerator to marinate for at least 12 hours, no longer then 36 hours.
  • Turn the pieces over about half-way through marinating.
  • When you are ready to cook, remove the breasts from the marinade and wipe off most of the yogurt. Leave a thin film on each piece.
  • Grill about 6 inches above the heat for about 6 to 8 minutes a side. ( or until completely cooked. )
  • Serve while still hot.

Crispy Chicken from the Freezer

Always good to make things in advance and have dinner ready in the freezer so you can just thaw it out and pop it in the oven.  I always omit the Worcestershire Sauce, because I am allergic to fish and it has anchovies in it.


Crispy Chicken from the Freezer

Crispy Chicken from the Freezer

Florence
Course Entree
Cuisine American

Ingredients
  

  • 2 1/2 lbs fryer chicken cut up
  • 3/4 C sour cream
  • 1 T lemon juice
  • 1 t Worcestershire sauce
  • 1 t celery salt
  • 1 t salt
  • 1/8 t pepper
  • 1/2 t paprika
  • 2 cloves garlic chopped fine
  • 1 C dry bread crumbs
  • Aluminum foil

Instructions
 

  • Combine sour cream and lemon juice in a small bowl.
  • Stir in Worcestershire sauce until completely blended.
  • Add the celery salt, salt, pepper, paprika and garlic and mix well.
  • Place bread crumbs in a shallow bowl or on a plate.
  • Preheat oven to 350 degrees.
  • Spray a large baking pan with a non stick cooking spray.
  • Dip chicken pieces into the sour cream mixture.
  • Roll in the bread crumbs.
  • Place in a single layer in the baking pan.
  • Bake 50 minutes or until chicken is tender and brown.
  • Let chicken cool before removing from pan.
  • Once the chicken has cooled wrap each piece in aluminum foil.
  • Freeze for up to 2 months.
  • Reheat by preheating oven to 450 degrees.
  • Place each piece of chicken still in the aluminum foil on a cookie sheet.
  • Bake 35 minutes.
  • Unwrap from aluminum foil and place back in the oven.
  • Continue baking 10 minutes or until crisp.


March 9, 2014

Clover Leaf Biscuits

It is great to make the dough in advance, so you have it when you want a quick biscuit to go with dinner.


Clover Leaf Biscuits

Clover Leaf Biscuits

Florence
Course Breads
Cuisine American

Ingredients
  

  • 1 3/4 C warm water should be 105 to 115 degrees (check with thermometer)
  • 2 pkg active dry yeast
  • 1/2 C sugar
  • 1 T salt
  • 1 egg
  • 1/4 C soft butter or margarine
  • 6 C sifted all purpose flour
  • 1 T butter or margarine melted
  • Freezer paper

Instructions
 

  • Rinse a large bowl with hot water. We make the bowl warm to make it easier for the yeast to rise.
  • Add the water, yeast, sugar and salt and still completely to dissolve.
  • Add the egg, soft butter and 3 C of flour.
  • Beat together with an electric mixer on medium speed until smooth. You can stir this by hand also, if electric mixer is not available.
  • Slowly add 1 more C of flour and continue to beat another 2 minutes.
  • Add the remaining 2 C of flour to the mixture.
  • Use your hands to work in the flour.
  • Continue until all the flour is mixed in well and the mixture becomes smooth and elastic.
  • Brush the top of the dough with the melted butter.
  • Cover the bowl with a damp towel.
  • Place the bowl in a warm place and allow the dough to rise 2 hours.
  • The dough should double in size.
  • Punch down the dough.
  • Dough may be stored in the refrigerator 1-3 days before use.
  • Be sure dough stays covered and punch the dough once a day until ready to use.
  • When you are ready to make the rolls, remove 1/3 of the dough from the refrigerator.
  • On a lightly floured surface divide the dough in half.
  • With your palms roll each half of the dough into a 16 inch rope.
  • Cut each rope into 18 pieces.
  • Roll each piece into a smooth ball.
  • Place 3 balls in each of a muffin cup that has been sprayed lightly with a non-stick cooking spray.
  • When all the muffin cups are full, cover with a towel and place in a warm place.
  • Let rise again for 1 hour or until dough has doubled in size.
  • Preheat oven to 275 degrees.
  • Bake rolls 20 minutes.
  • Remove and cool completely.
  • Wrap in the freezer paper and freeze for up to 12 months.
  • When ready to use preheat oven to 450 degrees.
  • Unwrap rolls and place on an un-greased cookie sheet.
  • Bake 5 to 10 minutes or until light brown.


March 8, 2014

5 Quick and Frugal Breakfast Ideas

It is the first meal we eat when we get up in the morning. After a long night of sleep, we can’t do without it if we want to get our bodies going. No, I’m not talking about coffee. I’m referring to breakfast. Here are some ideas for breakfast that don’t require a drive-thru window.

1.  Have a piece of casserole. It takes time to cook eggs and bacon for breakfast. No one wants to ruin their clothes with the mess it can create. On Sunday night, get breakfast done early. Put together a casserole using your favorite ingredients. Fewer eggs are needed in a casserole than when frying or scrambling them for breakfast each morning. Depending on the size of your family, the casserole may last two to three mornings.

2.  Yogurt. Yogurt is a healthy and economical breakfast choice. When you are eating on the run, grab a container of yogurt and some dried or fresh fruit. Cutting up fruit on top of the yogurt adds carbohydrates to fuel you for the morning in addition to the calcium and protein in the yogurt itself.

3.  Breakfast shake. This is even quicker and can be ingested while driving without taking your eyes off the road or both hands off the wheel. Put together some frozen fruit favorites, ice cubes, frozen yogurt, and unsweetened juice in a blender. Pour into Styrofoam cups to keep it cold. Everyone can grab a cup on the way out the door. The nutritional effect is about the same as yogurt, but without the spoon.

4.  Pigs in a blanket. This is the homemade version. Whip up a batch of pancakes and freeze them in short stacks of three. A package or two of frozen link sausage is needed to create this quick and economical meal idea. Thaw out a stack of pancakes. Heat up three sausages in the microwave. Wrap a pancake around each sausage. Voila! You’ve got an instant pig in a blanket. Eat it as you watch the last of your favorite morning show or as you walk to the bus stop. It can be eaten in the car without too much fuss or mess. For a sweeter taste and less mess, add a little maple syrup or honey to the batter when making the pancakes.

5.  Breakfast sandwiches. In the evening, while you are getting things ready for the next day, grill up a few breakfast sandwiches. Choose whatever you like: turkey slices, ham slices, cheese, tomato, bacon, etc. When the sandwich cools, cut it into bite size pieces and put it in a container. In the morning, just grab a container; pop it into the microwave for fifteen or twenty seconds and breakfast is served.

These breakfast ideas are time saving and money-saving too. They make use of items you buy normally and also whatever you have around the house to create delicious fare for a morning rush. No more excuses for skipping breakfast or swinging into the fast food restaurant every morning. 

« Newer PostsOlder Posts »

Powered by WordPress