Daily Cooking Recipes Let Me Make Cooking Easy

April 10, 2014

Frozen Rosette Dessert Decorations


Frozen Rosette Dessert Decorations

Frozen Rosette Dessert Decorations

Florence

Ingredients
  

  • 1 pt heavy cream
  • 1/4 C confectioners' sugar
  • Food coloring
  • Aluminum foil
  • Cardboard
  • Freezer bags

Instructions
 

  • Put the heavy cream and sugar in a large mixing bowl.
  • Whip until mixture becomes stiff.
  • Split into individual bowls for each color and add the food coloring. ( Use as much or as little as your creative design leads you to. )
  • Wrap the cardboard with aluminum foil.
  • Use a rosette tip on a pastry bag to pipe the mixture onto the aluminum foil.
  • Freeze for at least 2 hours, or until Rosettes are firm.
  • Remove from freezer and quickly transfer to freezer bags.
  • These can be stored frozen for as long as two months.
  • Have fun decorating cakes, deserts, and anything else that comes to mind with these Rosettes.


March 30, 2014

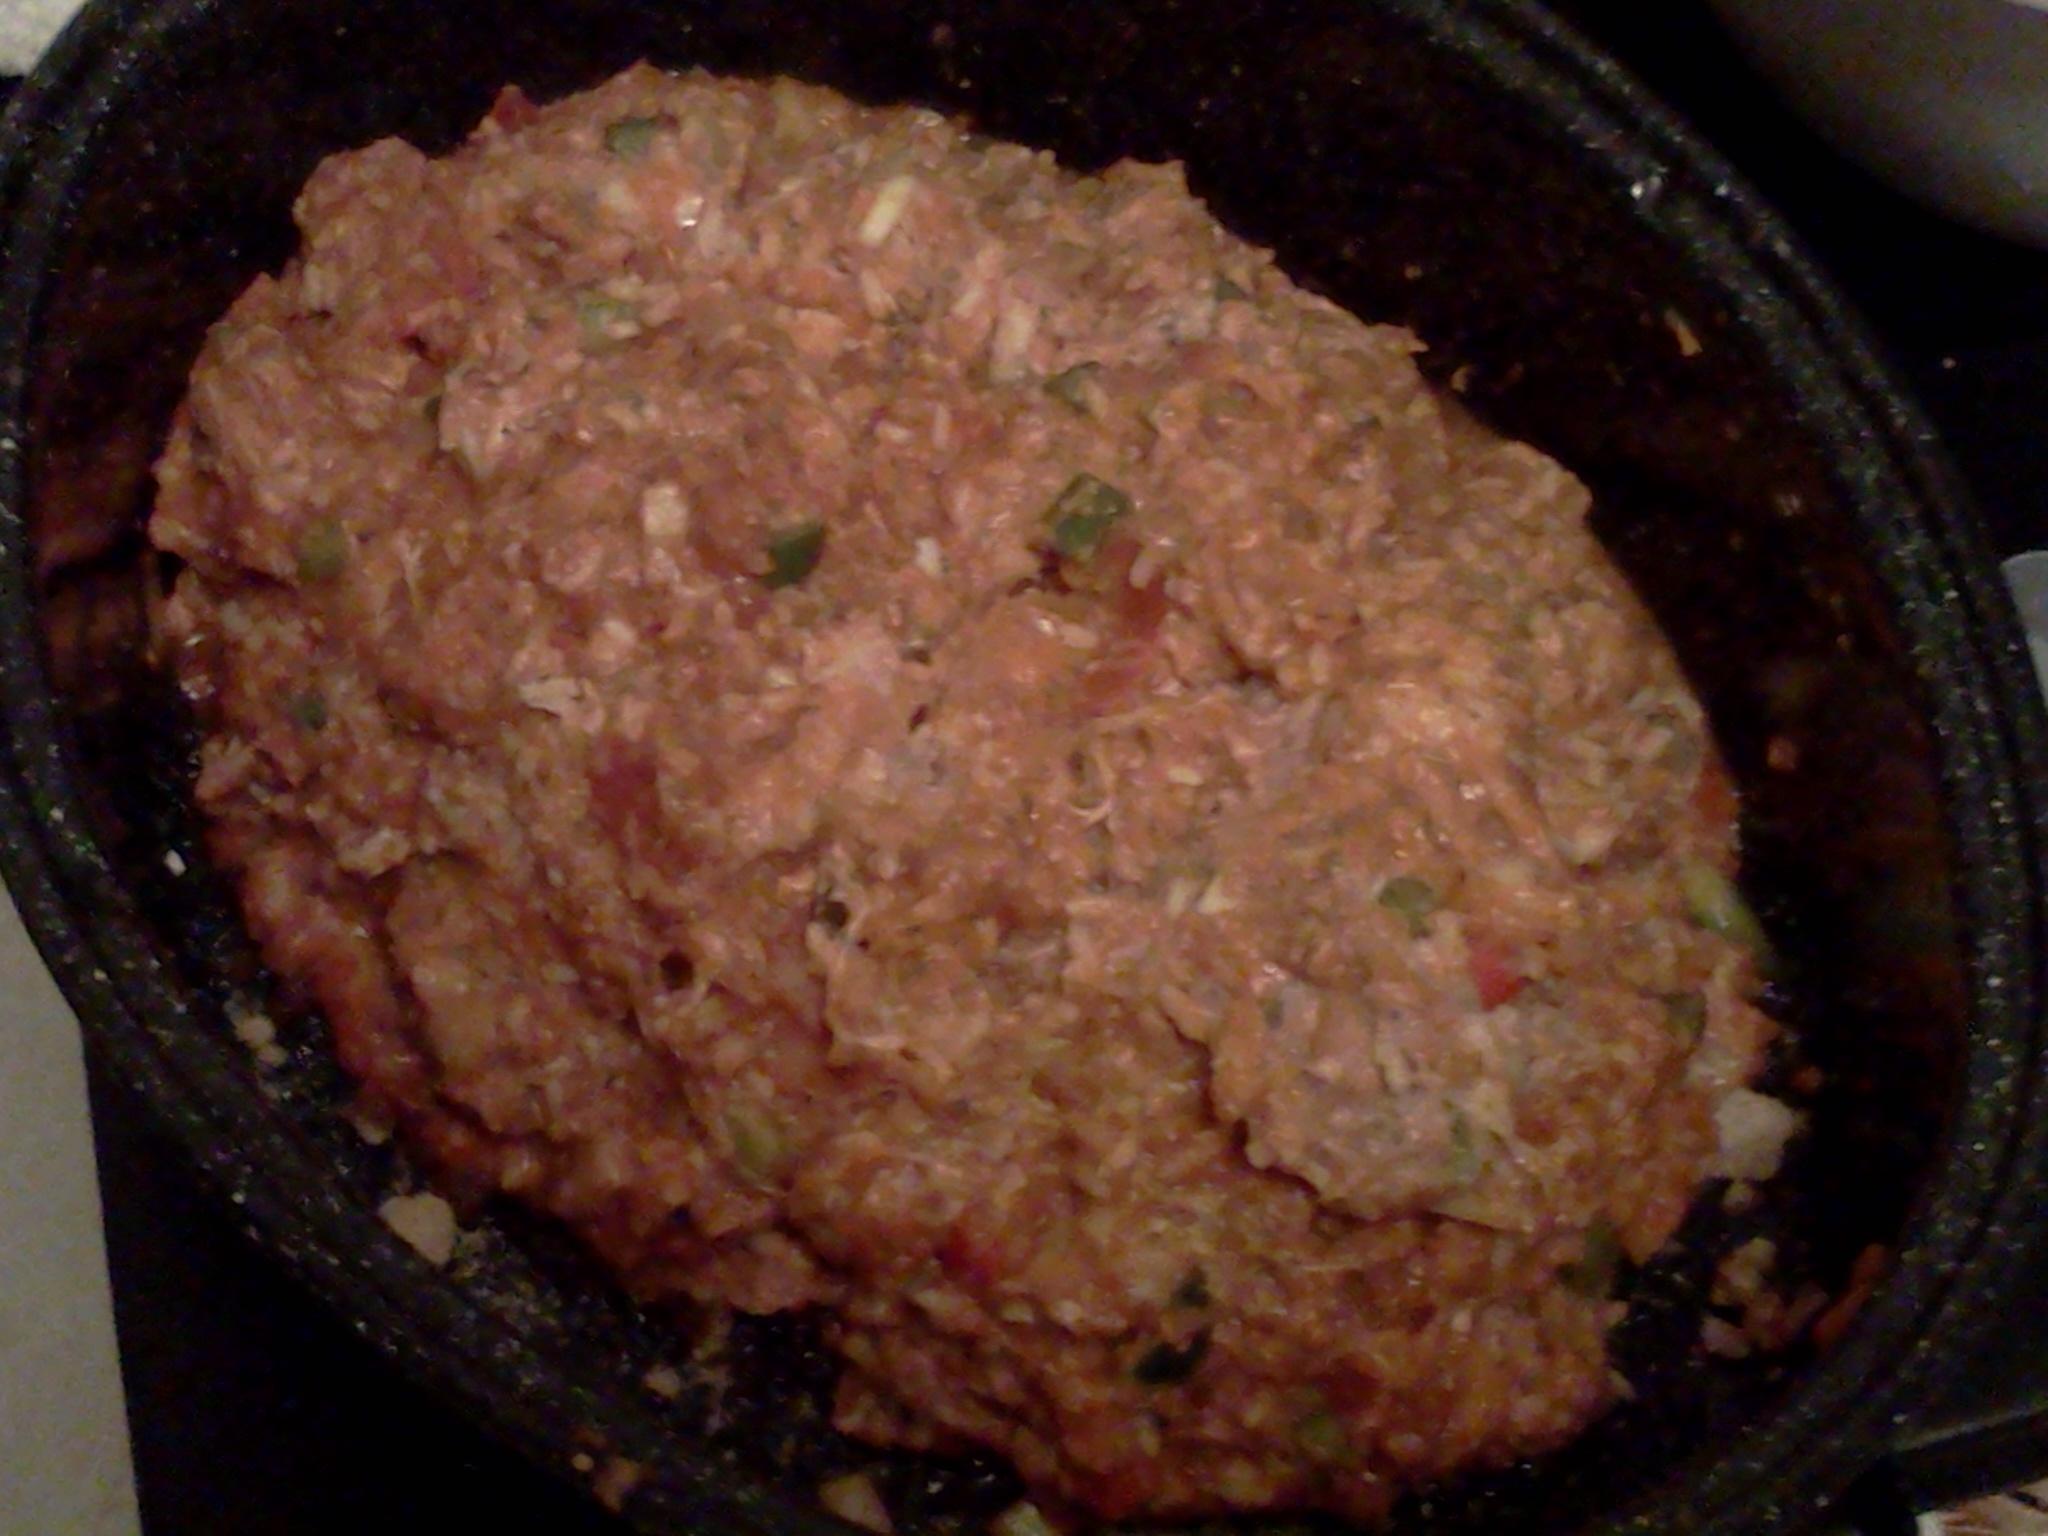
In a Snap Meat Loaf


In a Snap Meat Loaf

In a Snap Meat Loaf

Florence

Ingredients
  

  • 2 eggs
  • 1 Cup milk
  • 1/2 Cup white bread crumbs soft
  • 3 teaspoon salt
  • 1/2 teaspoon pepper
  • 2 lb ground chuck
  • Aluminum foil

Instructions
 

  • Beat eggs and milk together in a large mixing bowl.
  • Add the breadcrumbs, salt and pepper and blend together well.
  • Sprinkle in the salt and pepper.
  • Place the ground chuck in with the milk mixture and mix well.
  • Use your hands to mix making sure all the ingredients are combined.
  • Place a piece of aluminum foil in a 9X9 inch pan.
  • Be sure the aluminum foil comes about 6 inches over the edges of the pan.
  • Form meat mixture into the pan.
  • Pull the aluminum foil over the top and seal well.
  • Remove from pan and freeze for up to 2 months.
  • To heat preheat oven to 350 degrees
  • Spray a 9X9 inch baking pan slightly with a non stick cooking spray.
  • Unwrap the meatloaf and place in the pan.
  • Bake 1 hour 30 minutes or until set.


March 18, 2014

Devilish Mocha Pie


Devilish Mocha Pie Photo

Devilish Mocha Pie

Florence
Course Dessert
Cuisine American

Ingredients
  

  • 2/3 Cup butter flavored syrup
  • 2 1/2 Cup toasted rice cereal
  • 1 pint chocolate ice cream
  • 1 pint mocha or coffee flavored ice cream
  • 1/3 Cup chopped pecans
  • 1 C whipped topping
  • Aluminum foil

Instructions
 

  • Place a small sauce pan over medium heat.
  • Add the syrup and bring to a boil.
  • Reduce heat to low and simmer 2 minutes being sure to stir often.
  • Place the cereal in a large bowl.
  • Pour the syrup over the cereal.
  • Mix together with a rubber spatula being sure cereal is completely covered.
  • Very lightly butter a 9 in pie plate.
  • Press cereal mixture into bottom and up the sides of the pie plate.
  • Freeze 30 minutes.
  • Place chocolate ice cream in the refrigerator to soften so it will be easier to spread.
  • Remove the cereal crust from the freezer.
  • Spread the chocolate ice cream over the cereal crust.
  • Return to freezer until ice cream becomes firm again.
  • Soften the mocha or coffee ice cream.
  • Add the pecans and stir together well.
  • Spread over the chocolate ice cream in the pie.
  • Return to the freezer until firm.
  • Remove and wrap tightly in freezer wrap until ready to serve.
  • Before serving, top with the whip topping.


March 17, 2014

Frozen Easter Eggs

What a great way to cool off on a hot summer day.  Colorful and yummy so the kids will love them.


Frozen Easter Eggs Photo

Frozen Easter Eggs

Florence

Ingredients
  

  • 3 pt soft vanilla ice cream
  • 1 C mixed candied fruit
  • 1/4 C light rum
  • 1 C heavy cream
  • 2 T sugar
  • Pastel food coloring
  • Plastic mold such as a melon egg or ice cube tray
  • Freezer wrap

Instructions
 

  • Place the ice cream in a large mixing bowl.
  • Add the candied fruit and rum.
  • Mix together well - working quickly so the ice cream doesn't melt.
  • Place the ice cream mixture into the mold.
  • Place in freezer and freeze until firm, a few hours or even overnight.
  • Place a serving platter in the freezer for about 30 minutes.
  • Un-mold ice cream and place on the chilled platter.
  • Place back in the freezer for about 20 minutes.
  • Place the heavy cream and sugar into a mixing bowl.
  • Mix until stiff.
  • Remove ice cream and frost each egg with part of the cream mixture.
  • Return ice cream to the freezer.
  • Divide the remaining cream mixture into as many bowls as you would like colors for the eggs.
  • Tint each cream mixture with a different color of the food coloring.
  • Remove ice cream from the freezer.
  • Use a pastry bag or baggie with one corner cut out to pipe the colored cream mixture onto each egg.
  • Return to the freezer and freeze until firm.
  • Once firm remove and wrap each egg in the freezer wrap.
  • Maybe stored in the freezer for up to 1 month.


March 14, 2014

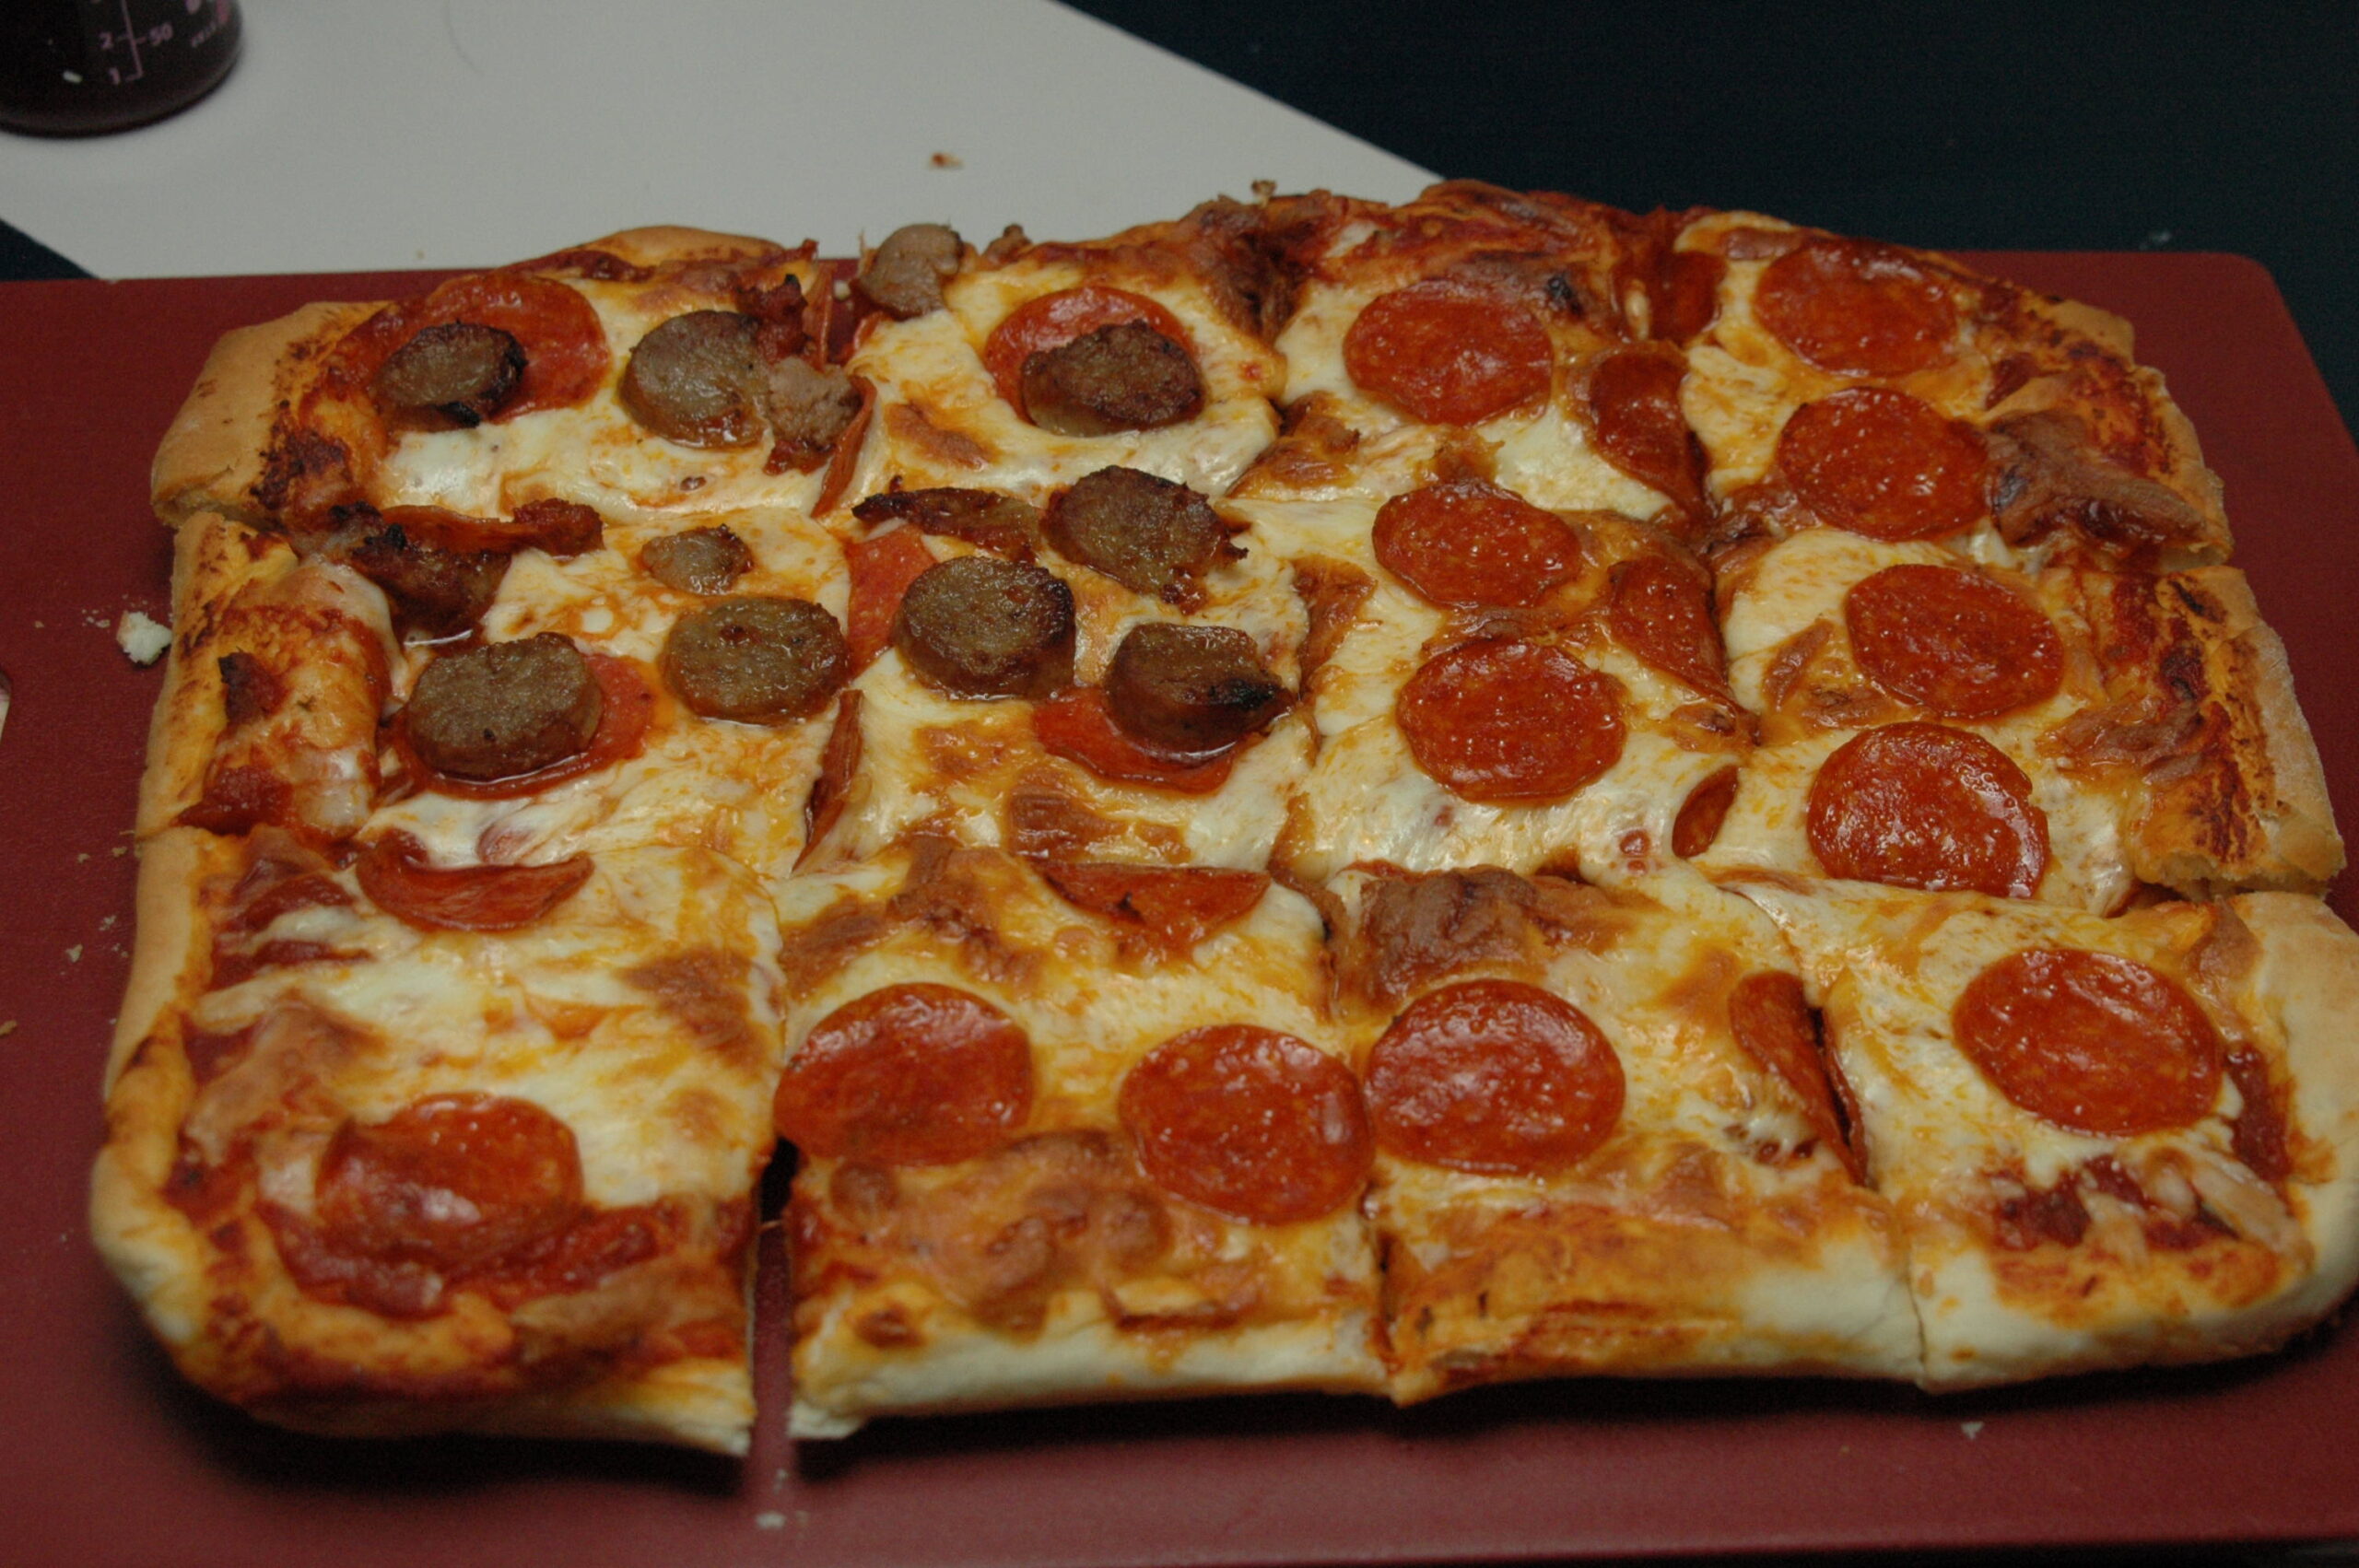
Cookie Sheet Pizza


Cookie Sheet Pizza

Florence
Prep Time 15 minutes
Cook Time 15 minutes
Total Time 30 minutes
Course Main
Cuisine American
Servings 6

Ingredients
  

  • Dough https://www.dailycookingrecipes.net/pizza-dough/
  • Pizza Sauce
  • Mozzarella Cheese
  • Pepperoni Bacon, Italian Sausage, Peppers, Onions, etc. (Your Favorite Toppings)

Instructions
 

  • Make Pizza Dough Per Instructions on this post https://www.dailycookingrecipes.net/pizza-dough/
  • Roll Out dough to 10x15 or size of your cookie sheet
  • Place dough on greased cookie sheet
  • Add Pizza Sauce
  • Add Cheese
  • Add Toppings (see list above for ideas)
  • Preheat oven to 425°F
  • Cook pizza for 13 to 15 minutes on center rack.
  • Cut in to 12 pieces & Serve.


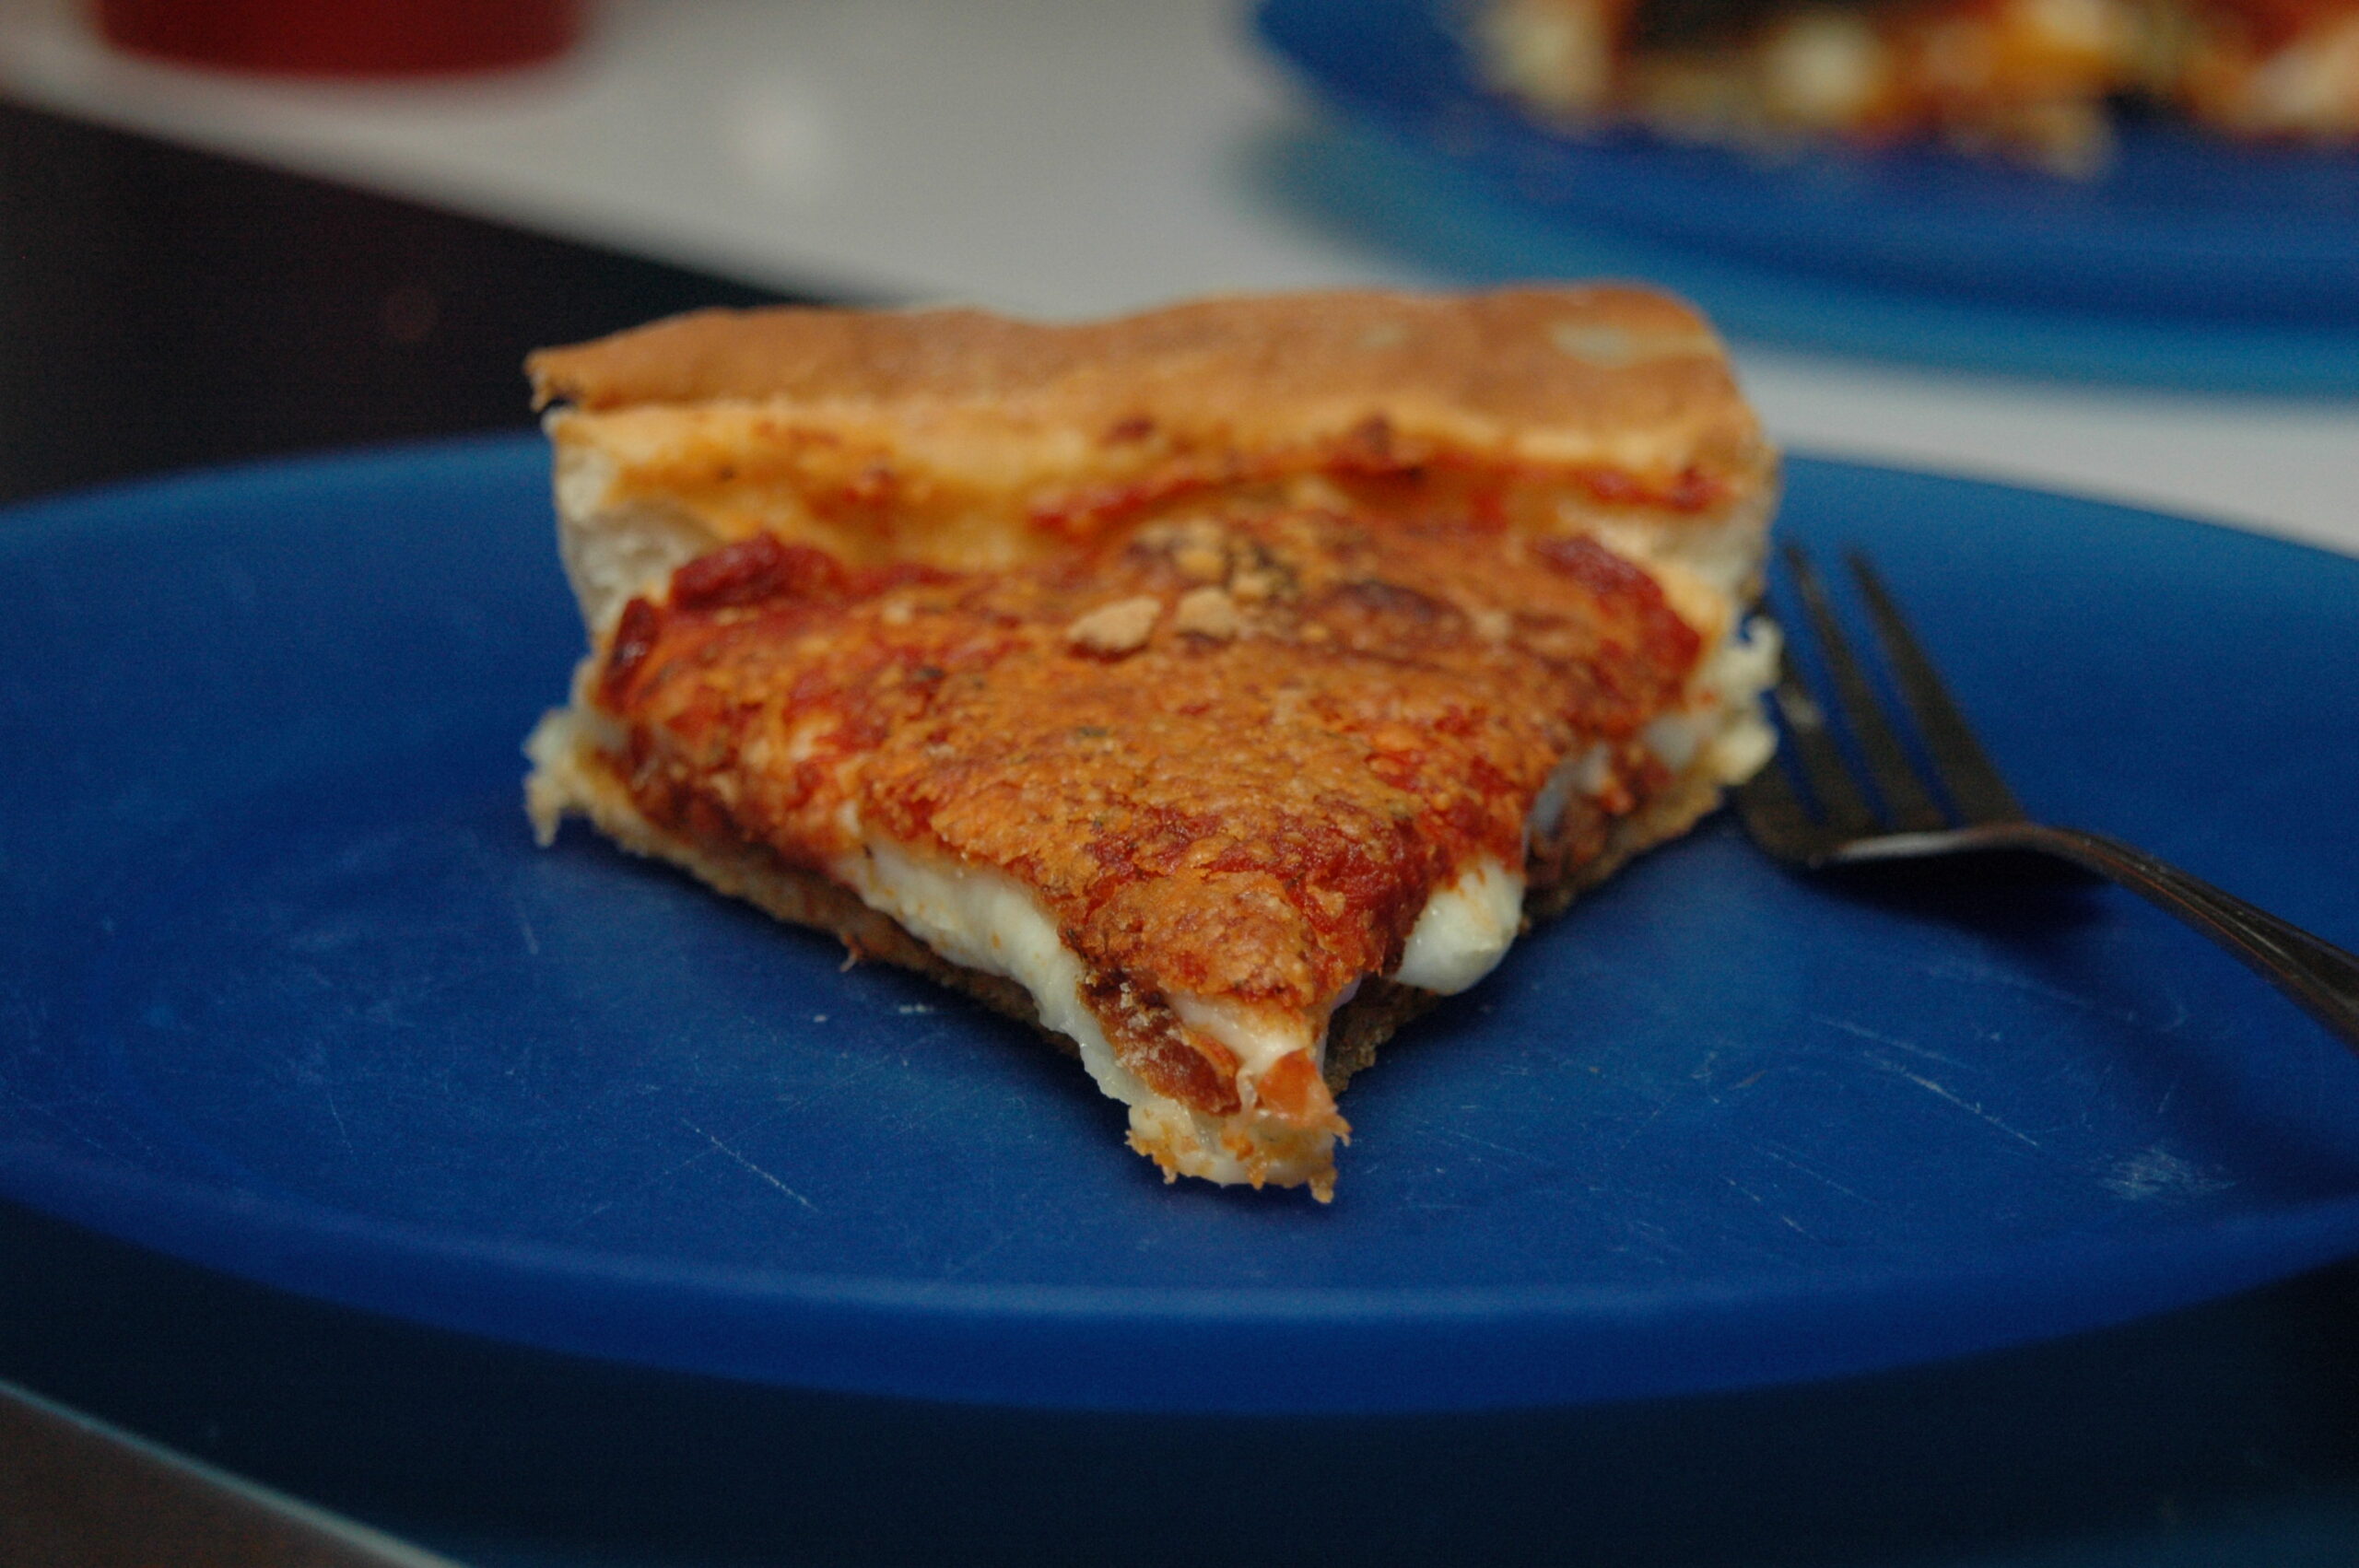
Pizza Pie

This is one of my husbands favorite dinners.  I have put the recipe together in the regular form and if you go below the recipe you will find a step by step picture walk through.  I hope you enjoy this recipe as much as my family and I do.


Pizza Pie Photo

Pizza Pie

Florence
Prep Time 30 minutes
Cook Time 30 minutes
Total Time 1 hour
Course Main
Cuisine Italian
Servings 4

Ingredients
  

  • Dough https://www.dailycookingrecipes.net/pizza-dough/
  • 1 Jar Pizza Sauce 1 jar will make 2 pizza pies
  • 2 Cups Mozzarella Cheese
  • Pepperoni Bacon, Italian Sausage, Peppers, Onions, etc. (Your Favorite Toppings)
  • Parmesan Cheese

Instructions
 

  • Make Pizza Dough Per Instructions on this post https://www.dailycookingrecipes.net/pizza-dough/ - Divide in 1/2
  • Roll out 1/2 of dough to fit 9 round inch cake pan.
  • Place dough on greased cake pan.
  • Add Toppings(see list above for ideas).
  • Add Cheese.
  • Roll out other 1/2 of dough and place on top of pizza pie.
  • Tuck edges in and place air cuts in top of pizza dough.
  • Add Pizza Sauce to top crust and smooth out.
  • Sprinkle with Parmesan Cheese
  • Preheat oven to 425°F.
  • Cook pizza for 20 to 30 minutes on center rack.
  • Cut in to 8 pieces & Serve.


Pizza Dough Rising Photo
I like to let the Pizza Dough rise for about 30 minutes.  It seems to make it easier to work with.

Pizza Pie Dough in pan photo
Roll out the dough and fit it to a 9 inch cake pan.  I use the cake pans because we live on a boat and don’t have a huge selection of pans to pick from.  These seem to make a nice size Pizza Pie though.

Pizza Pie Fitting Pan Photo
Now we need to cut the edges off the crust so we don’t have all that extra dough hanging off the sides.  This also makes it easier to work with the pan, because you don’t have that dough knocking in to things when you move the pan around.

Pizza Pie Toppings Photo
Add your topping choices.  Family favorites around here are Bacon, Italian Sausage, Pepperoni, Sweet Peppers and sometimes a little onion.

Pizza Pie Before Top Curst Photo
Then we add the Mozzarella Cheese.  LOTS of Mozzarella Cheese.  We like lots of cheese on our Pizza Pies.

Pizza-Dough-Rolling
Roll out the dough for the top crust of the Pizza Pie.

Pizza Pie Top Crust Photo
Then we cover the Pizza Pie with a top crust.

Pizza Pie Top Crust Cuts Photo
After you put the top crust on, make sure you put vent holes in it or the pizza will bubble and make a mess.

Pizza Pie Sauce on Top Photo
Add sauce to top of Pizza Pie.

Pizza Pie Uncooked Photo
I like to sprinkle with a little Parmesan Cheese before we cook the Pizza Pie.  This adds a little extra cheese flavor.

Pizza Pie Photo
Cook at 425°F for 20 to 30 minutes.  The times really depend on the size and type of oven you have.  Mine usually takes the full 30 minutes, but we only have a small counter top convection oven on our boat.

Enjoy !

Three Easy Rice Recipes Your Kids Will Love


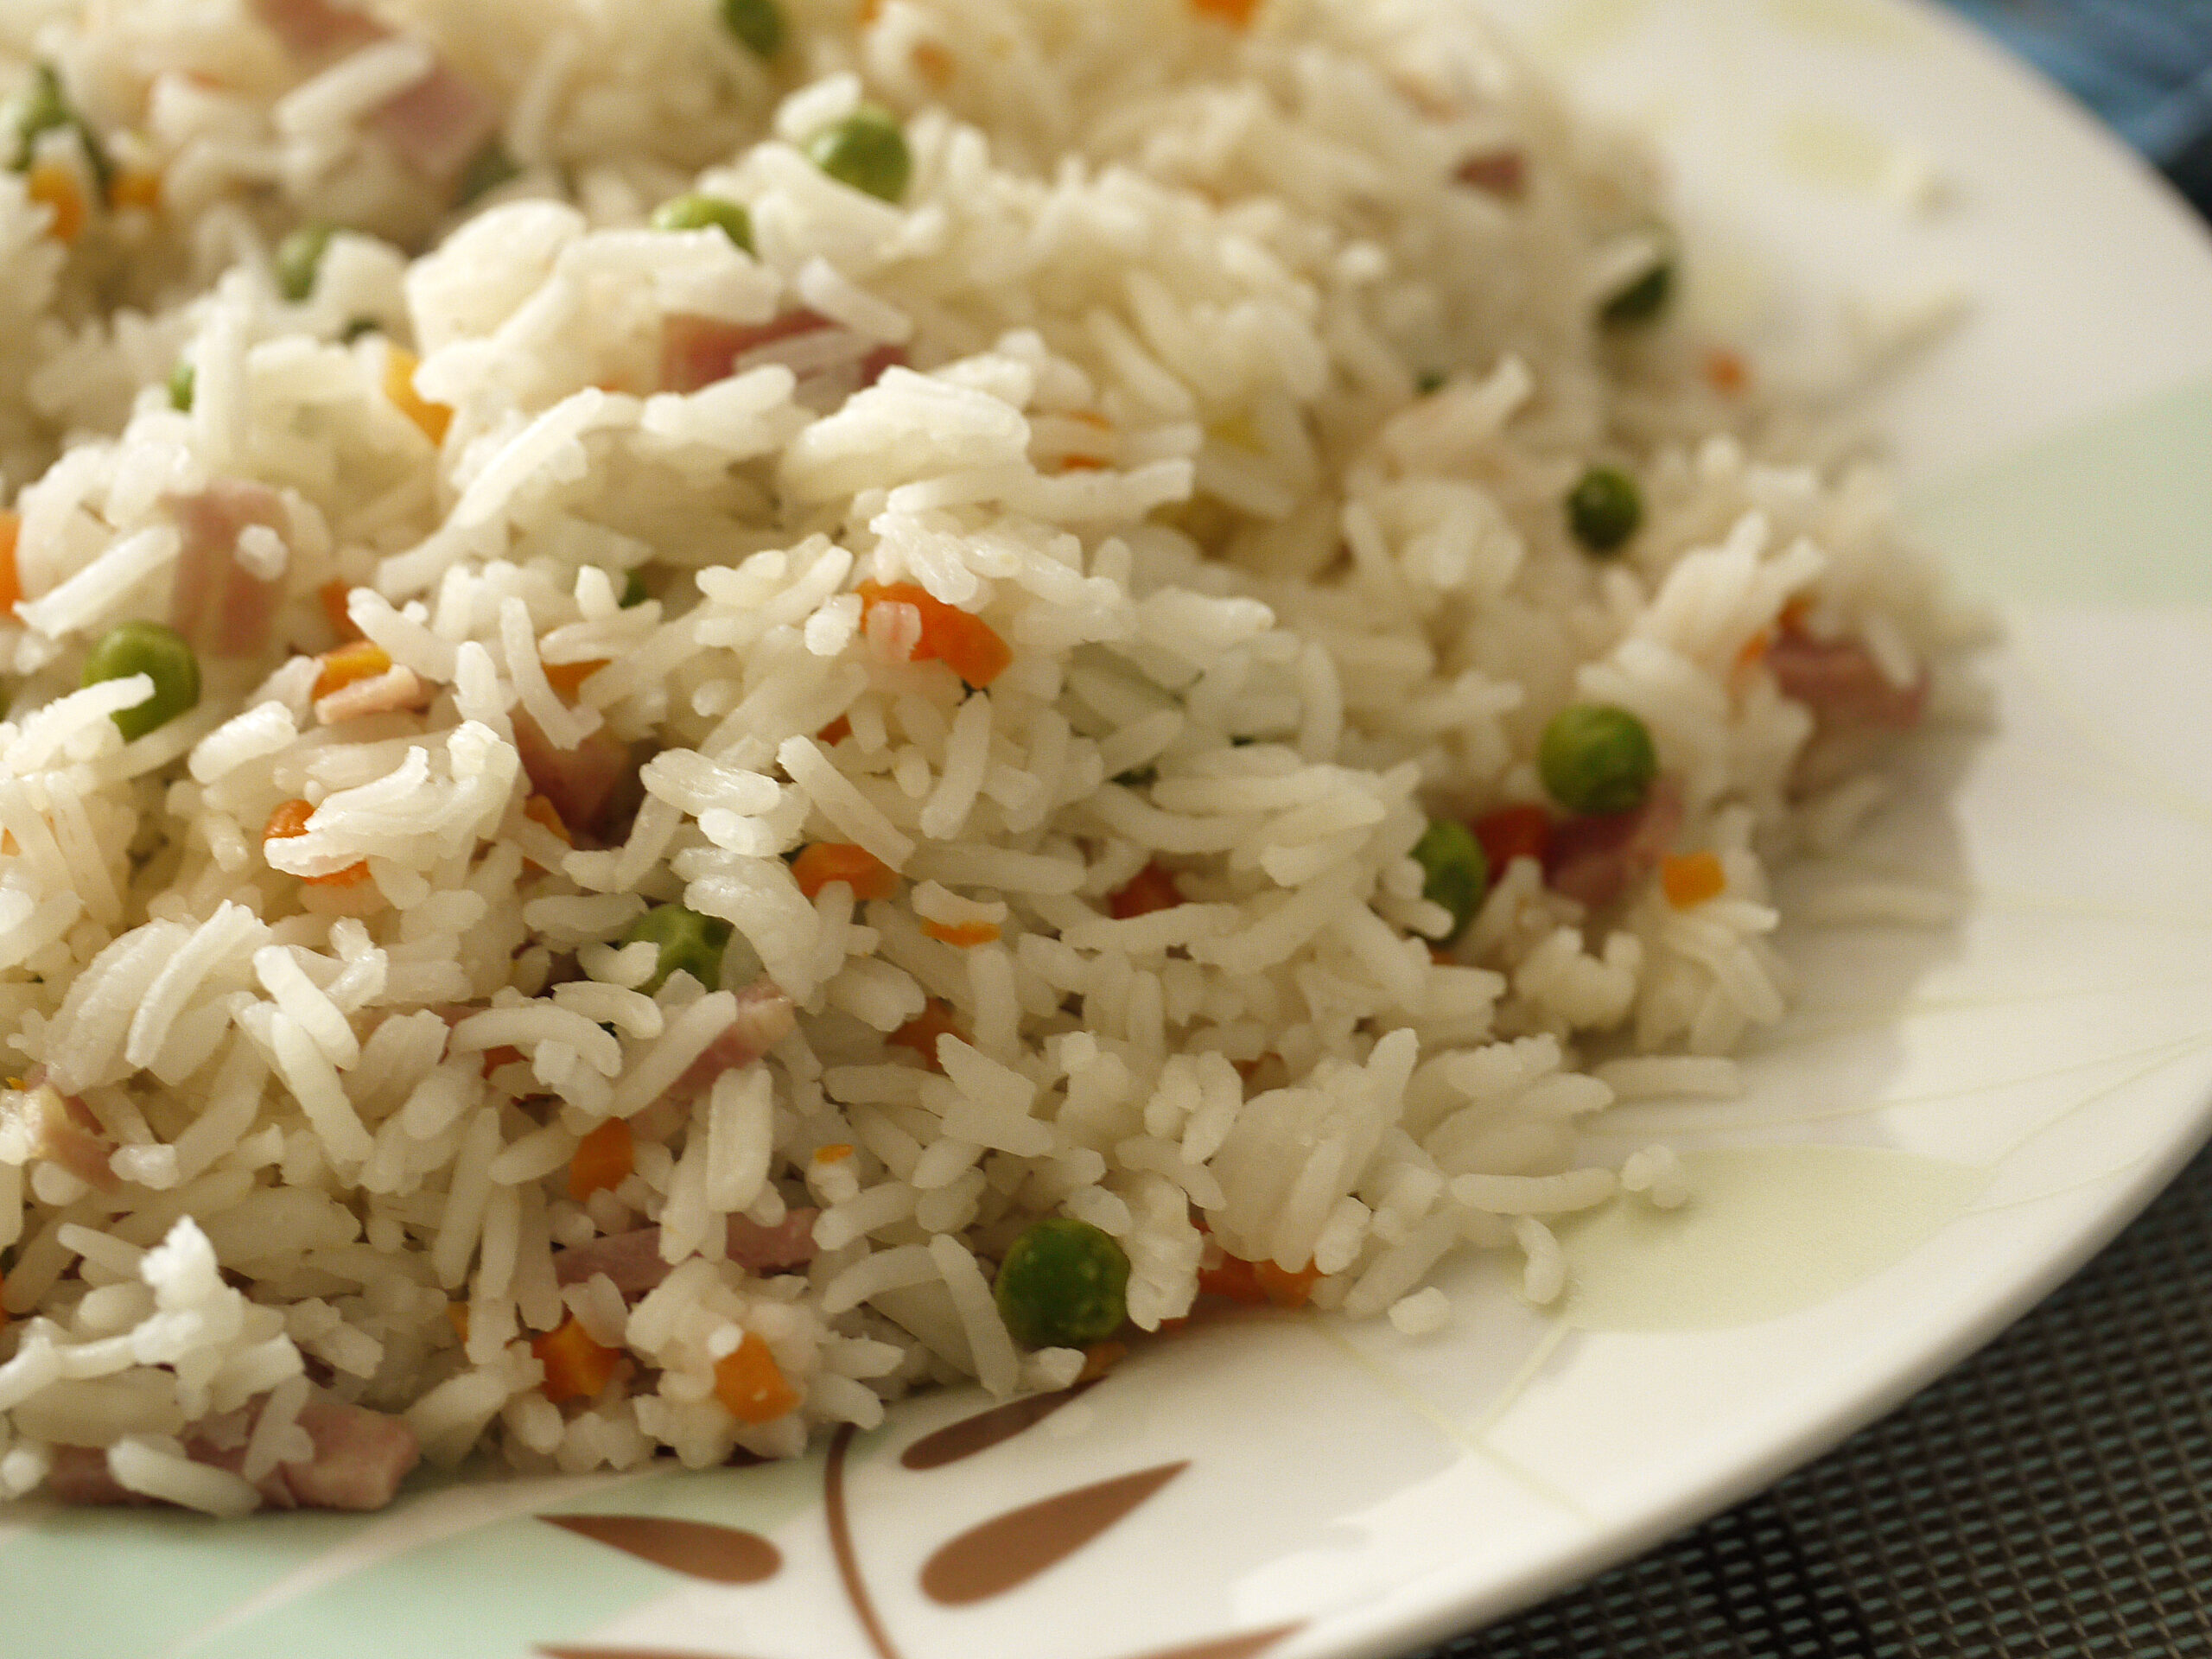
Creating meals that kids will eat without complaint can be a difficult, especially when trying to include healthy foods.   I usually try to sneak squash, carrots and other vegetables in to rice dishes.
Disguising nutritious foods inside of foods you know your kids will eat is one way to get your kids to at least ingest some vitamins and minerals. But, wouldn’t it be nice to actually introduce your kids to nutrition rather than trick them into eating it?
One ‘Superfood’ your kids probably already like is rice. This nutrient-rich food has no doubt been on your family’s table, and your child’s highchair tray, since he or she could pick up a kernel or two and aim for their mouth.
But, I suspect that as your kids got older, they lost interest in that fluffy white pile of rice on their plate. Taste buds change and mature and now they want something a bit more appealing, and can you blame them? When was the last time you ate a pile of plain white or brown rice? It doesn’t exactly tempt the palate.
Luckily, for you and your kids, there are plenty of easy, fun, and tasty ways to re-introduce your family to the wonders of rice. And, you won’t even have to hide the rice inside another food to get your kids to eat it! Here are a few fun and easy rice ideas to try on your family.

Chicken Pineapple Kabobs Over Rice
You’ll need chicken meat cut into small cubes, pineapple chunks, either fresh or canned in natural juices, a can of natural pineapple juice if you wish, and other vegetables your child may like, such as grape tomatoes. You’ll also need cooked brown or enriched white rice and skewers soaked in water for 30 minutes. The ‘recipe’ is simple. Cook the rice according to package directions, but substitute at least some of the water with pineapple juice.
Preheat your broiler and lightly oil your broiler pan. Alternate the chicken, pineapple, and vegetables on skewers, then brush the kabobs lightly with good olive oil. Broil just until chicken is cooked through, turning at least once during cooking time. Serve the kabobs over a plate of cooked rice. This looks so grown up and tastes super delicious with the sweet pineapple.

Layered Arroz Con Queso With Beans
This dish is made by laying smashed pinto beans (or refried beans) in the bottom of a shallow casserole dish, then topping with a layer of cooked brown or white rice, and then spreading a layer of low fat cottage cheese over, and finally sprinkling a layer of shredded low fat Cheddar cheese or a mixture of cheese on top.
Cover the baking dish and put in the oven just until mixture is hot and bubbly. Remove from the oven and uncover the dish, then let stand at room temperature for about 5 minutes before serving. This dish is a cross between mac and cheese and nachos. What’s not to love?

Rice Crust Pizza Time
For this recipe you’ll just be making a pizza crust out of rice, then topping it with whatever your kids like, within reason, of course. You’ll need about 3 cups of cooked rice and 1 egg for a 10 inch pizza crust. Cook brown rice or white rice, or a combination. Allow the rice to cool to room temperature.
When rice is cooled, mix a whole egg into the rice, smashing it together with a fork to combine well. Add seasonings if you wish, like oregano and salt. Form the smashed rice into a ball on a work surface and cover it with plastic wrap, then use your hands to press the rice mixture into a flat circle, pizza crust style. Place the crust on a baking sheet and bake in a preheated oven at 400 degrees until browned nicely, about 10 minutes, then remove and let it cool down. While it cools, prepare whatever ingredients you want to top the pizza crust with. Add your toppings and bake for another 10 to 15 minutes or until all the toppings are nice and hot and any cheese you added has melted. Then remove, let cool slightly, and enjoy.
Most kids started out loving their little piles of rice on their highchair tray. It was fun to play with and even a few kernels found their way to the tummy. Finding super nutritious foods to get your kids to eat just got easier now that you have these simple ways to re-introduce rice into your family’s diet. Give these dishes a try and then see if your kids can come up with a few ideas of their own!

March 5, 2014

Save Money by Drying Fruit

Filed under: Helpful Tips — Tags: , , , , , , , — Chef @ 10:00 am


We try to save money on our food bills but with a family, that is a trick in itself.  Fresh fruits and veggies seem to cost more and spoil sooner. If you and your family love to eat fresh fruits, one way to be sure they won’t spoil is to dry them.

Dried fruits can serve as a healthy alternative to candy. Instead of reaching for chocolate or a piece of hard candy, the kids will reach for a dried pineapple or apple slices. The sweetness of the fruit is concentrated when it is dried and bursts forth with every bite.

Learning to dry fruit is a fairly easy process. You don’t need to buy any fancy equipment. Investing in a few sealing jars would be nice so that storing the fruit will be easier, but it isn’t a necessity. Sealing jars can be found fairly inexpensive at many supermarkets.

To start, gather all of the fruits you want to dry. Most fruits make good choices. Some of the more common ones are: pineapples, apples, plums, grapes, apricots, and tomatoes (yes they are a fruit!). If you favor lemons, limes, or other citrus fruits, you will be drying the peels and not the fruit itself.

All fruit and equipment need to be clean and thoroughly dried before beginning. Drying racks are needed if you plan on air drying outside or using an oven. Some pieces may be done before others so rotating the trays in the oven gives you a chance to remove any fruit that is already dried and replace with another.

Slice the fruit into small pieces. Apples need to be cored and peeled before slicing. Tomatoes can be cut into slices or quarters and salted before drying. Grapes and plums are okay as is because the skin doesn’t affect their taste.

If you prefer to use the microwave to dry your fruit, place small batches in the microwave on the turntable tray. Fruit pieces should be evenly spaced to allow for air circulation while drying. Set the microwave to the defrost setting in order to dry the fruit. It will take about thirty to forty-five minutes. Check after thirty minutes and gradually add time as needed. It is not recommended that tomatoes be dried via the microwave because they should be dried at approximately 120 degrees for about twenty-four hours.

You can eat some of these tasty treats as soon as they are dried or you can save some for later. If storing for later, let the fruit cool before placing in sealing jars or plastic bags. Dried fruits will keep for up to two weeks in a cool dark place. However, these fruit treats are so scrumptious they may not even last for that long.

Dried fruit has a multitude of uses. It can be eaten as is or as a flavorful addition to ice cream, salads, pizzas, and more. Drying your fruits will save you money because it makes the fruit last longer than normal, avoid spoilage and gives you a reason to eat more of it. 

February 27, 2014

All in One Breakfast Rollups


All in One Breakfast Rollups

All in One Breakfast Rollups

Florence
Course Breakfast
Cuisine American

Ingredients
  

  • 1 T olive oil
  • 1 Ham steak cut into bite size pieces
  • 2 C frozen southern style hash browns thawed
  • 8 eggs
  • 1/2 C salsa
  • 1 pkg 6 in size tortillas
  • 1 C shredded Mexican style cheese
  • Wax paper
  • Freezer bags

Instructions
 

  • Place the olive oil in a large skillet over medium high heat.
  • When hot add the ham and hash browns.
  • Cook until they are both beginning to brown.
  • Place the salsa in a large mixing bowl.
  • Add the eggs and stir until mixed together.
  • Pour the salsa mixture in with the ham mixture.
  • Leave heat on medium high and cook until the eggs have set.
  • Place a tortilla flat.
  • Place about 4 T of the ham mixture down the center of the tortilla.
  • Roll the tortilla up completely.
  • Continue until all the tortillas are used.
  • Wrap each roll-up in wax paper.
  • Place in a freezer bag and freeze for up to 2 months.
  • When ready to eat remove from the freezer and unwrap.
  • Place each roll-up on a microwave safe plate and cover with paper towel.
  • Microwave 2 minutes on high or until the burrito is as heated as you like.


January 20, 2010

Proper Chinese Chowing – Stir-Frying

Always make sure that you have all your ingredients ready to go before you turn on the wok.  Get the wok nice and hot and put the oil in and foods won’t stick.  If you are using gas and not electric, go ahead and leave the flame on high and adjust the head by moving the wok around the heat source. Always use the freshest ingredients and serve stir-fry right off the stove.

December 18, 2009

How To Cook Nutritious and Healthy Food at Home

Filed under: How To Cook — Tags: , , , , , — Chef @ 1:16 pm

You should always stay away from fast food and as a replacement for cooking for home cooked food. Good healthy ingredients are good for you body and mind.

Add extra fruits, vegetables, and whole grains in to recipes. Organic fruits and vegetables are always the best for you, because they contain no pesticide but and contain extra antioxidants than the non-organically grown ones.

Point out cooking oil. Chinese cooks regularly in peanut oil, which has a great smoke flavor and a pleasant nuts smells, instead of both stir-frying and deep-frying. Instead of using oil go for a healthier version, try to spend Canola oil, which are much healthier monounsaturated fat and low in saturated fat, it is said that monounsaturated fats help cut the bad cholesterol. Asian sesame oil is good for stir-fry.

Grilling, broiling, steaming are always your best methods of cooking a healthy meal.

Try to cut the amount of salt you put on your food. As a replacement for salt, boost the amount of herbs and spices in the dish. Spices like curry powder, five-spice powder, and chili powder are salt-free while adding lots of flavor. And if you are using canned vegetables so as to contain salted, remember to rinse under cold running water to remove excess salt before cooking.

If you pick good foods to go in to what you are making, you will have a healthier meal when it is done.

« Newer Posts

Powered by WordPress