Daily Cooking Recipes Let Me Make Cooking Easy

March 12, 2014

Freezer Shrimp Stew

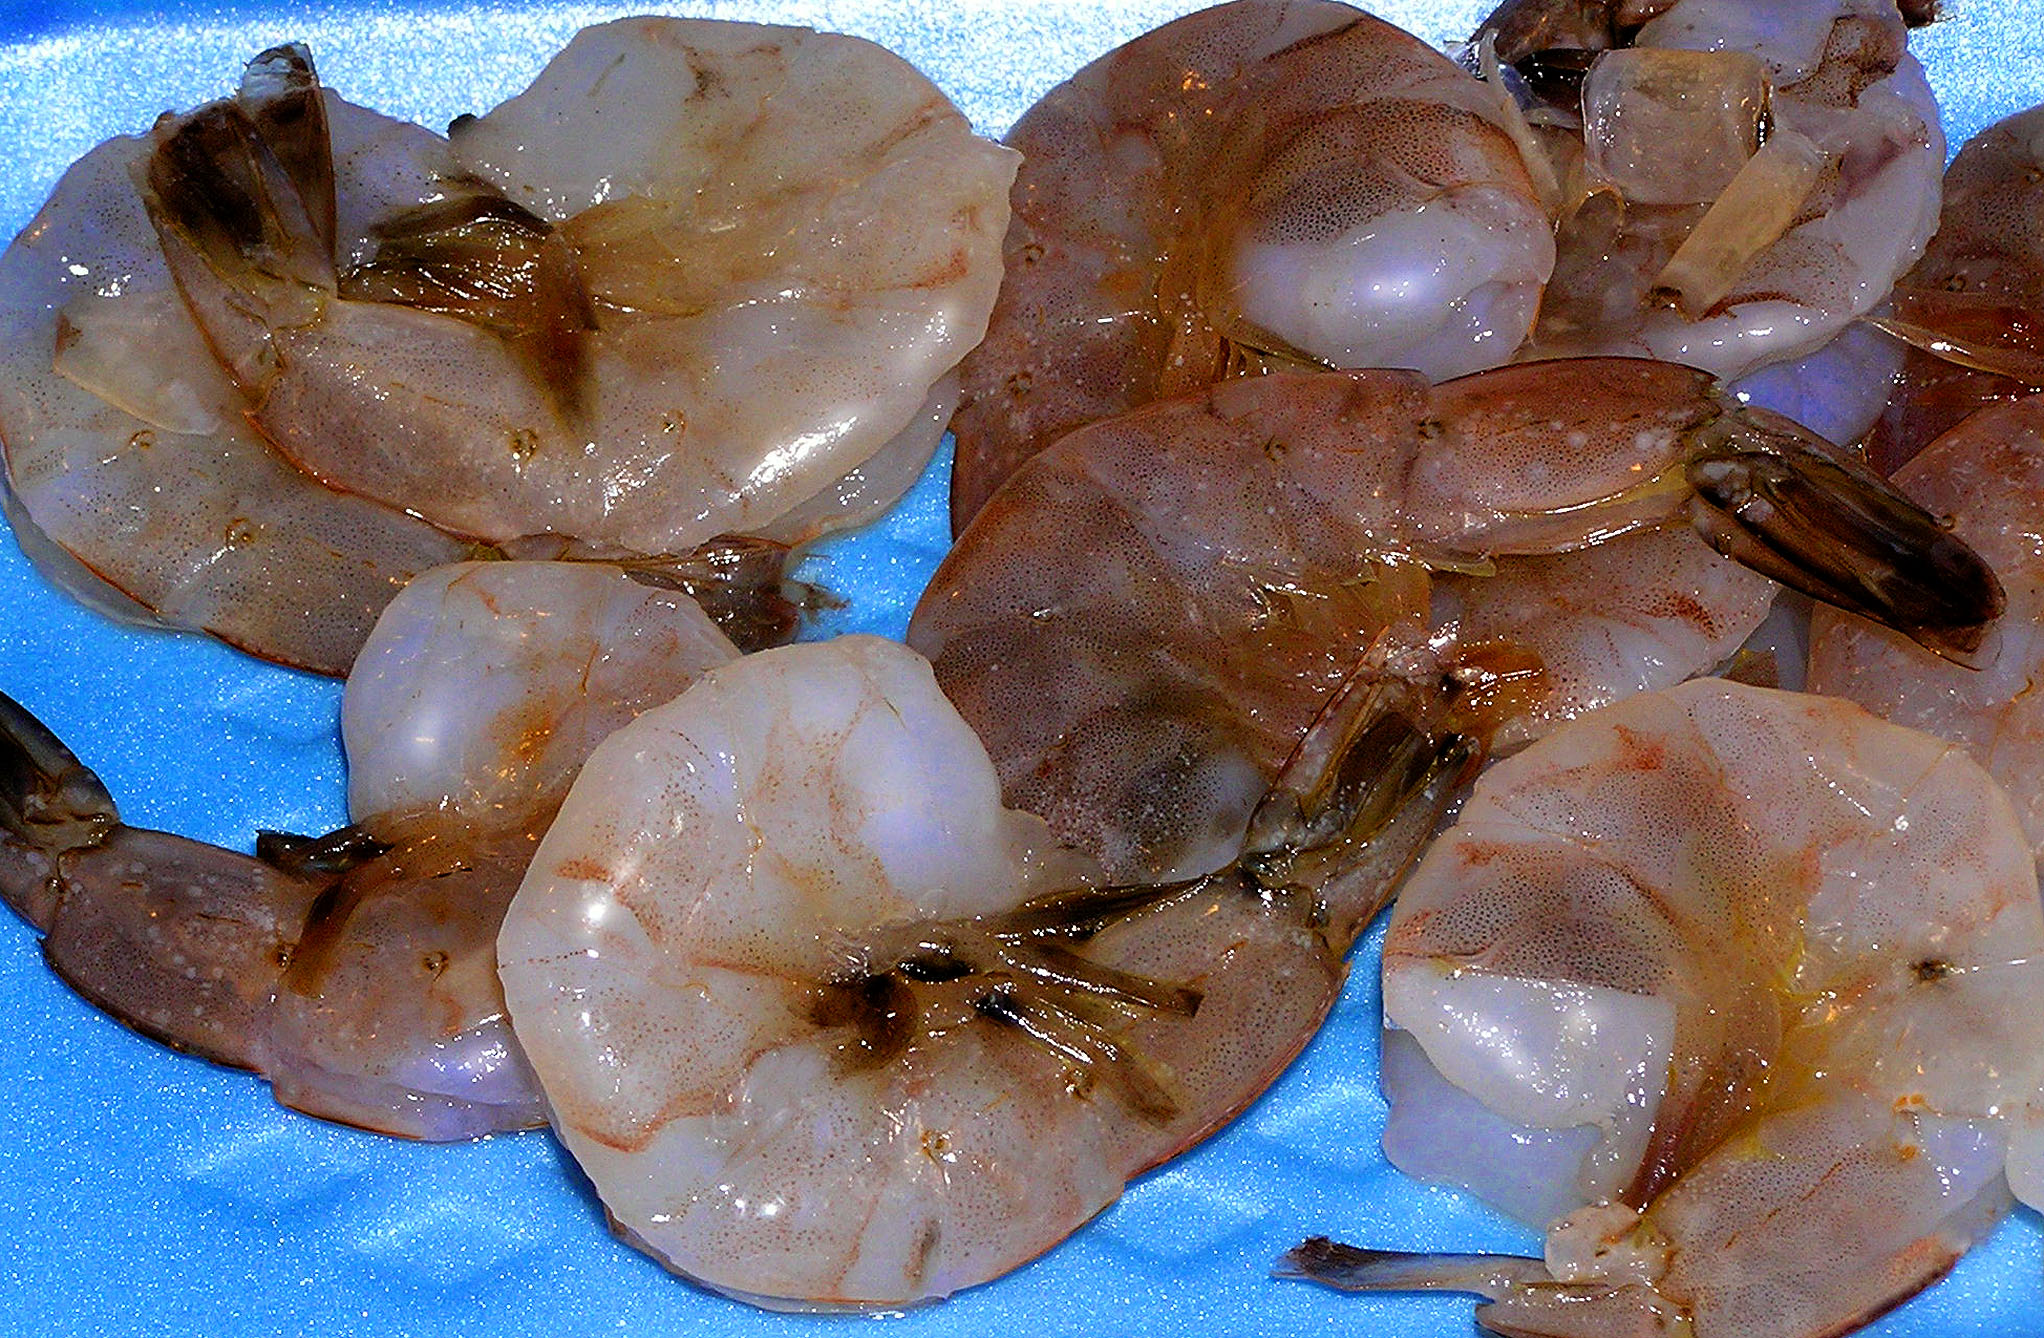
I would suggest always using fresh Shrimp.  If you live near the coast, try one of those little seafood stands near where the fishing boats come in.  They usually have the fresh good stuff.


Freezer Shrimp Stew

Freezer Shrimp Stew

Florence
Course Entree
Cuisine American

Ingredients
  

  • 1/2 Cup olive oil
  • 1 clove garlic chopped fine
  • 1 medium onion chopped
  • 2 green onions chopped
  • 1 green pepper chopped
  • 1 15 oz can diced tomatoes
  • 1 6 oz can tomato paste
  • 1 3/4 Cup burgundy
  • 1 Tbsp parsley
  • 2 tsp oregano
  • 1/2 tsp basil
  • 2 tsp salt
  • 1/4 tsp pepper
  • 3/4 Cup water
  • 1 1/2 lb halibut steaks cut into 1 in pieces
  • 1/2 raw shrimp shelled and de-veined
  • 2 6 oz packages frozen crabmeat, thawed
  • Aluminum foil

Instructions
 

  • Place oil in a large soup pan over medium heat.
  • When the oil is hot add the garlic, both types of onion and green pepper.
  • Cook until tender, about 10 minutes.
  • Add the tomatoes and the tomato paste to the cooked vegetables.
  • Slowly add the burgundy being sure to stir well
  • Mix in the parsley, oregano, basil salt and pepper.
  • Once all is mixed together well pour in the water.
  • Bring to a rapid boil.
  • Reduce heat to low.
  • Simmer uncovered 1- minutes.
  • Add halibut, shrimp and crabmeat.
  • Cover and simmer 15 minutes.
  • Uncover and cook an additional 15 minutes.
  • Remove from heat and cool to room temperature.
  • Line a large bowl with foil being sure the foil extends at least 6 in over the side of the bowl.
  • Pour the cooled stew into the bowl.
  • Fold the aluminum foil over the top of the stew being sure to secure tightly.
  • Freeze until firm
  • Remove from the bowl.
  • Wrap again tightly with foil.
  • Freeze for up to 6 months.
  • To cook, remove foil.
  • Place in a large soup pan.
  • Add a small amount about 1-2 Cup water.
  • Cover and cook on low until heated through.


March 11, 2014

Simple Ways To Save Money On Lunch


Breakfast may be the most important meal of the day, but lunch is what gets you through until dinner time. The price of school lunches rises each year and it is hard for some parents to keep up. This is besides the fact that many lunch menus, not just in schools either, are not as nutritious as they could be. Most kids don’t like what they are serving on the lunch menu at school anyway.  They are “trying” to make them more healthy, but in doing so they are making it so kids don’t want to eat them.  Here are some money saving lunch ideas for frugal families.

  1. Take your lunch. This goes for parents as well as kids. We are tempted to eat out with the group everyday, too. That adds up after awhile. Those cute insulated lunch bags make it easier to carry hot and cold items. We can throw even throw out the brown bags in favor of reusable options which are more environmentally friendly. When you pack your own lunch, you know what is in it so it is easier to avoid a lot of unhealthy fats and junk food.
  1. Make a sandwich. I’m not talking about just any sandwich. This can be a wrap, pita, crust less bread, or bun sandwich. Varying the bread each day will help you decide what ingredients to put on it. You may want turkey with alfalfa sprouts, tomato, and onion on a pita or chicken strips with barbecue sauce, lettuce, and shredded cheese in a tortilla wrap. Many kids like bread without crust for peanut butter and jelly sandwiches. This makes lunch fun and your kids are more likely to eat it if they have a creative variety. Invest in single packs of condiments. They can be used in lunches as opposed to putting them on the sandwich and saturating the bread before lunchtime rolls around.
  1. Bottled water and drink crystals. Water has never been the same since they came out with those handy packs of flavorings. You can find them everywhere. Best of all they have five calories or less. You can turn a bottle of water into a drink that is better than soda. Kids love them too.
  1. Dessert courtesy of home. Stop! Put down that candy bar and walk away from the vending machine. Instead, choose a better option. Homemade granola can be shaped into bars and used as an after lunch snack. How about dried fruit pieces? They are sweeter than candy bars and won’t spike your blood sugar. It’s okay to have a naughty treat every now and then, but even at those times you can choose a healthier option than chips or candy. Make a batch of homemade chocolate chip cookies and pack a few in your lunch.
  1. Ice packs. These nifty items will keep lunch from spoiling. The perfect complement to an insulated bag, they allow you to take yogurt or a sandwich with meat and not have to worry about it getting warm before it’s time to eat.
  1. Veggie sticks. Eat them with your sandwich and add some Ranch dressing for dipping.

Lunch doesn’t have to come from the school cafeteria or the fast food joint around the corner to be good. Coming from home, it can be healthier, taste better and cost less. Now that’s a combination you can’t beat.

Pie Crust from the Freezer

I would suggest getting aluminum pie pans and freezing them in the pie pans, so they are easier to use when you take them out of the freezer.  Why not make it easy when you want to use it.


Pie Crust from the Freezer

Pie Crust from the Freezer

Florence
Course Dessert
Cuisine American

Ingredients
  

  • 2 C sifted all purpose flour
  • 1 t salt
  • 3/4 C shortening
  • 4 to 5 T ice water
  • Wax paper
  • Freezer wrap

Instructions
 

  • Place the flour and salt together in a large mixing bowl.
  • Cut in the shortening with a pastry blender until mixture become crumbly. You can also use a serving fork if you don't have a pastry blender available.
  • Add 1 T of the ice water at a time mixing by hand. I personally like to mix it with my hands.
  • Push moistened ingredients to the side.
  • Only add ice water to dry ingredients.
  • Continue adding the ice water 1 T at a time until all the dry ingredients are moistened.
  • Dough should be moist enough to hold together but not sticky.
  • Divide dough in half.
  • Roll each half into a ball.
  • Wrap each ball with wax paper.
  • Wrap tightly in the freezer wrap and freeze for up to 2 months.
  • When ready to use bring to room temperature and roll out as desired.
  • Preheat oven to 425° and bake for 10 minutes.


March 10, 2014

Afghan Chicken

This dish tenderizes, moistens, and extracts flavor from a long slow marinate in a garlic yogurt, so you wind up with a skinless grilled chicken that is as yummy as it is good for you.

We suggest you serve this with an Arab flat-bread or soft pita and fresh yogurt.

Afghan Chicken

Florence

Ingredients
  

  • 2 large clov garlic
  • 1/2 teaspoon salt
  • 2 cups plain whole-milk yogurt
  • 4 tablespoons juice and pulp of 1 large lemon
  • 1/2 teaspoon cracked black pepper
  • 2 large whol chicken breasts -- about 2 pounds

Instructions
 

  • Mix garlic and salt into a paste.
  • Stir in the yogurt, lemon and pepper.
  • Skin the chicken breasts. Remove all extra fat and split into halves.
  • Make the halves lay flat by bending backwards to separate the bones.
  • Coat each half with the yogurt mixture.
  • Cover the bowl tightly and place in refrigerator to marinate for at least 12 hours, no longer then 36 hours.
  • Turn the pieces over about half-way through marinating.
  • When you are ready to cook, remove the breasts from the marinade and wipe off most of the yogurt. Leave a thin film on each piece.
  • Grill about 6 inches above the heat for about 6 to 8 minutes a side. ( or until completely cooked. )
  • Serve while still hot.

Crispy Chicken from the Freezer

Always good to make things in advance and have dinner ready in the freezer so you can just thaw it out and pop it in the oven.  I always omit the Worcestershire Sauce, because I am allergic to fish and it has anchovies in it.


Crispy Chicken from the Freezer

Crispy Chicken from the Freezer

Florence
Course Entree
Cuisine American

Ingredients
  

  • 2 1/2 lbs fryer chicken cut up
  • 3/4 C sour cream
  • 1 T lemon juice
  • 1 t Worcestershire sauce
  • 1 t celery salt
  • 1 t salt
  • 1/8 t pepper
  • 1/2 t paprika
  • 2 cloves garlic chopped fine
  • 1 C dry bread crumbs
  • Aluminum foil

Instructions
 

  • Combine sour cream and lemon juice in a small bowl.
  • Stir in Worcestershire sauce until completely blended.
  • Add the celery salt, salt, pepper, paprika and garlic and mix well.
  • Place bread crumbs in a shallow bowl or on a plate.
  • Preheat oven to 350 degrees.
  • Spray a large baking pan with a non stick cooking spray.
  • Dip chicken pieces into the sour cream mixture.
  • Roll in the bread crumbs.
  • Place in a single layer in the baking pan.
  • Bake 50 minutes or until chicken is tender and brown.
  • Let chicken cool before removing from pan.
  • Once the chicken has cooled wrap each piece in aluminum foil.
  • Freeze for up to 2 months.
  • Reheat by preheating oven to 450 degrees.
  • Place each piece of chicken still in the aluminum foil on a cookie sheet.
  • Bake 35 minutes.
  • Unwrap from aluminum foil and place back in the oven.
  • Continue baking 10 minutes or until crisp.


March 9, 2014

Clover Leaf Biscuits

It is great to make the dough in advance, so you have it when you want a quick biscuit to go with dinner.


Clover Leaf Biscuits

Clover Leaf Biscuits

Florence
Course Breads
Cuisine American

Ingredients
  

  • 1 3/4 C warm water should be 105 to 115 degrees (check with thermometer)
  • 2 pkg active dry yeast
  • 1/2 C sugar
  • 1 T salt
  • 1 egg
  • 1/4 C soft butter or margarine
  • 6 C sifted all purpose flour
  • 1 T butter or margarine melted
  • Freezer paper

Instructions
 

  • Rinse a large bowl with hot water. We make the bowl warm to make it easier for the yeast to rise.
  • Add the water, yeast, sugar and salt and still completely to dissolve.
  • Add the egg, soft butter and 3 C of flour.
  • Beat together with an electric mixer on medium speed until smooth. You can stir this by hand also, if electric mixer is not available.
  • Slowly add 1 more C of flour and continue to beat another 2 minutes.
  • Add the remaining 2 C of flour to the mixture.
  • Use your hands to work in the flour.
  • Continue until all the flour is mixed in well and the mixture becomes smooth and elastic.
  • Brush the top of the dough with the melted butter.
  • Cover the bowl with a damp towel.
  • Place the bowl in a warm place and allow the dough to rise 2 hours.
  • The dough should double in size.
  • Punch down the dough.
  • Dough may be stored in the refrigerator 1-3 days before use.
  • Be sure dough stays covered and punch the dough once a day until ready to use.
  • When you are ready to make the rolls, remove 1/3 of the dough from the refrigerator.
  • On a lightly floured surface divide the dough in half.
  • With your palms roll each half of the dough into a 16 inch rope.
  • Cut each rope into 18 pieces.
  • Roll each piece into a smooth ball.
  • Place 3 balls in each of a muffin cup that has been sprayed lightly with a non-stick cooking spray.
  • When all the muffin cups are full, cover with a towel and place in a warm place.
  • Let rise again for 1 hour or until dough has doubled in size.
  • Preheat oven to 275 degrees.
  • Bake rolls 20 minutes.
  • Remove and cool completely.
  • Wrap in the freezer paper and freeze for up to 12 months.
  • When ready to use preheat oven to 450 degrees.
  • Unwrap rolls and place on an un-greased cookie sheet.
  • Bake 5 to 10 minutes or until light brown.


March 8, 2014

5 Quick and Frugal Breakfast Ideas

It is the first meal we eat when we get up in the morning. After a long night of sleep, we can’t do without it if we want to get our bodies going. No, I’m not talking about coffee. I’m referring to breakfast. Here are some ideas for breakfast that don’t require a drive-thru window.

1.  Have a piece of casserole. It takes time to cook eggs and bacon for breakfast. No one wants to ruin their clothes with the mess it can create. On Sunday night, get breakfast done early. Put together a casserole using your favorite ingredients. Fewer eggs are needed in a casserole than when frying or scrambling them for breakfast each morning. Depending on the size of your family, the casserole may last two to three mornings.

2.  Yogurt. Yogurt is a healthy and economical breakfast choice. When you are eating on the run, grab a container of yogurt and some dried or fresh fruit. Cutting up fruit on top of the yogurt adds carbohydrates to fuel you for the morning in addition to the calcium and protein in the yogurt itself.

3.  Breakfast shake. This is even quicker and can be ingested while driving without taking your eyes off the road or both hands off the wheel. Put together some frozen fruit favorites, ice cubes, frozen yogurt, and unsweetened juice in a blender. Pour into Styrofoam cups to keep it cold. Everyone can grab a cup on the way out the door. The nutritional effect is about the same as yogurt, but without the spoon.

4.  Pigs in a blanket. This is the homemade version. Whip up a batch of pancakes and freeze them in short stacks of three. A package or two of frozen link sausage is needed to create this quick and economical meal idea. Thaw out a stack of pancakes. Heat up three sausages in the microwave. Wrap a pancake around each sausage. Voila! You’ve got an instant pig in a blanket. Eat it as you watch the last of your favorite morning show or as you walk to the bus stop. It can be eaten in the car without too much fuss or mess. For a sweeter taste and less mess, add a little maple syrup or honey to the batter when making the pancakes.

5.  Breakfast sandwiches. In the evening, while you are getting things ready for the next day, grill up a few breakfast sandwiches. Choose whatever you like: turkey slices, ham slices, cheese, tomato, bacon, etc. When the sandwich cools, cut it into bite size pieces and put it in a container. In the morning, just grab a container; pop it into the microwave for fifteen or twenty seconds and breakfast is served.

These breakfast ideas are time saving and money-saving too. They make use of items you buy normally and also whatever you have around the house to create delicious fare for a morning rush. No more excuses for skipping breakfast or swinging into the fast food restaurant every morning. 

Cool Lemon Treats


Cool Lemon Treats

Cool Lemon Treats

Florence
Course Dessert
Cuisine American

Ingredients
  

  • 1 C toasted rice cereal crushed
  • 3 eggs separated
  • 1/2 C sugar
  • 1 T lemon peel grated
  • 1/3 C lemon juice
  • 1 C heavy whipping cream
  • 6 small foil pie pans
  • Freezer paper

Instructions
 

  • Place egg whites in a mixing bowl.
  • Beat with an electric mixer on high speed until peaks begin to form.
  • Very slowly add the sugar on 2 T at a time.
  • Continue beating after each addition and until the peaks stiffen.
  • Place the egg yolks in a separate bowl.
  • Beat on medium speed until they begin to thicken.
  • Add the lemon peel and lemon juice.
  • Beat on low speed until mixed together well.
  • Use a rubber spatula and add the egg yolk mixture to the egg white mixture.
  • Pour the whipping cream into the mixture.
  • Fold together until completely combined.
  • Place enough crushed cereal in the bottom of each of the pie pans to cover.
  • Fill each of the pie pans with the lemon mixture.
  • Top with more crushed cereal.
  • Wrap tightly with the freezer paper and freeze for up to 3 months.
  • When ready to serve let the lemon treats set in the refrigerator for up to 1 hour.

March 7, 2014

Chocolate Peanut Butter Chip Cookies


Chocolate Peanut Butter Chip Cookies Photo

Chocolate Drop Peanut Butter Cookies

Florence
Prep Time 10 minutes
Cook Time 9 minutes
Total Time 19 minutes
Course Cookies
Cuisine American
Servings 2 doz

Ingredients
  

  • 1 Cup Sugar
  • 1/2 Cup Crisco Shorting
  • 1 egg
  • 3 Tbsp Natural Unsweetened Cocoa Powder
  • 1/3 Cup Milk
  • 1 tsp Vanilla
  • 1 3/4 Cups All-Purpose Flour
  • 1/2 tsp Baking Soda
  • 1/2 tsp Salt
  • 1 Cup Reese's Peanut Butter Chips

Instructions
 

  • Preheat oven to 400°F.
  • Mix together sugar, Crisco, egg, chocolate, milk and vanilla.
  • Stir in flour, baking soda, and salt.
  • After ingredients are complete combined add in Reese's Peanut Butter Chips and stir well.
  • Drop by spoonfuls on to greased cookie sheet.
  • Bake for 8 to 10 minutes. Cool. Serve.


Chicken Bowls


Chicken Bowls

Chicken Bowls

Florence
Course Entree
Cuisine American

Ingredients
  

  • 1 whole chicken
  • 2 celery stalks chopped
  • 1 medium onion chopped
  • 1 Tbsp parsley
  • 1 bay leaf
  • 2 tsp salt
  • 8 Cups water
  • 1 10 oz pkg frozen baby carrots, partially thawed
  • 1 10 oz pkg frozen peas, partially thawed
  • 1 6 oz can mushrooms, drained
  • 1 Cup light cream
  • 1/4 tsp nutmeg
  • 1/4 tsp celery salt
  • 1/8 tsp pepper
  • 1/2 Cup all purpose flour
  • 1 pkg 2 included refrigerated pie crust
  • 4 foil pans 5X1 in

Instructions
 

  • Place the water in a large pot over high heat and add chicken,celery, onion, parsley, bay leaf and salt and bring to boil. Reduce heat to low and simmer covered for 2 hours. Allow chicken to cool in the broth and remove when completely cooled. Remove chicken from bones. Strain broth and keep 5 Cups. Put chicken, carrots, peas and mushrooms together in a large mixing bowl and mix together. Place 4 Cups of reserved liquid in sauce pan and add cream, nutmeg, celery salt and pepper and bring to a boil. In small mixing bowl combine remain Cup of reserved broth and flour and whisk until mixture is smooth. Pour mixture in to boiling sauce pan and reduce heat to low and summer for 2 to 3 minutes. Pour over chicken mixture and cool completely.
  • Flour a flat surface and roll out pie crust. Divide in to two even parts. Place 1/2 of the crust into the bottom a foil pan. Fill with chicken mixture. Cover with the remaining crust. Pinch to seal all the way around.
  • Wrap in freezer paper.
  • Freeze for up to 3 months.
  • To bake preheat oven to 450 degrees.
  • Unwrap each bowl and place on a cookie sheet.
  • Cut a slit in the top of each to vent the steam.
  • Bake 40 minutes or until crust is golden brown.


March 6, 2014

Burritos That Are Sure To Please


Burritos That Are Sure To Please

Burritos That Are Sure To Please

Florence
Course Entree
Cuisine Mexican

Ingredients
  

  • 3 boneless chicken breasts
  • 1/2 jar 16 oz size salsa
  • 1 14.5 oz can refried beans
  • 1 8 oz pkg shredded taco cheese
  • 1 8 count pkg burrito size tortillas
  • Wax paper
  • Freezer bags

Instructions
 

  • Place the chicken breasts in a large sauce pan and cover with salsa. Add just enough water to cover the chicken completely. Place over medium high heat and bring to a boil. Reduce heat to low and simmer for approximately 15 minutes.
  • Chicken should be white all the way through when done. Remove the chicken from pot and cool completely and then shred and return to pot. Bring back to boil to reduce liquid of the mixture looks to watery. Remove from heat when it is at your desired thickness.
  • Lay down tortilla flat.
  • Place 3 T of refried beans down the middle of the tortilla.
  • Place 4 T of the chicken mixture on top of the beans.
  • Sprinkle with cheese.
  • Fold in the sides of the tortilla and roll until completely closed.
  • Continue until you used all the tortillas.
  • Wrap each burrito in the wax paper.
  • Place the burritos in a freezer bag.
  • Freeze for up to 3 months.
  • To cook unwrap the burritos.
  • Place in the microwave for about 3 minutes or just until the burrito is beginning to thaw.
  • Preheat the oven to 350 degrees.
  • Lightly spray a cookie sheet with a non stick cooking spray.
  • Lay the burritos on the cookie sheet.
  • Bake 12 minutes or until the burrito just begins to brown.


March 5, 2014

Save Money by Drying Fruit

Filed under: Helpful Tips — Tags: , , , , , , , — Chef @ 10:00 am


We try to save money on our food bills but with a family, that is a trick in itself.  Fresh fruits and veggies seem to cost more and spoil sooner. If you and your family love to eat fresh fruits, one way to be sure they won’t spoil is to dry them.

Dried fruits can serve as a healthy alternative to candy. Instead of reaching for chocolate or a piece of hard candy, the kids will reach for a dried pineapple or apple slices. The sweetness of the fruit is concentrated when it is dried and bursts forth with every bite.

Learning to dry fruit is a fairly easy process. You don’t need to buy any fancy equipment. Investing in a few sealing jars would be nice so that storing the fruit will be easier, but it isn’t a necessity. Sealing jars can be found fairly inexpensive at many supermarkets.

To start, gather all of the fruits you want to dry. Most fruits make good choices. Some of the more common ones are: pineapples, apples, plums, grapes, apricots, and tomatoes (yes they are a fruit!). If you favor lemons, limes, or other citrus fruits, you will be drying the peels and not the fruit itself.

All fruit and equipment need to be clean and thoroughly dried before beginning. Drying racks are needed if you plan on air drying outside or using an oven. Some pieces may be done before others so rotating the trays in the oven gives you a chance to remove any fruit that is already dried and replace with another.

Slice the fruit into small pieces. Apples need to be cored and peeled before slicing. Tomatoes can be cut into slices or quarters and salted before drying. Grapes and plums are okay as is because the skin doesn’t affect their taste.

If you prefer to use the microwave to dry your fruit, place small batches in the microwave on the turntable tray. Fruit pieces should be evenly spaced to allow for air circulation while drying. Set the microwave to the defrost setting in order to dry the fruit. It will take about thirty to forty-five minutes. Check after thirty minutes and gradually add time as needed. It is not recommended that tomatoes be dried via the microwave because they should be dried at approximately 120 degrees for about twenty-four hours.

You can eat some of these tasty treats as soon as they are dried or you can save some for later. If storing for later, let the fruit cool before placing in sealing jars or plastic bags. Dried fruits will keep for up to two weeks in a cool dark place. However, these fruit treats are so scrumptious they may not even last for that long.

Dried fruit has a multitude of uses. It can be eaten as is or as a flavorful addition to ice cream, salads, pizzas, and more. Drying your fruits will save you money because it makes the fruit last longer than normal, avoid spoilage and gives you a reason to eat more of it. 

« Newer PostsOlder Posts »

Powered by WordPress